After upgrading from Windows 7 to Windows 10 many users complained that the External Monitor not Detecting. we tried many solutions to fix it, Here are some possible solutions that you may try to fix this issue. Before proceeding check the VGA or HDMI cable both working fine. Try with some other different system for the confirmation
Try these Possible solutions for Monitor not Detecting issues:
1. Check the connectivity
First, check the connectivity, remove the power cord, and Just plug in the power cord, and check if it displays the manufacturer’s logo or displaying No Signal. That way, you would be able to confirm that your monitor is getting power properly.
2. Check the Video Source Mode
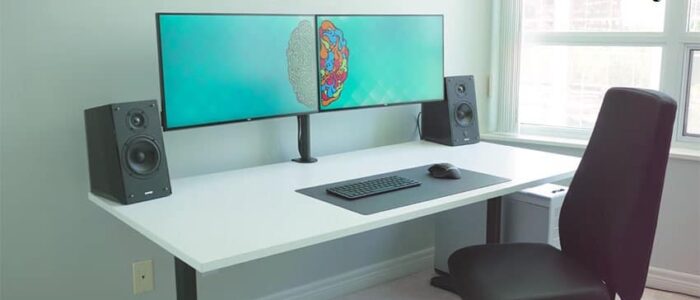
Check the monitor source, while connecting the VGA or HDMI cable the monitors will automatically detect the source, usually, you may see an auto mode setting, If it is in Manual mode change it to Auto mode again.
3. Update the display adapter driver.
Check for the latest driver update through Windows Updates.
- At the Start screen, type Windows Update.
- Click or tap Settings on the right side of the screen, and then select Install optional updates from the left results.
- When the Windows Update control panel opens, click on “Check for Updates” on the top left corner to receive a fresh list of updates.
Incompatible or not properly installed graphics card drivers are the most common cause of this Monitor not Detecting issue. Follow the steps below to update the display drivers.
- Press the Windows + X key on the keyboard.
- Go to the device manager.
- Right-click your display/graphic & video device.
- Click Update Driver Software and then follow the steps in the wizard that appears.

Restart the computer and check.
4. Check-in compatibility mode.
Download the display drivers from the manufacturer and follow these steps to install the drivers in compatibility mode and check if that helps.
- Download the driver from the manufacturer’s website.
- Right-click on the driver setup file and click on ‘properties’.
- Click on the ‘compatibility’ tab and check the box ‘Run this program in compatibility mode for’ and select Windows 8 operating system from the drop-down menu and proceed with the installation.
- Once this is done, restart the computer and check if the issue persists. If you face still Monitor not Detecting issue. Try to update the drivers from the given link.
If you found any difficulties in finding and updating the driver click here to check out how to update drivers automatically in windows 10.
5. Rollback to previously installed video & monitor drivers
Sometimes the latest drivers don’t work properly on Windows 10. To check if this is what’s causing your problem, simply roll back to a previous version of your video driver and your monitor driver.
1) On your keyboard, press the Windows logo key and X (at the same time) to invoke the quick-access menu.
2) Click Device Manager.
3) In the Display adapters section, right-click on your display device software, and select Properties.
4) Select the Driver tab and click Roll Back Driver, then follow the on-screen instructions.
5) Go back to the Device Manager again, but this time expand the Monitors section, right-click on your second monitor, and select Properties.

6) Select the Driver tab and click Roll Back Driver, then follow the on-screen instructions. When complete, restart your computer and see if Windows can now detect your External Monitor.
6. Change the Refresh Rate
Refresh Rate plays a vital role while connecting two monitors to the same system. If the refresh rate of both monitors is different, you might face problems connecting them together. All LCD monitors support a refresh rate that is typically over the threshold that normally causes flicker (usually 60 Hz) and they don’t go blank between refreshes as CRT monitors do. Because of this, LCD monitors do not need to have their refresh rate adjusted to prevent flickering. Therefore, if the External Monitor is being detected by the Windows 10 system, but it is showing a blank screen, you should follow this suggestion.
Press Win + I to open the Windows Settings Panel.

Go to System > Display. Now select the second monitor on the right-hand side and click on the option called Display adapter properties. After that, switch to the Monitor tab and try to change the refresh rate.
Read Also:
Fix External Monitor Not Detecting Issue in Windows 11