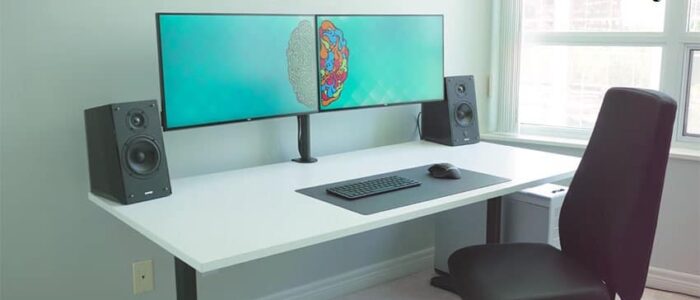
Nowadays most of the users use Dual Monitor setup, to increase their productivity, Dual Monitor setup has a lot of benefits, and most of the operating system supports Dual Monitor setup. One common problem reported by most of the users is an external monitor not being detected or recognized. If you’ve encountered this issue, don’t worry – we’ve got you covered. In this blog post, we’ll provide you with some troubleshooting methods to fix the External Monitor Not Detecting issue in Windows 11.
Fix External Monitor Not Detecting Issue in Windows 11
Dual Monitor setup is useful for Multitasking, screen sharing, and expanding your display space. But sometimes you may face an issue, Windows will fail to detect or recognize the second monitor. If you are facing a similar issue, then this article will guide you to fix external monitor not detecting issue in Windows 11. Follow the below resolution methods, but not in a particular order to fix this issue.
Solution 1: Check Hardware Connections
The first step is to ensure that all the hardware connections are secure and properly plugged in. Sometimes, a loose cable connection can cause the monitor not to be detected. Follow these steps:
- Check the cables connecting your external monitor and computer. Make sure they are tightly connected at both ends. Disconnect and connect the video cables from the computer.
- If you are using an HDMI cable, try using a different port on your computer. Some monitors may have compatibility issues with specific HDMI ports.
- If you are using adapters or converters, make sure they are functioning properly and compatible with both your monitor and Windows 11.
Solution 2: Try a Different Cable or Port
In some cases, the issue may lie with the cable or the port you are using. To troubleshoot this:
- If you are using an HDMI cable, try using a different HDMI cable to rule out any issues with the current cable.
- If your computer has multiple HDMI ports, try connecting the monitor to a different port to see if it gets detected.
- If you are using a DisplayPort or DVI cable, try switching to HDMI or vice versa and see if the monitor is detected.
- Test the external monitor on another computer to ensure it is functioning correctly.
Solution 3: Check the Video Source Mode
Nowadays most monitors will automatically detect the Video Source, Sometimes the monitors won’t detect the source properly, So check the monitor source, while connecting the VGA or HDMI cable, click on the source option, and select the right source, if the monitor is set to manual source mode, set it to auto mode. Check if this resolves the issue or not.
Solution 4: Update Graphics Drivers
Outdated or incompatible graphics drivers can lead to various display-related issues, including the problem of an external monitor not being detected. To update your graphics drivers, follow these steps:
Press Windows + X key on the keyboard.
Go to the device manager.
Right-click your display/graphic & video device.
Click Update Driver Software.
Choose the option to search automatically for updated driver software.
If Windows finds any updates, follow the on-screen instructions to install them.
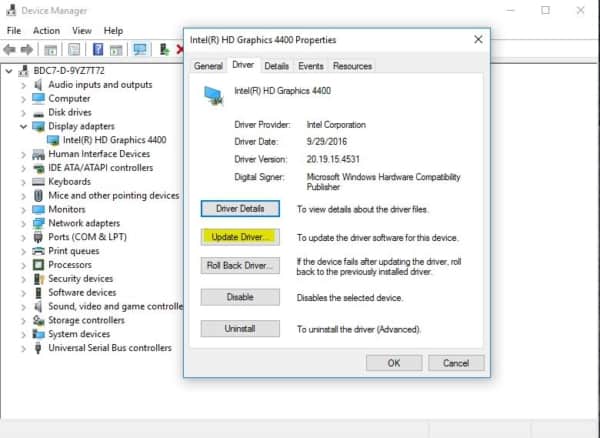
Restart the computer and check.
After the installation is complete, restart your computer and check if the external monitor is now being detected.
Solution 5: Adjust Display Settings
Windows 11 provides various display settings that can impact the detection and configuration of external monitors. Here’s what you can try:
Right-click on the desktop and select “Display settings”.
Under Display Settings expand the “Multiple displays” section.
Click on the “Detect” button to force Windows to search for the connected monitors again.

If the external monitor is detected but not displaying correctly, select it from the list and adjust the resolution, orientation, or scaling options.
You can also try setting the external monitor as the primary display to see if that solves the issue.
Solution 6: Reinstall the Graphics Driver
In Solution 4 We tried to update the Graphics Driver, most of the time Windows won’t detect the drivers to update, So we have to download and install the Graphics Driver manually from the Official Laptop or computer manufacturer’s website.
Go to the Official Website of your Laptop or Computer computer manufacturer’s website.
Search by your Laptop Serial Number and download the correct Graphics Driver which is compatible with your Operating system.
Install the driver and restart your system once. Mostly this will fix the External Monitor Not Detecting issue.
Solution 7: Change the Refresh Rate
Refresh Rate plays a vital role while connecting two monitors to the same system. If the refresh rate of both monitors is different, you might face problems connecting them together. All LCD monitors support a refresh rate that is typically over the threshold that normally causes flicker (usually 60 Hz) and they don’t go blank between refreshes as CRT monitors do. Because of this, LCD monitors do not need to have their refresh rate adjusted to prevent flickering. Therefore, if the External Monitor is being detected by the Windows 10 system, but it is showing a blank screen, you should follow this suggestion.
Press Win + I to open the Windows Settings Panel.
Now select the second monitor on the right-hand side and Scroll down to the bottom.
Under Related settings, Click on “Advanced display”

Under Advance display, you can see an option “Choose a refresh rate” Click on the drop-down menu and choose the Refresh rate compatible with your second monitor.

Selecting a different refresh rate may flicker the screen for a few seconds, if the refresh rate is not suitable change it to next, this may help you to identify the compatible refresh rate for your second monitor.
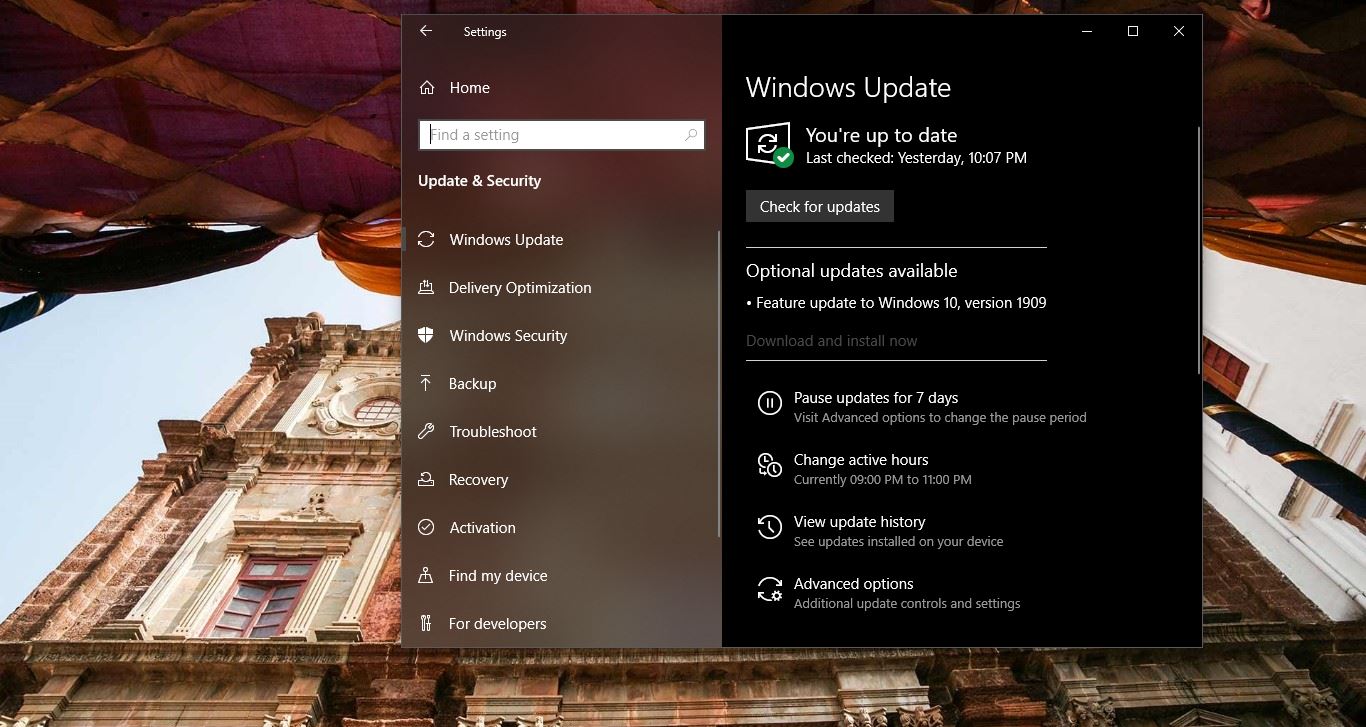
Solution 8: Check for Windows Updates
Keeping your Windows 11 up to date is essential for optimal performance and compatibility. Microsoft regularly releases updates that address known issues and provide bug fixes. Also, you may receive a Driver update from Windows, Check if Windows is showing any notification for pending updates, if there are pending updates then restart the system to install the pending updates.
Follow the below-mentioned steps to check for updates.
Open Windows Settings by pressing Windows + I and from the left-hand side click on Windows updates.
Click on Check for updates. Windows will automatically download and install suitable updates.
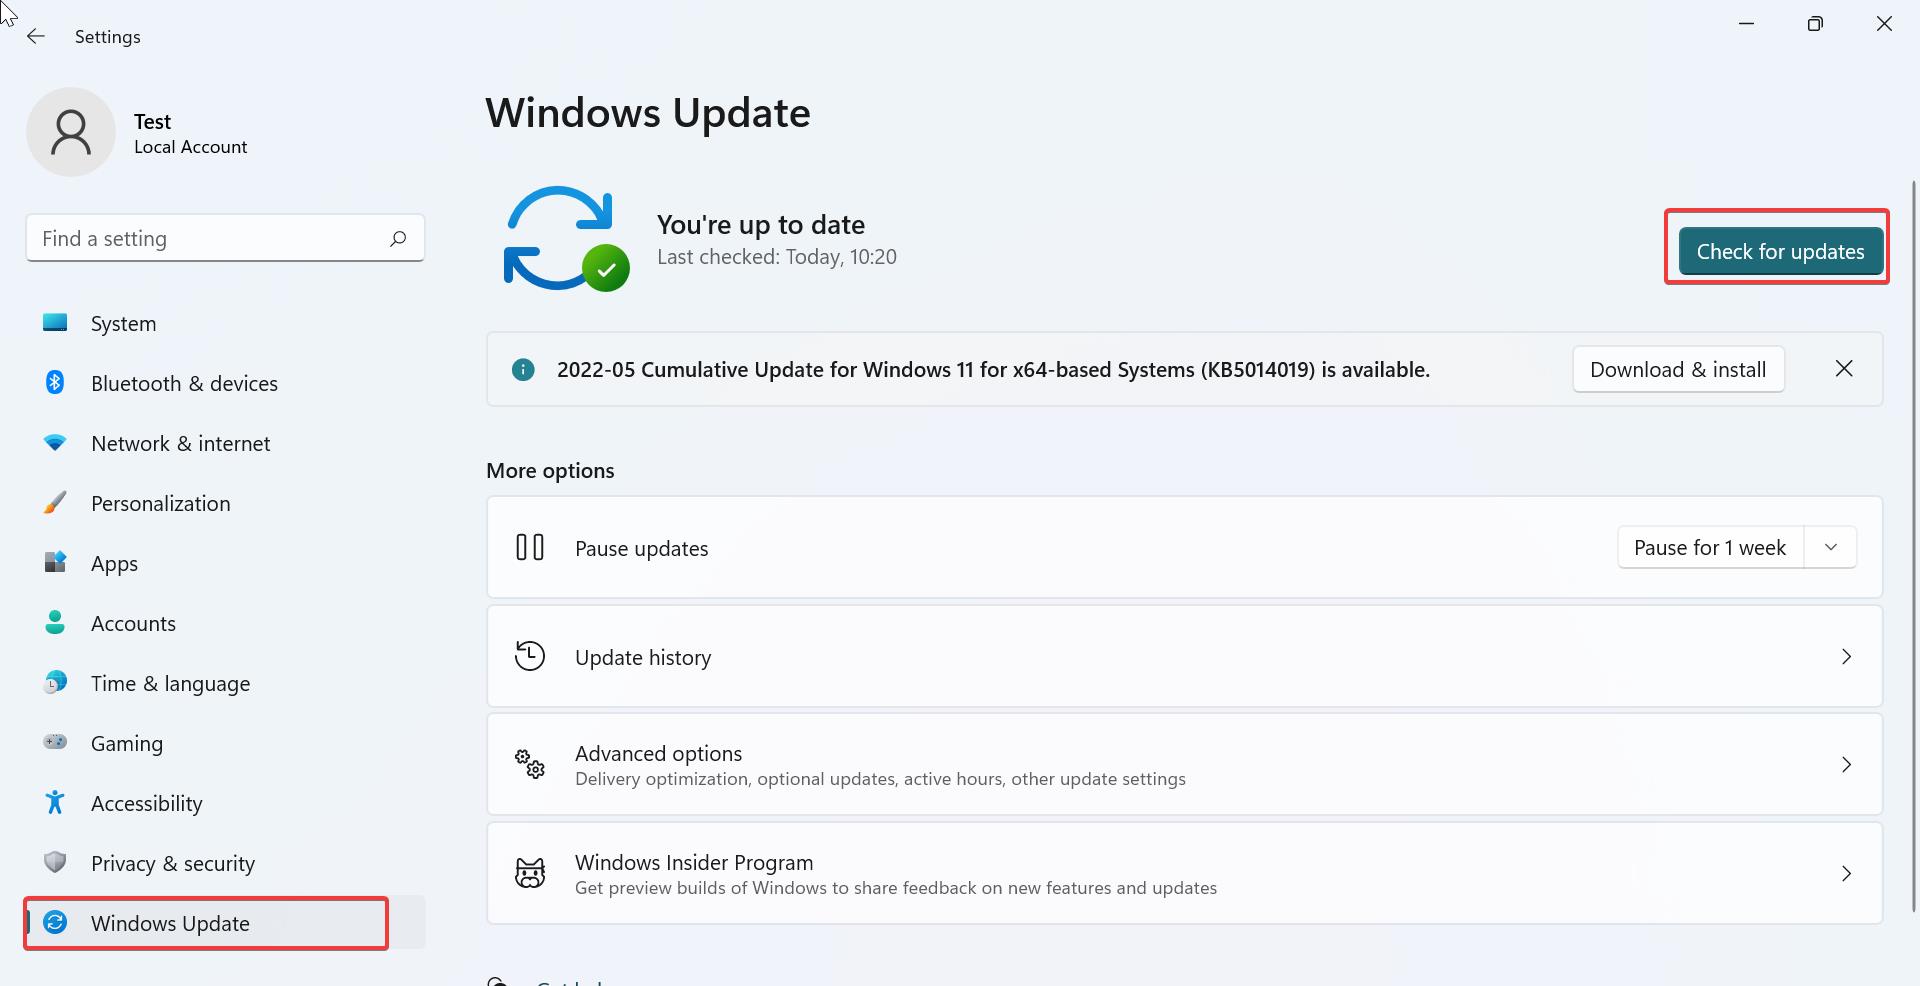
Once the Windows updates are installed, restart the system once.
We hope these troubleshooting steps have helped you fix the External Monitor Not Detecting issue in Windows 11.
Read Also:
How to Adjust Brightness on External Monitor in Windows 11/10?
How to Enable Taskbar on dual Monitors in Windows 10?

