Windows 10 continues the tradition of hardware compatibility by providing support for a vast collection of devices available within the Windows ecosystem. Hardware detection is an important part of the out of the box experience. Driver software which makes this happen, allows your hardware to function by communicating with the operating system. This article will guide you to Install and Update Hardware Drivers in Windows 10.
Install and Update Hardware Drivers in Windows 10
I recently installed Windows 10 on an HP EliteBook to see how well the most recent Windows 10 build performs. The EliteBook is a recent model notebook that includes an assortment of hardware technologies. Out of the box though I did not get a complete system, for instance, the Intel HD Graphics 3000 was not detected and I was instead limited to the Microsoft Basic Display Adapter. It requires hardware drivers up to date. Apart from this, I had wi-fi ready, which means, I could connect to the Internet right away.
Installing drivers through Windows Update
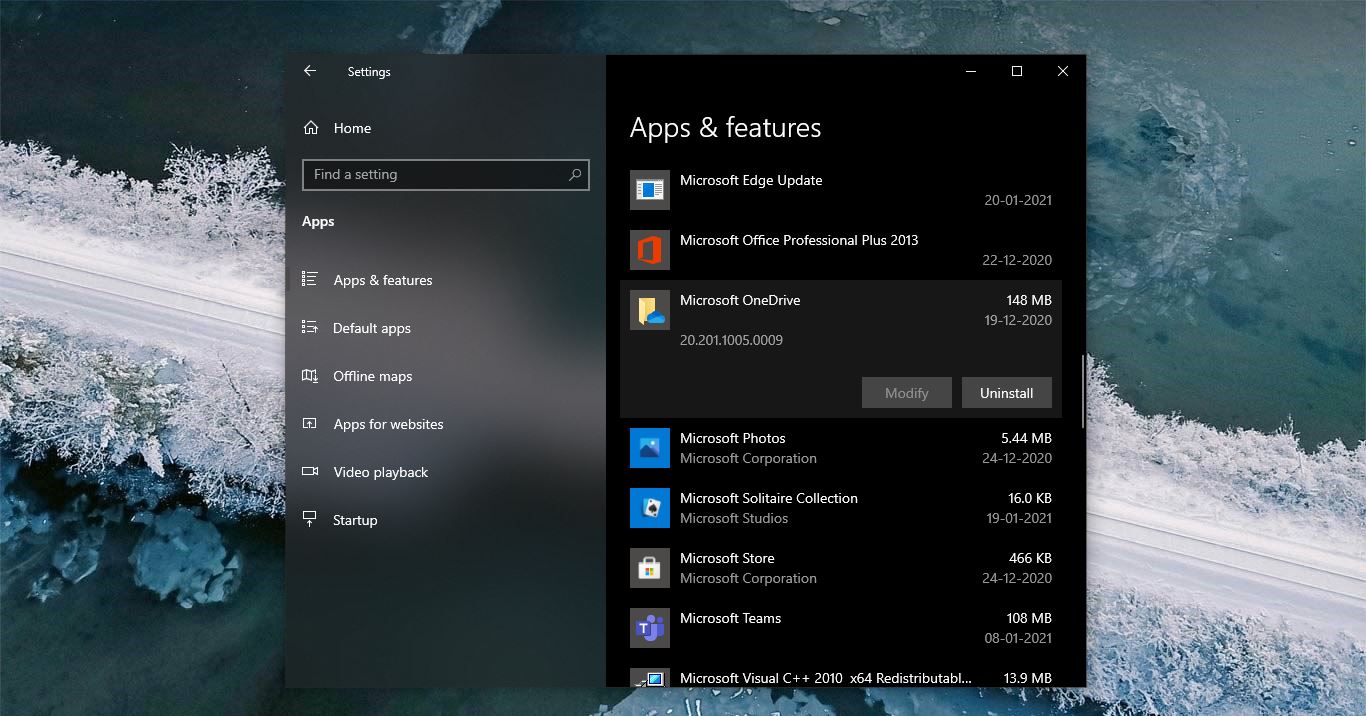
Windows Update is the premier starting point to resolve the most common driver issues you might experience immediately after installing Windows 10. Simply launch it from Start > Settings > Update and Recovery and click Check for Updates or Press Windows key + R Type: ms-settings:windowsupdate Hit Enter Click Check for updates (make sure you have an active Internet connection). Immediately, Windows Update will detect your system configuration and download all the appropriate hardware drivers for your system. As you can see in the above screenshot, my Intel HD 3000 Graphics was installed automatically. I did not even have to reboot the system. In addition to other hardware components were also detected and installed which includes my LAN adapter and card reader.
Important Drivers, you should get after installing Windows 10.
When you perform a new install or upgrade, you should download the latest software drivers from the manufacturer’s website for your computer model. Important drivers include Chipset, Video, Audio, and Network (Ethernet/Wireless). For laptops, make sure you download the latest TouchPad drivers. There are other drivers you will probably need, but you can often download these through Windows Update after have a working Internet connection setup.
Install drivers using Device Manager
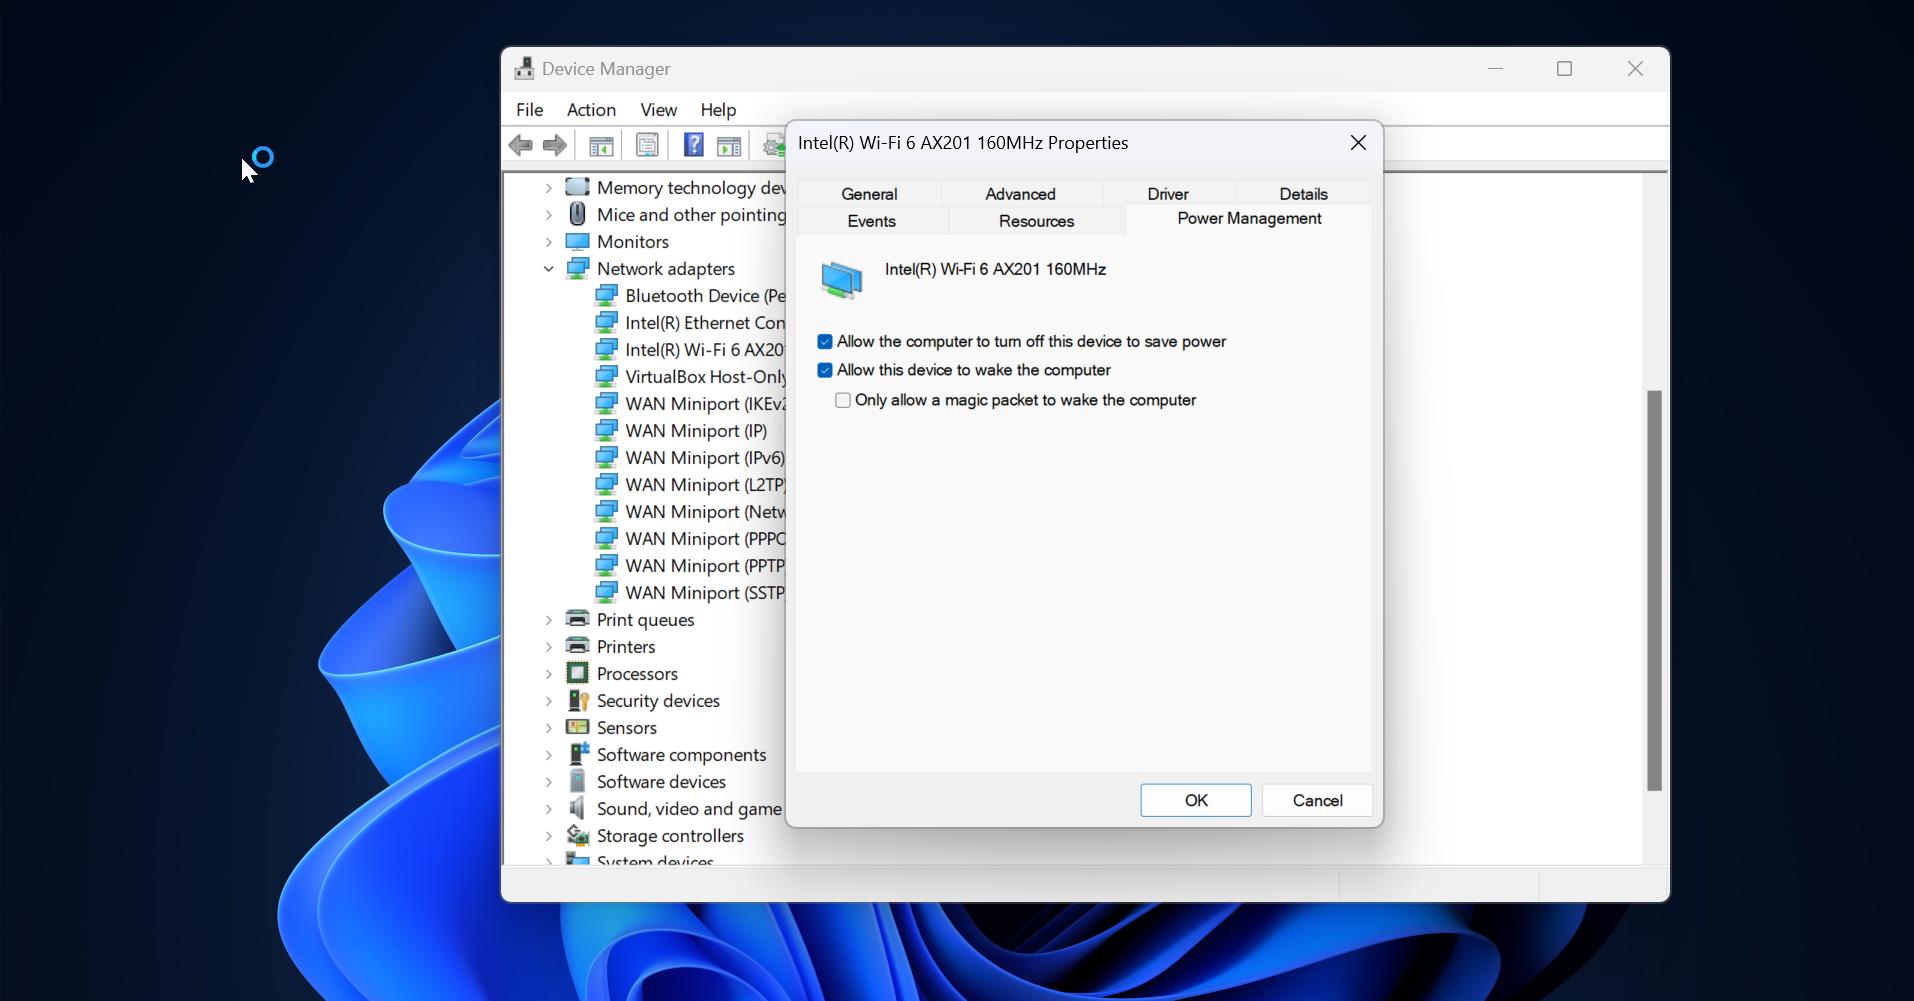
If your driver was not detected or installed by Windows Update, you can try installing the driver manually if you have a compatible version. Windows 10 and previous versions of Windows such as Windows 7 share the same driver model, so it should work. Press Windows key + X Click Device Manager Once the device manager is open, select the device, right-click it and click Update Driver Software This will launch the update driver software wizard, which presents two options.
- Search automatically for updated driver software – its possible Windows might have the driver software if you have not checked it yet, if its taking too long, then the next option is usually best.
- Browse my computer for driver software – if there is a compatible driver and you already have the driver files, then all you need to do is point to it and Windows automatically install it for you.
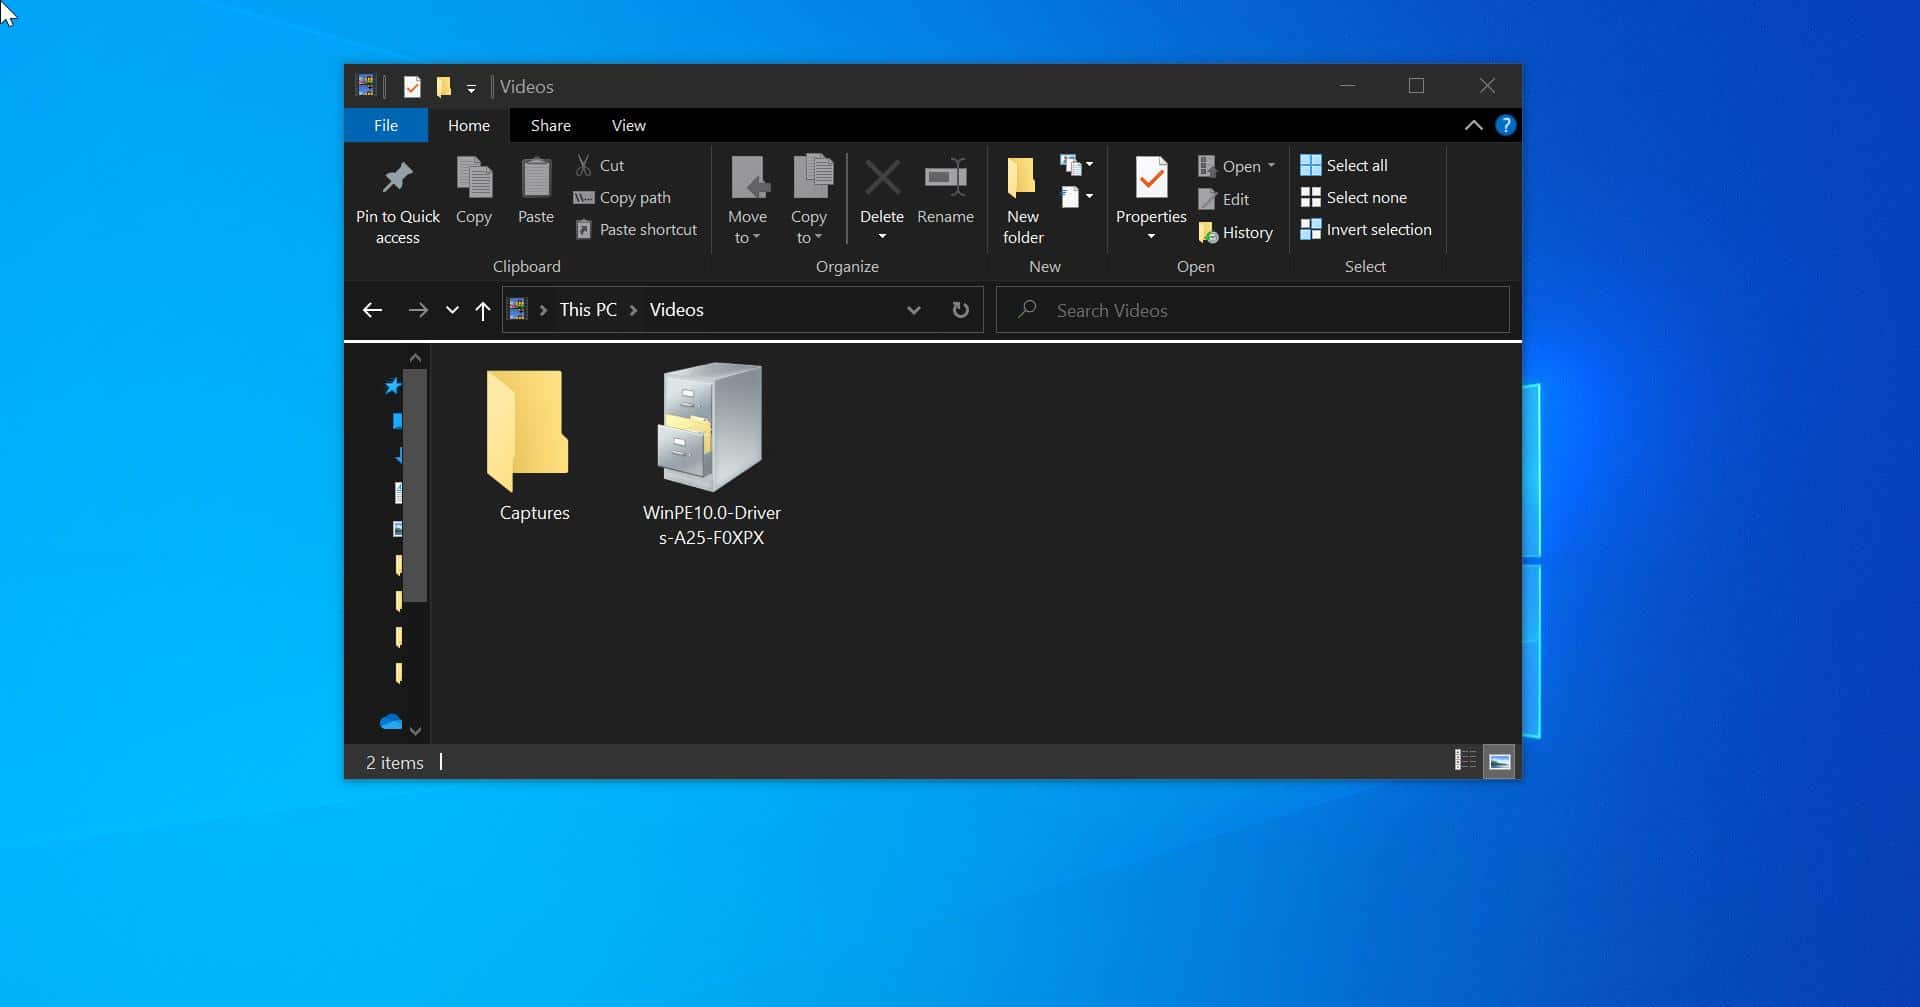
Here I have selected to use an existing driver, browse to where the driver is located on your computer, whether that is a partition, network share, thumb drive or install disc. Make sure the option to Include subfolders is checked. Click Next and wait while the wizard completes the installation.
Using Compatibility Mode to Resolve Driver problems
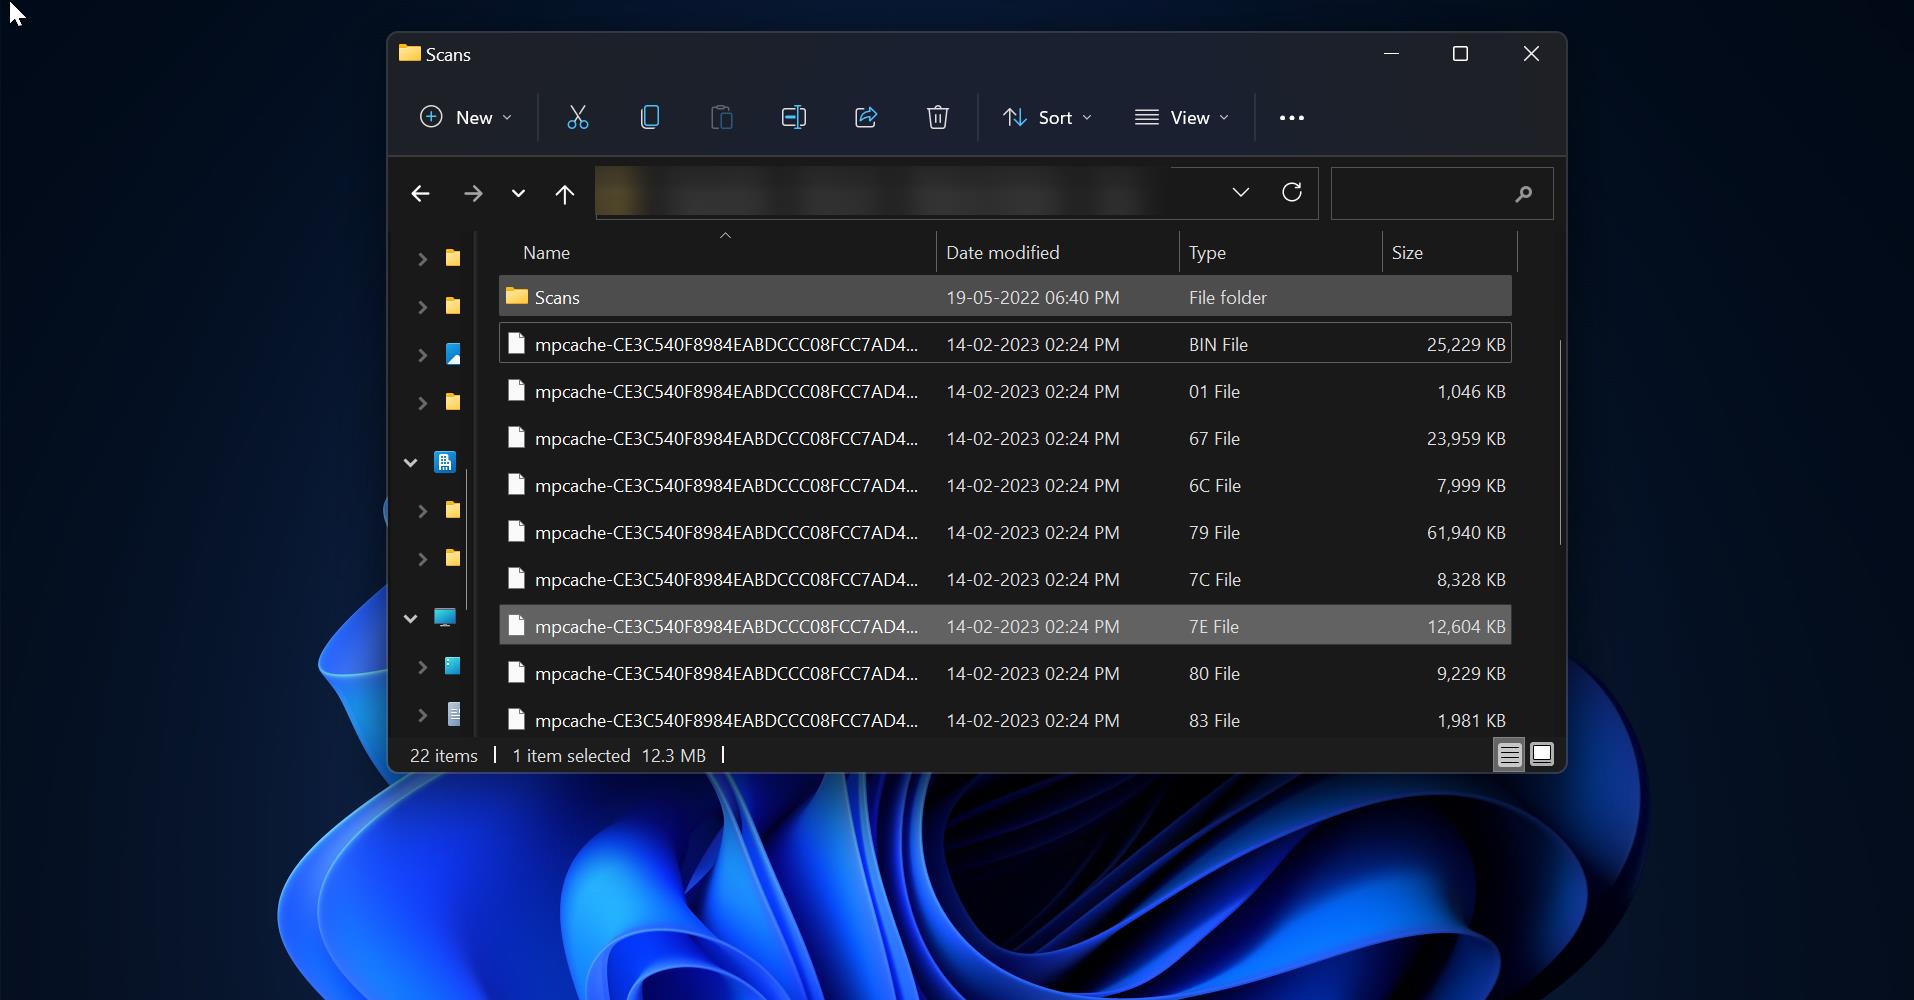
If both Windows Update and driver update prove unsuccessful, the next option is Troubleshoot Compatibility. Troubleshoot Compatibility provides a simple way to make older drivers work under modern versions of Windows by making the driver believe it is being installed on a supported version of Windows.  The first thing you need to do is the point where the setup files are located. If you are installing from a thumb drive or CD/DVD. Launch File Explorer (Windows key + E) and open the location where the setup files are stored. Right-click the setup file for the program, this can be designated as setup.exe or something similar. Click Troubleshoot Compatibility
  This will launch the Program Compatibility Troubleshooter wizard which will check for issues.
  Select the option “Troubleshoot program”
  Depending on the problems you are experiencing when attempting to install or use the software, check off the problems. In my case:
- ‘The program worked in earlier versions of Windows but won’t install or run now’
- The program requires additional permissions.
Click Next  Select a version of Windows the program is known to work in. I notice the program works great in Windows Vista (with Service Pack 2), so I will select that option. Click Next
  Proceed to run the through the programs setup routine by clicking Test the program….
  Follow the on-screen instructions to install the program as you normally would.
  If all is successful, click the option at the end of the wizard ‘Yes, save these settings for this program’
  Wait while your settings for the program are saved.
  Click Close.