Introduction
Brightness settings are crucial for a comfortable viewing experience, especially if you spend a lot of time in front of your computer or laptop. In this comprehensive guide, we will walk you through various methods to adjust brightness in Windows 11. Whether you are using a desktop computer, laptop, or tablet, we’ve got you covered. Let’s dive in!
Method 1: Using the Action Center
One of the easiest ways to adjust your display brightness in Windows 11 is by using the Action Center. Follow these simple steps:
Click on the Action Center icon located in the bottom right corner of your taskbar. The icon resembles a speech bubble.
The Action Center pane will slide in from the right. Look for the brightness slider at the bottom of the pane.
Click and drag the brightness slider to adjust the brightness level according to your preference. Moving the slider to the right will increase brightness, while moving it to the left will decrease brightness.

Release the slider when you are satisfied with the brightness level.
That’s it! You have successfully adjusted the brightness using the Action Center. Let’s move on to the next method.
Method 2: Using the Settings App
Windows 11 provides a dedicated Settings app that allows you to control various aspects of your device, including display settings. Here’s how you can adjust brightness using the Settings app:
Open Windows Settings by pressing Windows + I, then Click on the “System” option.
In the left sidebar, click on “Display.”
Under Display you can see the Brightness & Color section, Drag the brightness slider to adjust the brightness level as per your preference.
Release the slider when you are satisfied with the brightness.

Great job! You have successfully adjusted the brightness using the Settings app. Let’s explore another convenient method.
Method 3: Using Keyboard Shortcut
Did you know that Windows 11 allows you to quickly adjust the brightness using a keyboard shortcut? Follow these steps to try it out:
Locate the F1-F12 keys on your keyboard. Look for the brightness icons on the Function keys. They typically resemble a sun or a sun with an arrow pointing up or down.
Press the “Fn” key on your keyboard (usually located near the Ctrl key) and simultaneously press the Function key with the brightness icon that represents the desired brightness adjustment. For example, if you want to increase brightness, press the “Fn” key and the Function key with the sun icon pointing up. If you want to decrease brightness, use the Function key with the sun icon pointing down.
By using this keyboard shortcut, you can quickly adjust the brightness level without even opening the settings or control panels. Let’s proceed to the next method.
Method 4: Using the Control Panel
In addition to the Settings app, Windows 11 still provides access to the classic Control Panel, which offers more advanced options for adjusting display settings. Here’s how you can adjust brightness using the Control Panel:
Right-click on the Start button located in the bottom left corner of your screen.
From the context menu that appears, select “Control Panel.”
In the Control Panel window, make sure the “View by” option (top right corner) is set to “Category.”
Click on the “Hardware and Sound” category.
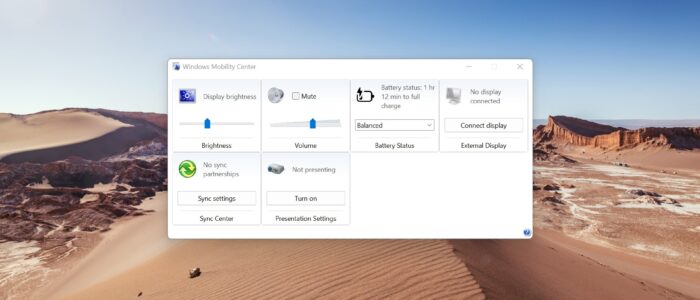
Under the “Power Options” section, on the left-hand side pane you can see the Windows Mobility Center.

Clicking on Windows Mobility Center will open a separate pop-up window, here you can see the Windows Brightness section.

Adjust the Windows Brightness level, once you are satisfied with the brightness close that window.

Well done! You have successfully adjusted the brightness using the Control Panel. Let’s explore one final method.
Method 5: Using Graphics Card Control Panel
If you have a dedicated graphics card installed on your Windows 11 device, you may have additional options to adjust display settings through the graphics card control panel. Here’s how you can do it:
Right-click on your desktop. A context menu will appear.
From the context menu, select the graphics card control panel option. The name may vary depending on the graphics card manufacturer (e.g., “NVIDIA Control Panel” for NVIDIA graphics cards).
In the graphics card control panel, look for display or screen settings.
Within the display or screen settings, you should find options to adjust the brightness. This will vary depending on your graphics card and its associated software.
Adjust the brightness as desired using the options provided in the graphics card control panel.
Once you are satisfied with the brightness level, click “Apply” or “OK” to save the changes.
Congratulations! You have successfully adjusted the brightness using the graphics card control panel. You now have a variety of methods at your disposal to adjust the display brightness in Windows 11. Use the one that suits you the best and enjoy a comfortable viewing experience!
Method 6: Using PowerShell
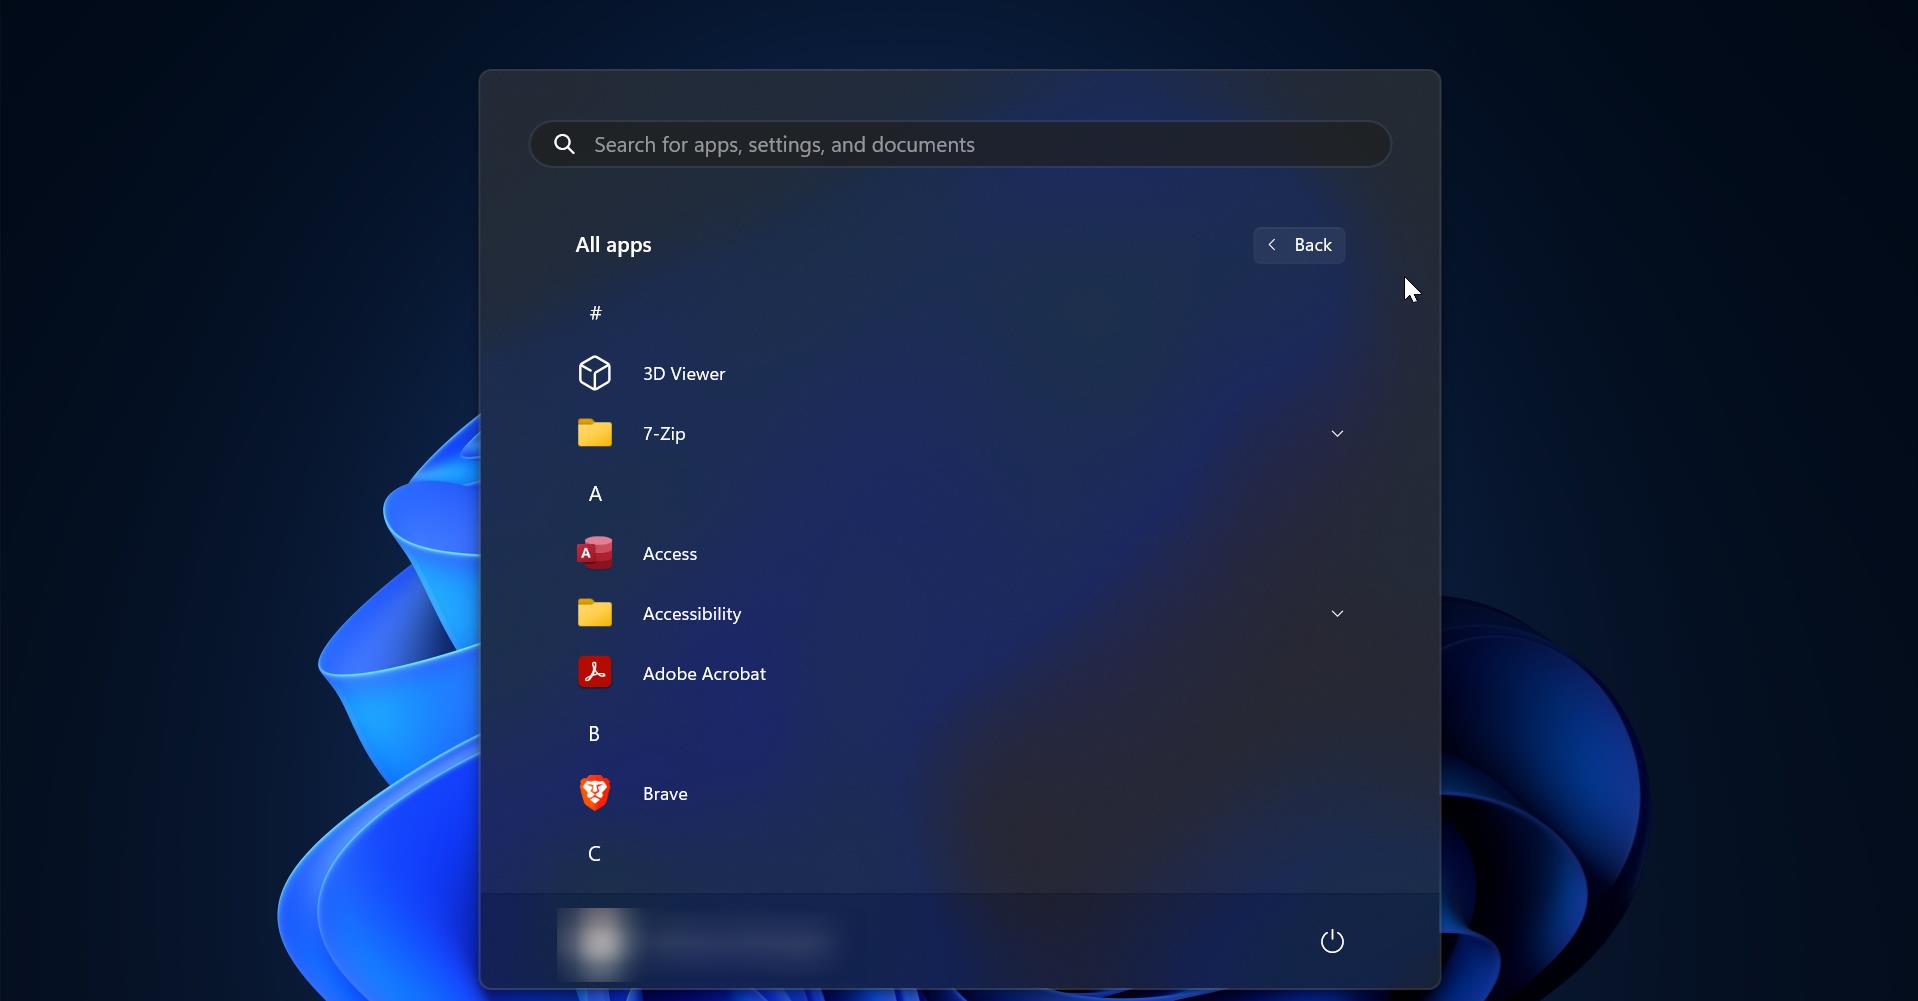
Open PowerShell, click on the start menu search for PowerShell, and open it.
Copy-paste the following command in the PowerShell Window. (Get-WmiObject -Namespace root/WMI -Class WmiMonitorBrightnessMethods).WmiSetBrightness(1,DESIRED_BRIGHTNESS_LEVEL)
In the above command, you have to replace DESIRED_BRIGHTNESS_LEVEL with the brightness level you want to set, you have to enter the percentage value from 0 to 100, For example, to set 50% of the brightness level, you have to enter the value (1, 50). The actual command will look like this.
(Get-WmiObject -Namespace root/WMI -Class WmiMonitorBrightnessMethods).WmiSetBrightness(1,50)Enter the command and set the brightness level using PowerShell.
Conclusion
In this extensive guide, we have covered various methods to adjust brightness in Windows 11. From using the Action Center and Settings app to keyboard shortcuts, Control Panel, and graphics card control panel, you now have several options at your fingertips. Experiment with different methods and find the one that works best for you. Remember, adjusting brightness can significantly enhance your viewing experience and reduce eye strain. We hope this guide has provided you with the necessary information to easily adjust brightness on your Windows 11 device. Enjoy your newfound control over display brightness! If you found this guide helpful, please share it with others who may benefit from it. Thank you for reading!
Read Also:
How to Adjust Brightness on External Monitor in Windows 11/10?
Increase/Decrease Webcam Brightness on Windows 10/11
Fix Adaptive brightness option missing in Windows 10
How to Adjust Brightness using PowerShell in Windows 11?