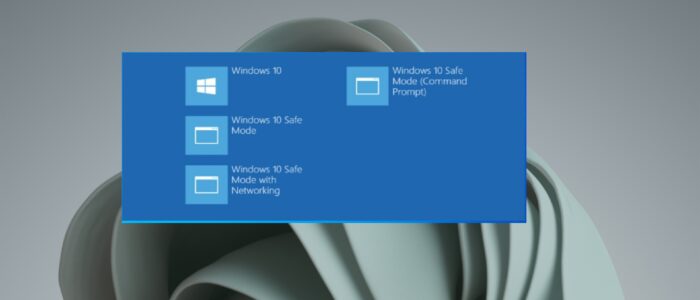
Safe mode is a diagnostic mode of a computer operating system (OS). It can also refer to a mode of operation by application software. In Windows, safe mode only allows essential system programs and services to start up at boot. Safe mode is intended to help you to fix most of the problems within an operating system. In safe mode, an operating system has reduced functionality, but the task of isolating problems is easier since many non-core components are disabled, such as sound, network drivers, graphics drivers, etc. It varies by the operating system. From Windows NT to Windows 7 you can access the safe mode by pressing F8. But this traditional F8 for safe mode option was canceled by Microsoft. This traditional method was changed in Windows 8,8.1,10 and 11 to reduce the boot time process. Either Shift-F8 or a special GUI-based workaround is necessary to access safe mode. You access the Safe mode using different methods, know more about accessing the Safe mode in Windows 10 and 11. Once you enabled the Safe mode using the GUI method or any other method, then your system will directly take you to the Safe mode even after the system restart, to exit from Safe mode, we need to disable the Safe mode, this article will guide you to Disable Safe Mode in Windows 11.
Disable Safe Mode in Windows 11:
You can exit from safe in Windows 11 using different methods, follow the below methods to disable safe mode in Windows 10/11.
Method 1: By Restarting your computer:
If you enabled the safe mode using the Advanced Startup menu, then you should be able to Exit from Safe mode by just restarting your computer. Even after restarting your system directly goes into Safe mode then you have to uncheck the Safe Boot mode option on System configuration, follow the next method to resolve this issue.
Method 2: Modify System Configuration Settings:
If you enable the Boot mode using the system configuration, then probably the boot safe mode option is checked on in the System configuration.
Open Run command by pressing Windows + R and type msconfig and hit enter, this command will open the System Configuration.
Click on the Boot tab and Uncheck the Safe boot under the boot options.
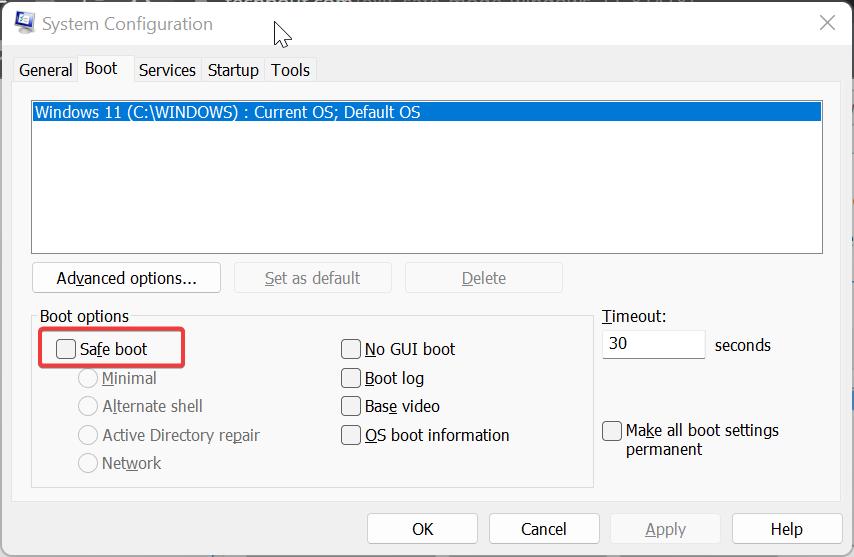
Click on Apply and OK. Once you got the confirmation pop-up, click on Restart.
Now Restart the system once and check.
Method 3: Disable Safe Mode Using Command Prompt:
Open Command prompt, click on the Start menu and search for Command prompt, right-click on the cmd and choose Run as Administrator.
Type the following command and hit enter, this command will disable the Safe mode.
bcdedit /deletevalue {current} safeboot

Then type the following command Shutdown /r, this command will restart your system.
Method 4: Using Advance boot menu:
If you are not able to login to User Account then you can use this method to disable the Safe mode, in this method we are going to use the Advanced boot menu option to exit from safe mode.
Click on the Power button.
By clicking the Power button, you can see the Power Menu, Press Shift Key, and then click on Restart.

After the Restart the system will automatically enter into Advanced Startup Options, it will show the “Choose an Option” section, here select the Troubleshoot option from the list.

Next click on Advanced options > Startup Settings > Restart.

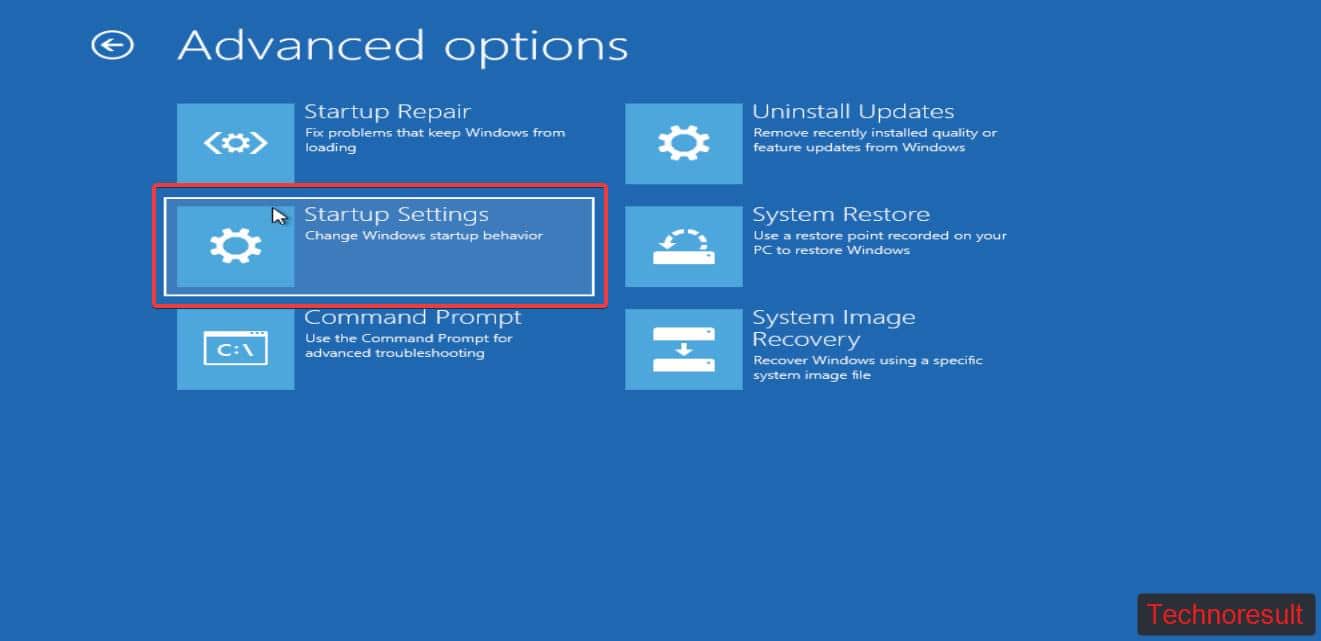
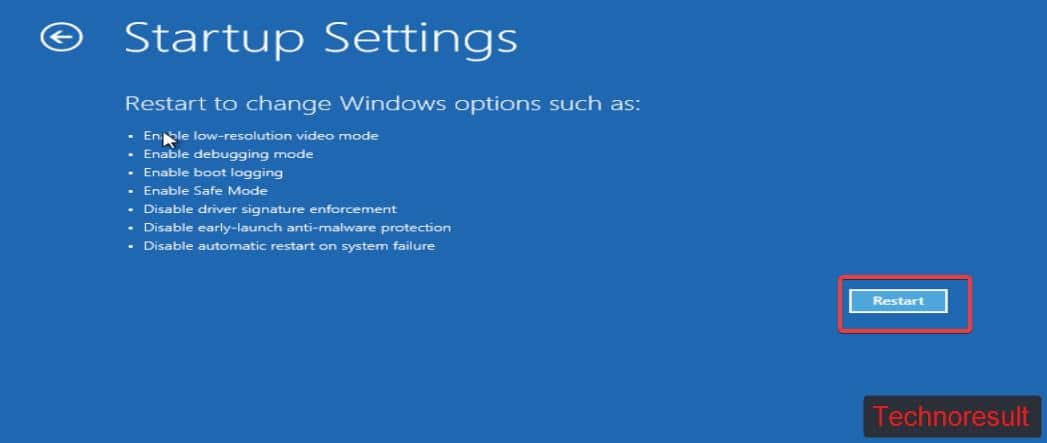
Now the system will restart and give you the option to load safe mode, Hit Enter button to restart your computer without safe mode.
Read Also:
How to Add Safe Mode to Windows 11 Boot Menu?
How to Boot into Safe Mode Using Command Prompt?

