Cisco Systems VPN Client is a software application for connecting to a virtual private network. The client makes remote resources of another network available in a secure way as if the user were connected directly to that “private” network. On July 29, 2011, Cisco announced the end of life of the product. No further product updates were released after July 30, 2012, and support ceased in July 29, 2014. The Support page with documentation links was taken down on July 30, 2016, replaced with an Obsolete Status Notification The client is normally distributed with an executable installer and profile file(s), which contain all the necessary information to easily connect to a network. A .pcf (or profile configuration file) is used to configure the VPN client for connecting to the remote server.
How to Install cisco VPN client?
For installing Cisco VPN client in Win 10 you need to download two software
- cisco VPN client setup
- Sonic firewall setup
Sonic Firewall Installation
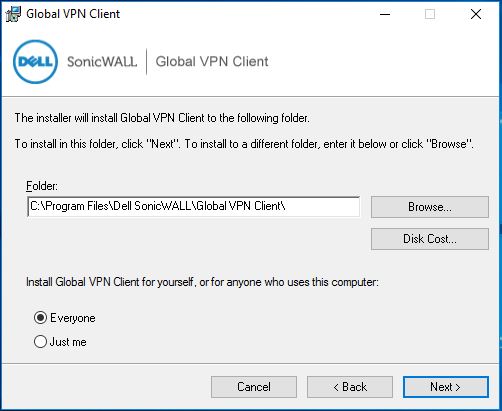
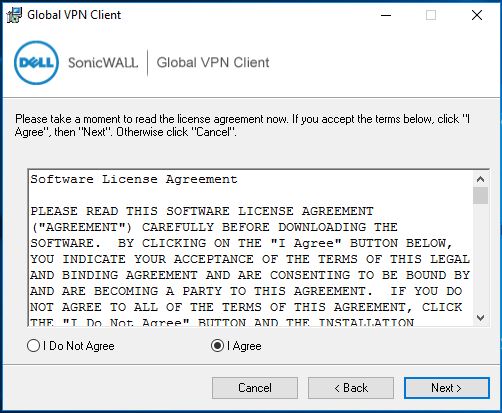
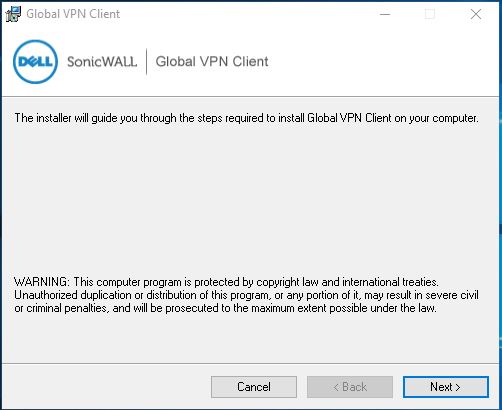
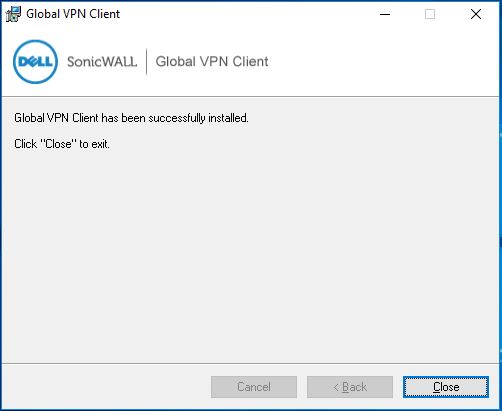
Once you downloaded the ZIP file extract it to the local desktop. First you have to install the sonic firewall, If we directly try to install the cisco VPN setup you will get a fatal error. Right Click on GVCSetup64_4.9.9.1016_EN Setup file and Right click and give Run as Admin It’s a normal setup only Follow the screen shots.
Cisco VPN installation.
After the sonic firewall installation Install the cisco VPN. Follow the screenshot.
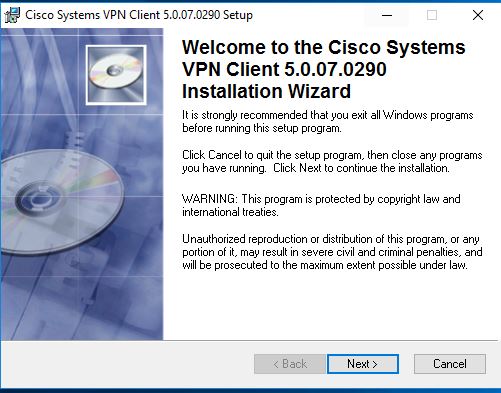
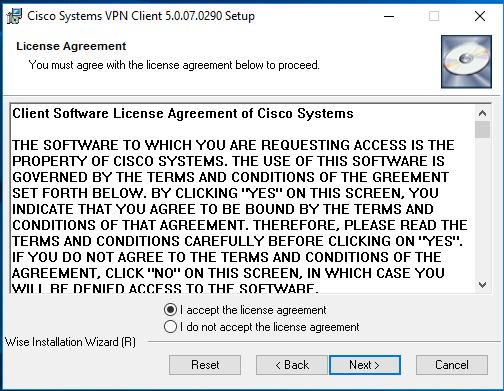
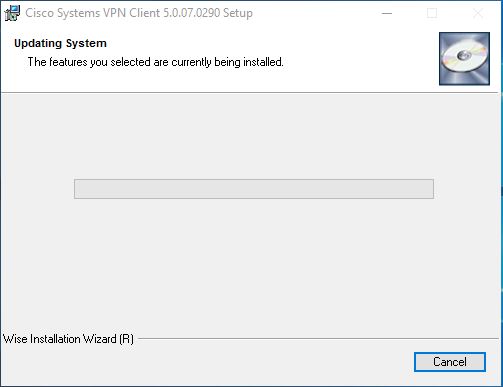
Modifying the Regedit.
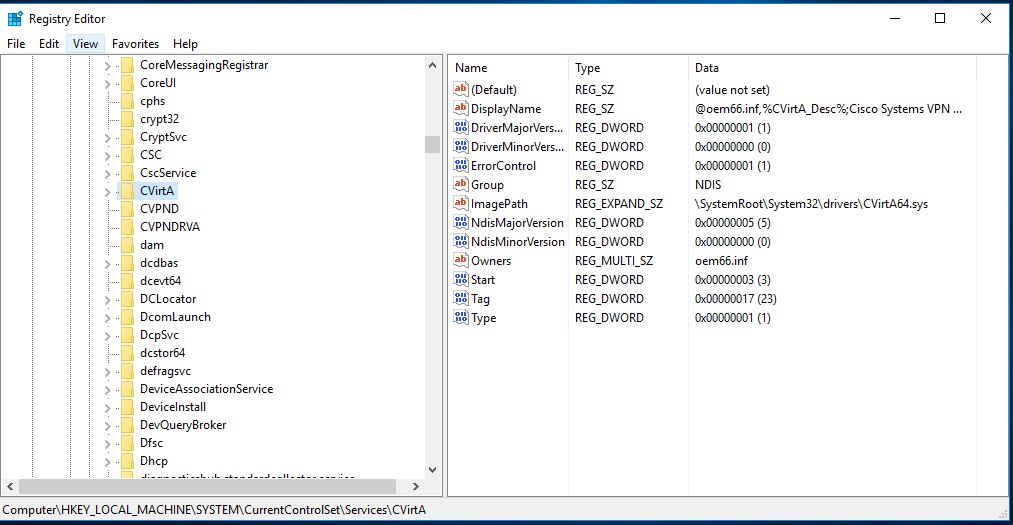
After the Cisco VPN install the regedit modification is required. Open Regedit Browse to the registry key HKLM\SYSTEM\CurrentControlSet\Services\CVirtA
Click on CVirtA on the right-hand side you can see the Display Name
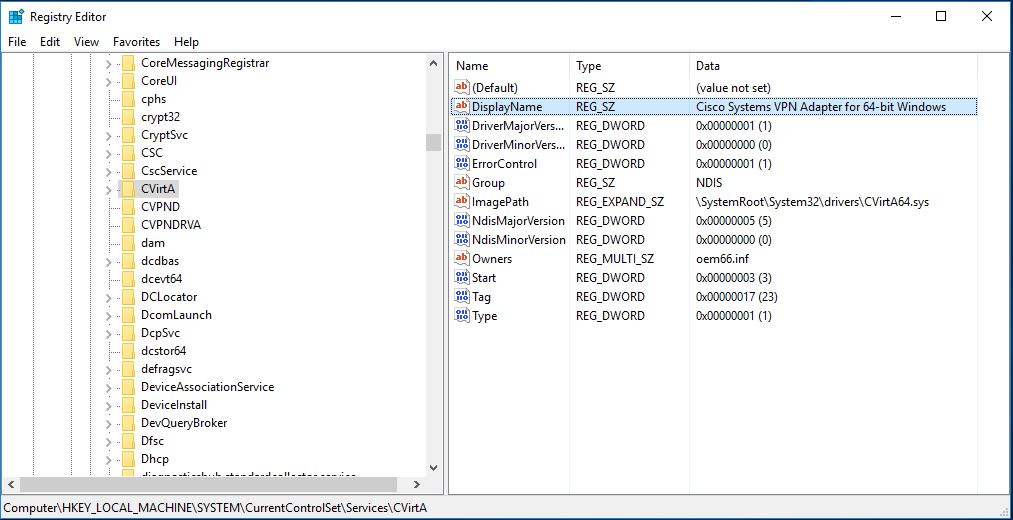
Right-click on that and modify the key @oem66.inf,%CVirtA_Desc%;Cisco Systems VPN Adapter for 64-bit Windows–>Cisco Systems VPN Adapter for 64-bit Windows
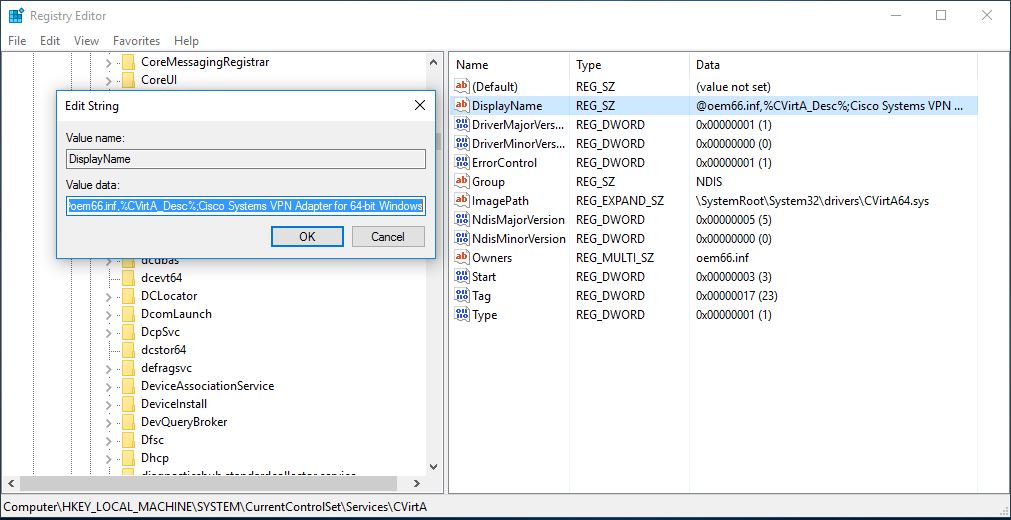
Modify the key and save it. Now restart the machine.
Read Also:
Fix Connection to the Remote Computer Could Not Be Established VPN Error in Windows 11/10


