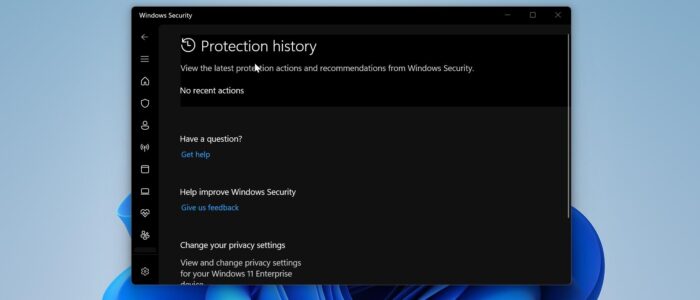
Windows Security Protection History is a place where Windows will store all security-related events and actions that have occurred. It’s a log of all security-related events that includes a record of virus and threat detections, firewall events, device performance and health reports, and other security-related events. Security Protection history is a useful tool to monitor and manage the security of Windows devices. Using this log history, you can review and analyze the security events on your computer, based on this you can take action to resolve any security relates issues. You can access Protection History through the Windows Security app, you can view the history of security events by opening the Windows Security app > Virus & threat protection > Protection history. Sometimes you may notice Protection history empty, it may be due to several reasons, this article will guide you to fix Windows Security Protection History empty in Windows 11/10.
Fix Windows Security Protection History empty:
Follow the below-mentioned recommended resolution methods to fix this issue.
Solution 1: Reset Windows Security app
Open Windows Settings by pressing Windows + I and click on Apps.
Under Apps, click on Installed apps.
Scroll down and look for Windows Security app.

Click on Windows Security and choose Advanced options.
Under Advanced options look for Reset option and click on Reset.

Once you resent the application, launch Windows Security and check whether the Protection history is showing or not.
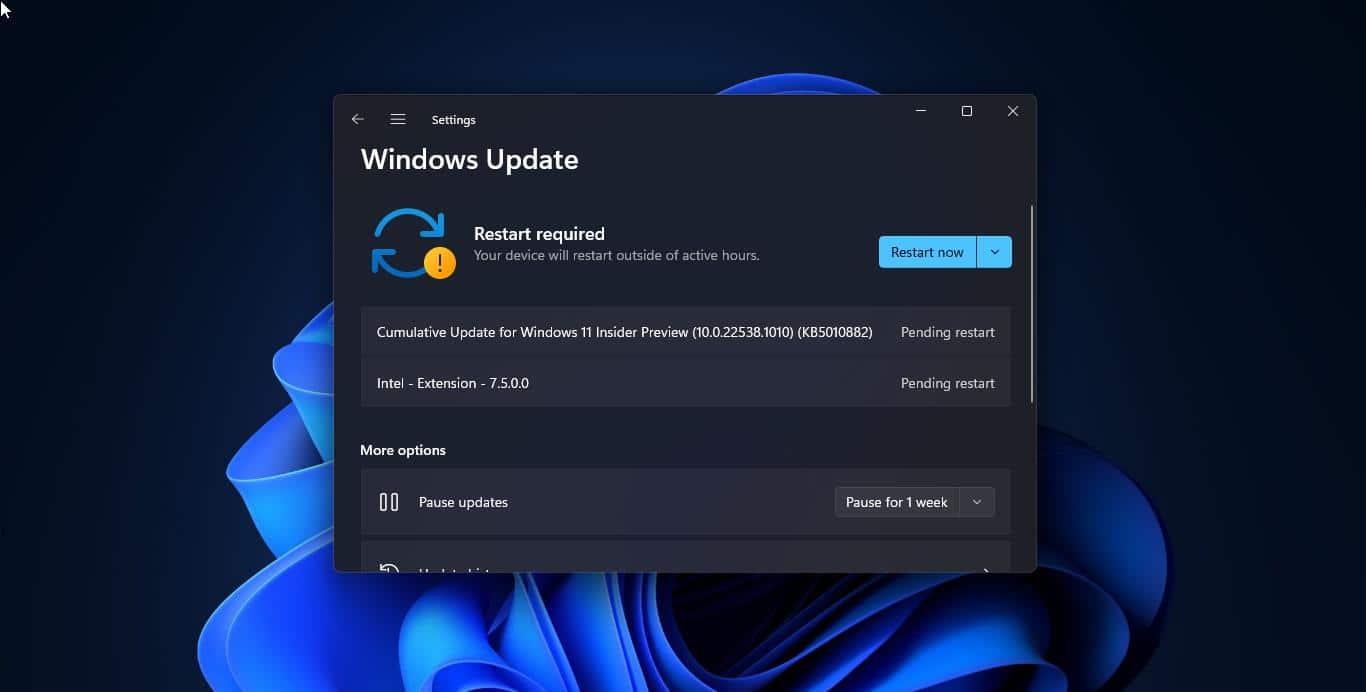
Solution 2: Check for Windows Update
Make sure your Windows Operating system is up to date with the latest security patches and updates.
Open Windows Settings by pressing Windows + I and click on Windows Update.
Check if there are any pending updates by clicking on the Check for updates option.
If there are any updates windows will download and install automatically. Restart the system once to install the updates fully.
Solution 3: Restart Windows security services
Open Run command by pressing Windows + R and type services.msc and hit enter, this command will open the Windows Services console.
Next look for Windows Security service, right-click on it, and choose Restart.

Solution 4: Clear Windows Security Cache
Open Run command by pressing Windows + R and type WSReset.exe and hit enter.
This will clear the Windows Security cache and it may resolve the issue.
Solution 5: Allow Windows Security to communicate through Windows Defender Firewall
Open Control Panel and click on Windows Defender Firewall.
From the left-hand side click on Allow an app or feature through Windows Defender Firewall.

Look for Windows Security and make sure the app is allowed. Make sure the Windows security is checked, if not check and click on OK.

Read Also:
Fix Windows Security icon missing from the System Tray in Windows 11/10
Fix The Windows Security Center Service can’t be started
How to Disable Real-time Protection in Windows Security?