Windows PowerShell is a powerful tool that is developed by Microsoft for purposes of task automation and configuration management. This is based on the .NET framework and it includes a command-line shell and a scripting language. Windows PowerShell is designed especially for system administrators. By default, Windows PowerShell is installed in every Windows version, starting from windows 7SP1 and Windows Server 2008 R2 SP1. Over the years Microsoft released many versions of PowerShell, Windows PowerShell was built on the .NET Framework and only worked on Windows systems. But Recently Microsoft released PowerShell 7.0 which is generally available to download, and mainly notable for being a cross-platform Scripting tool. So we can use PowerShell in Windows, Linux, and macOS, this is the main difference between PowerShell 7 and PowerShell 5.1, PowerShell 7.0 is based on the open-source .Net core 3.1, and Microsoft announces that the near time goal is to base it on a coming open-source and cross-platform .NET 5 release, This release is expected to roll out in November. This article will guide to install PowerShell 7.0 in windows 10.
What is New in PowerShell 7.0?
- In this release, Microsoft introduced a number of new features, and few features included and shortlisted below.
- In this features, Microsoft included New Operators
– Ternary operator: a ? b : c – Pipeline chain operators: || and && – Null coalescing operators: ?? and ??=
- A simplified and dynamic error view and Get-Error cmdlet for easier investigation of errors
- Pipeline parallelization with ForEach-Object –Parallel
- A compatibility layer that enables users to import modules in an implicit Windows PowerShell session
- The ability to invoke DSC resources directly from PowerShell 7 (experimental)
- Automatic new version notifications
Find the full list of features and fixes here.
Supported Operating Systems:
- Windows 8.1, and 10
- Windows Server 2012, 2012 R2, 2016, and 2019
- macOS 10.13+
- Red Hat Enterprise Linux (RHEL) / CentOS 7
- Fedora 30+
- Debian 9
- Ubuntu LTS 16.04+
- Alpine Linux 3.8+
Install PowerShell 7.0 in Windows 10:
PowerShell can be download and install in two methods, First method is by MSI package and the other from the PowerShell cmdlet.
Upgrade to PowerShell 7.0:
Open PowerShell in administrative mode, and run the following cmdlet.
iex “& { $(irm https://aka.ms/install-powershell.ps1) } -UseMSI”

This command will directly download the package from GitHub URL based on the Operating system compatibility.
Once the MSI package is fully downloaded then you will get the setup wizard. Just give Next and continue the installation process.

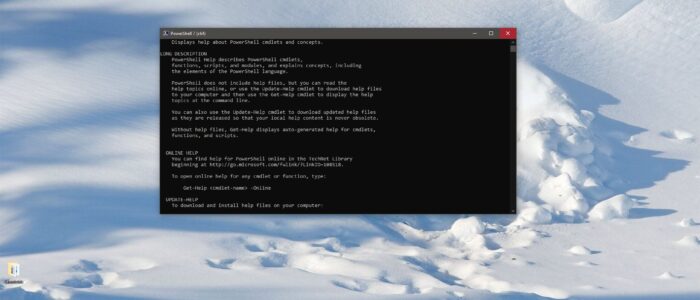
The installation is very simple, once the installation is completed then you can see the shortcut in the start menu, You can also access the PowerShell 7.0 via Run command also,
open run command by pressing Windows + R and type pwsh and hit enter, this command will open the new PowerShell.
Download and Install from GitHub:
You can also download the installation package from GitHub Release page.

Open GitHub Release Page and scroll down the Assets and choose your operating system with suitable architecture. And click to download. The installation process is very easy. This creates shortcuts on the Desktop and the installed location is C:\Program Files\PowerShell\7 for windows.