In today’s dynamic business environment, employee transitions are very common in any organization. However, when a team member leaves the organisation, their digital footprint—especially recurring meetings scheduled in Microsoft 365—and it can create confusion for the existing employees. These recurring meetings may continue to appear in calendars, send out reminders, and occupy valuable meeting slots, often resulting in scheduling conflicts and unnecessary disruptions.
Removing such meetings is crucial for maintaining an organised and efficient workflow. It helps to prevent confusion among current staff, ensures that resources like meeting rooms are allocated appropriately, and upholds a professional image when dealing with clients or external stakeholders. Moreover, clearing outdated calendar events supports data hygiene and compliance with organisational policies.
Why its important to Remove Recurring Meetings Scheduled by Former Employees in Microsoft 365?
When the person created the recurring meeting it will fill the particular time slot,
- Avoids Scheduling Conflicts: If the exit employee Scheduled a recurring meeting for One year on a particular time slot, then that time slot will be reserved for One year, so others can’t create a meeting on that particular time slot. Removing the Recurring meetings Prevents double-booking of resources and time slots.
- Reduces Confusion: Ensures that team members only see relevant, up-to-date meetings.
- Enhances Productivity: Streamlines calendar management, allowing employees to focus on current tasks.
- Supports Data Security: Removes access points that could potentially be misused.
Overview of Steps to Remove Recurring Meetings
Before Proceeding we need to analyse few details of the exit employee, because the process of removing the recurring meetings is depends on their account status. Here we will explore the three common scenarios and guide you through the steps for each scenario in detail.
- Former Employee’s account is Disabled but not deleted
- Former Employee’s account is deleted but the account is in soft deletion period
- Former Employee’s account is permanently deleted
Remove Recurring Meetings Scheduled by Former Employees Whose Account is Disabled
When a former employee’s account is disabled but not yet deleted, their mailbox and calendar are still accessible. This makes it straightforward to manage their scheduled meetings and prevent confusion for the attendees. We can tackle this task using two primary methods: Outlook or PowerShell. Here’s how I get it done.
Method 1: Using Outlook Web App
This is often the easiest method as it allows you to visually access the user’s calendar and see exactly what you are canceling. It’s perfect for handling one-off departures.
Step 1: Grant Yourself Access to the Mailbox
First things first, you need to give yourself permission to manage the former employee’s mailbox.
- Log in to the Microsoft 365 admin center.
- Navigate to the user’s account.
- Under Mailbox permissions, grant your own admin account “Full Access” and “Send As” permissions.
The Send As permission is crucial here. It lets you send the meeting cancellation as the original organizer, which prevents confusion and ensures the meeting is properly removed from attendees’ calendars.
Step 2: Open the Former Employee’s Mailbox
Once the permissions have assigned (this can sometimes take up to 60 minutes), you can open their mailbox directly from your own Outlook.
- Log in to your own account on the Outlook web app.
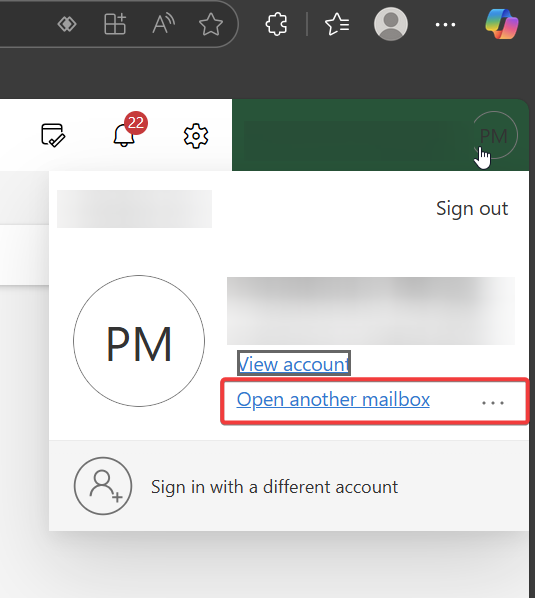
- Click on your profile icon in the top-right corner.
- Select “Open another mailbox” from the menu.
- Type in the former employee’s email address and click Open. Their mailbox will load in a new browser tab.
Step 3: Find and Cancel the Recurring Meeting
Now that you’re in their mailbox, we need to find the meeting which is scheduled by the former employee.
- Click the Calendar icon in the left-hand navigation pane to switch to their calendar view.
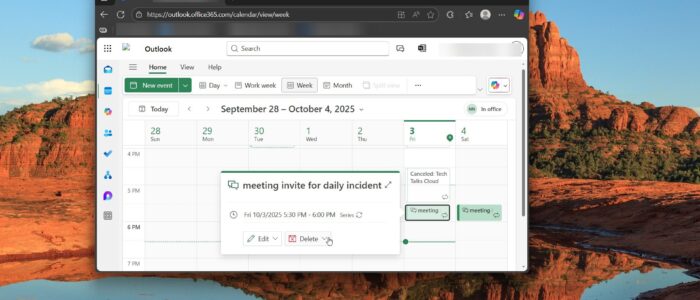
- Locate the recurring meeting series you need to remove. Click on any single event in the series.
- When prompted, make sure to select the option to edit the entire series.
- Click the Cancel button. You will be asked if you want to cancel the entire series. Confirm that you do.
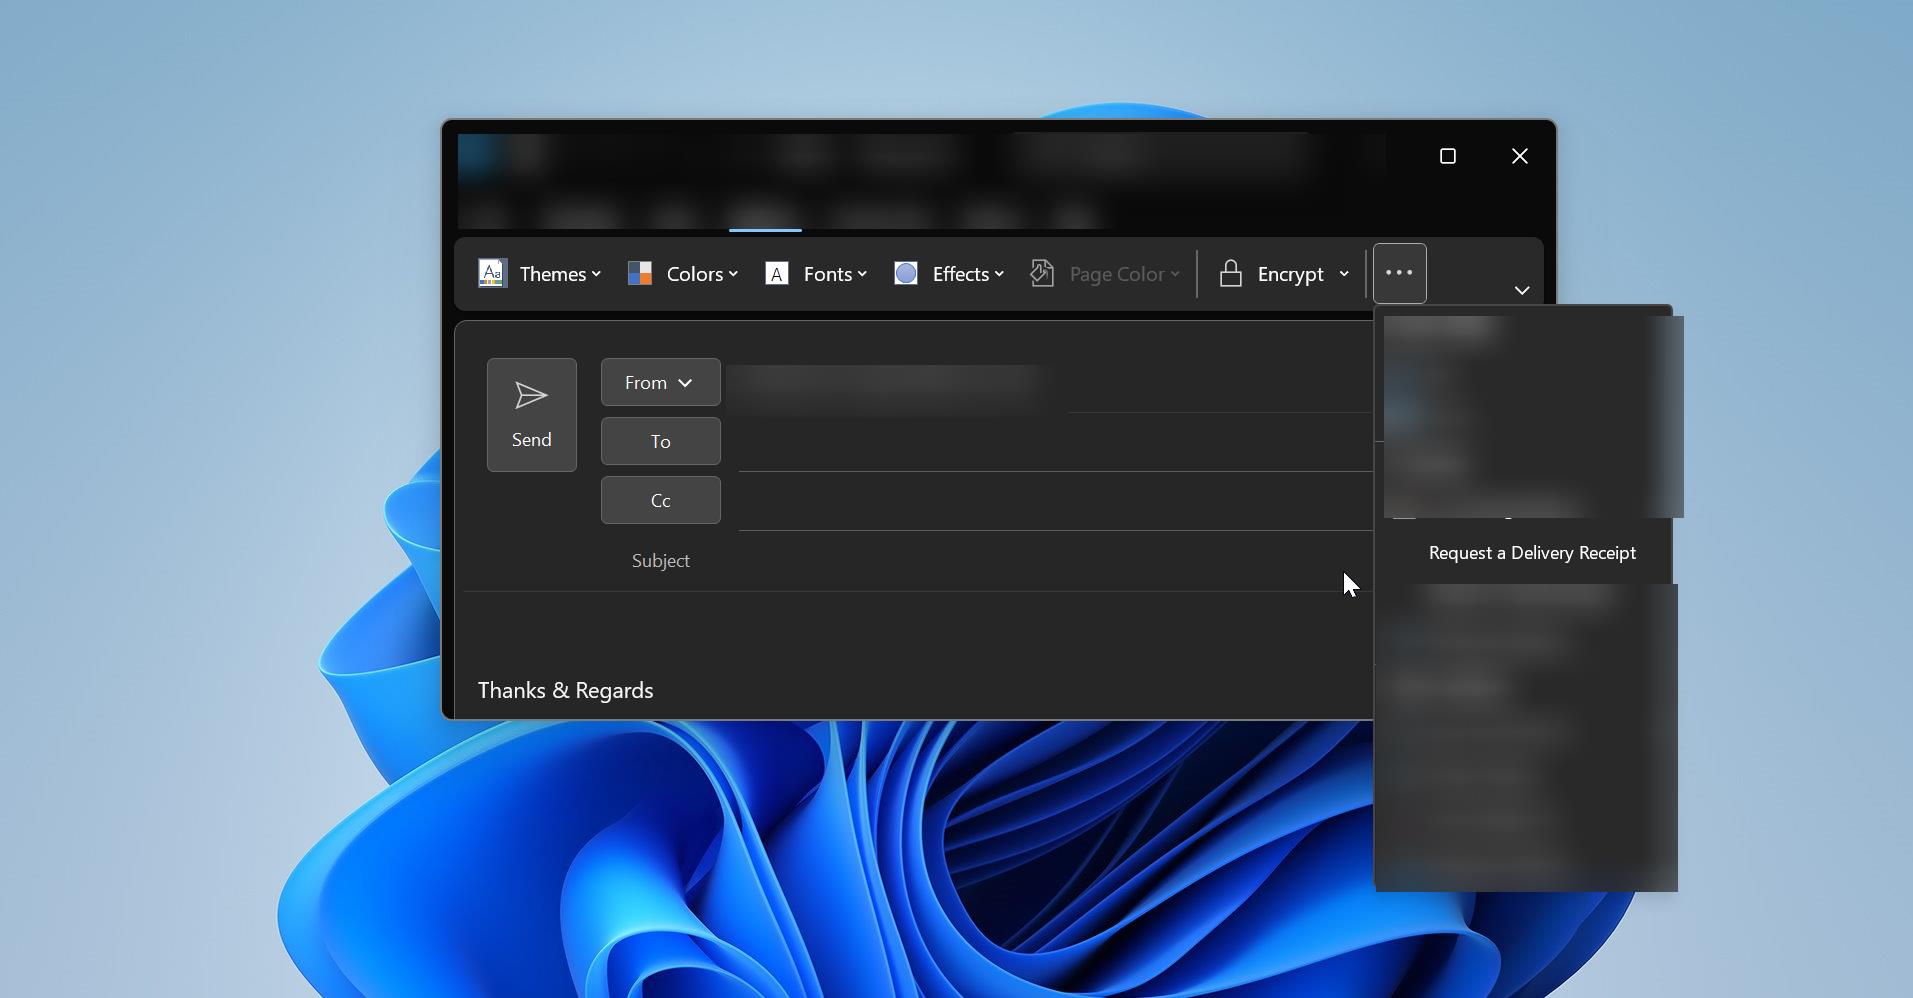
- An email window will pop up. This is your chance to add a note to the attendees, such as, “This meeting is canceled as the organizer is no longer with the company.”
- Click Send.

And that’s it! The cancellation notice will be sent, and the meeting series will be removed from everyone’s calendar.
If the Delegate access is not working for some reasons, then there is one more alternative method to get access to the former employee User account.
- Log in to the Microsoft 365 admin center.
- Navigate to the user’s account.
- And reset the user’s password. Make sure the MFA is disabled.
- Then Login to the user’s account and go to the calendar section and proceed with the above steps and cancel the recurring meetings.
Method 2: Using PowerShell (The Power User Way)
If you prefer using the command line or need to automate this task for multiple users, PowerShell is your best friend. It’s fast, efficient, and gets the job done with just a few commands.
Step 1: Connect to Exchange Online PowerShell
First, we need to open PowerShell and connect to your Microsoft 365 environment. If you haven’t done this before, you may need to install the module first.
Run the following commands one by one, and sign in with your admin credentials when prompted:
Install-Module -Name ExchangeOnlineManagementImport-Module ExchangeOnlineManagementConnect-ExchangeOnlineStep 2: Preview the Meetings You’re About to Cancel
Before we delete anything, it’s always a smart move to preview the changes. We can use the Remove-CalendarEvents cmdlet with the -PreviewOnly switch to see a list of all the meetings that would be canceled without actually doing anything.
In this command, replace the email address with your former employee’s. The QueryWindowInDays parameter tells PowerShell how far into the future to look for meetings. The Maximum window that’s allowed for meeting cancellation is 1825 days (5 years)
Remove-CalendarEvents -Identity "<DisabledUsersUPN>" -CancelOrganizedMeetings -QueryWindowInDays "<Days>" –PreviewOnly
Review the output to make sure you are targeting the correct meetings.
Step 3: Run the Command to Cancel the Meetings
Once you’re confident you have the right meetings, simply run the command again, but this time without the -PreviewOnly switch.
Remove-CalendarEvents -Identity "<DisabledUsersUPN>" -CancelOrganizedMeetings -QueryWindowInDays "<Days>"PowerShell will ask for one final confirmation. Type Y and hit Enter. It will then automatically cancel all organized meetings.
Note: This cmdlet doesn’t cancel appointments or meetings without attendees or resources. Also, it cannot be used to cancel a specific meeting, as it deletes all meetings scheduled by the user within that time frame.
Remove Recurring Meetings Scheduled by Former Employee’s account is deleted but the account is in soft deletion period
In some cases, the former employee’s account may have already been deleted. Fortunately, most organizations have a retention policy in place. By default, Microsoft 365 places deleted accounts into a “soft-deleted” state for 30 days before they are permanently removed. During this retention period, you can easily restore the user’s account with all its data intact, including the calendar. Once the account is restored, you can simply follow the steps outlined previously to access their calendar and cancel the meeting invitations.
Follow the steps below to restore a deleted user’s account.
To Cancel the recurring meetings scheduled by Former Employee whose account is already deleted, first you need to recover the deleted user’s account. Make sure you have the admin previlege before proceeding with the steps.
- Log in to the Microsoft 365 admin center with your administrator credentials.
- In the left-hand navigation menu, navigate to Users > Deleted users.
- You will see a list of all accounts currently in the soft-deleted period. Find and select the user you need to restore.
- Click the Restore button that appears at the top of the panel.

- A window will pop up with restoration options. You will need to decide on the password settings (auto-generate or create one).
- Crucially, ensure you assign a license to the user during the restoration process. An unlicensed user will not have an active mailbox, which is necessary for accessing their calendar.
- Click Restore. Once the process is complete, the user will be moved back to the Active users list.

Now that the account is active again, you can proceed with the steps from the Previous method: grant yourself Full Access and Send As permissions to their mailbox, then use either Outlook or PowerShell to cancel the recurring meetings.
What if You Restored the User Without a License?
No problem! If you already restored the user but forgot to assign a license, you can easily add one afterward.
- In the Microsoft 365 admin center, go to Users > Active users.
- Find and click on the name of the restored user. A fly-out pane will open on the right side of the screen.
- At the top of this pane, select the Licenses and apps tab.
- Under the Licenses section, you will see a list of available licenses. Check the box next to the one you want to assign.
- Click Save changes.
It may take a few minutes for the license to be applied and for the user’s mailbox to become fully active. After that, you’ll be all set to access their calendar and cancel those meetings.
Remove Recurring Meetings Scheduled by Former Employee’s account is permanently deleted
If a former employee’s account has been deleted and it’s exceeded more that 30 days of retention period, then it becomes permanently deleted. In this case recovering the user account is impossible, and there is no way to access the user’s mailbox directly. To resolve this, we have to use the “New-ComplianceSearch” cmdlet to delete the recurring mettings. Before Proceeding make sure you meet the pre-requisites to use the Complaince search cmdlets.
Prerequisites:
- Administrator Access: Make sure you have a Global Administrator access, if you don’t have Global admin, get the eDiscovery Manager role.
- eDiscovery Permissions: Your account must be a member of the eDiscovery Manager role group in the Microsoft Purview compliance portal. This is necessary to create and manage the search.
- Mailbox Purge Permissions: To delete the search results, your account needs the “Mailbox Import Export” role.
- Important: This role is not assigned to any group by default. You must either add this role to the “eDiscovery Manager” role group or ensure your account is a member of the “Organization Management” role group.
- PowerShell Connection: You must be able to connect to the Security & Compliance PowerShell service. This requires the ExchangeOnlineManagement module to be installed on your computer.
Once you have all the access then you have to connect to the Security and Compliance PowerShell.
First, we need to create the Complaince Search using the following cmdlet to locate the meetings Organized by the former employee. Before Executing the following command replace the “<SearchName>” with a suitable name for the Search and “<UPN>” with the former employee’s User Principal Name.
New-ComplianceSearch -Name "<SearchName>" -Description "Meetings" -ContentMatchQuery '(kind=meetings)(senderauthor= "<UPN>")' -ExchangeLocation All –ForceAfter the Modification execute the above mentioned command and run the following cmdlet to start the Compliance Search.
Start-ComplianceSearch -Identity "<SearchName>"Once you executed this command, wait for some time and run the below cmdlet to ensure whether the search is completed and see how many items been found.
Get-ComplianceSearch -Identity "<SearchName>" | fl Status, Items, SuccessResults
If you see the status is completed, run the following cmdlet to perform a compliance search action to permanently delete the recurring meetings.
New-ComplianceSearchAction -SearchName "<SearchName>" -Purge -PurgeType HardDelete -Force
This “New-ComplianceSearchAction” cmdlet will completely remove the event from the calendar instead of canceling it, and attendees won’t receive any cancellation notification. Using this method you can Remove Recurring Meetings Scheduled by Former Employee’s account is permanently deleted.
Read Also:
How to Recover a Deleted Meeting in Outlook?
How to Disable Teams meeting background Org-wide?
How to add Teams Meetings background Org-Wide?
Fix Unable to create custom meetings in Outlook