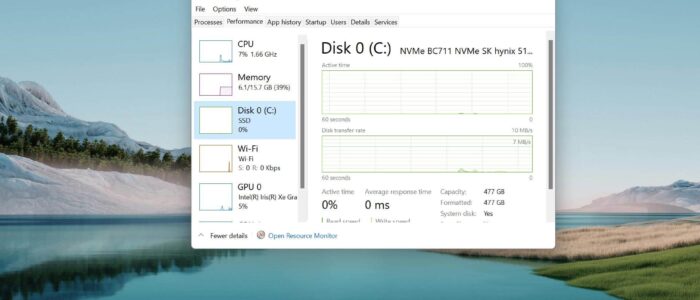
In Computers Hard Disk(HDD) is the most important mechanical component, due to its mechanical nature, HDD will consume the most amount of Power in Laptops and computers. Nowadays modern Laptops are coming with SSD(Solid State Drives) which consume only less amount of Power. A typical mid-range HDD consumes somewhat under 5-10 watts, the Power Consumption of the HDD depends upon the type of drive, capacity, and usage. The hard Disk industry did many upgrades to the HDDs to consume less power, and Windows by default turn off the HDD automatically if the system was idle. If you are thinking that your Laptop HDD is consuming more power then you can turn off the HDD during system idle. This article will guide you to Stop the Power Consumption of Hard disk after idle time in Windows 11.
Stop the Power Consumption of Hard Disk after idle time:
In Windows 11 you can Stop the Power Consumption, which means you can turn off the Hard Disk after idle time using two different methods. Follow the below-mentioned methods to turn off the Hard Disk.
Open the Run command by pressing Windows + R and type powercfg.cpl and hit enter. This command will open the Power Options.
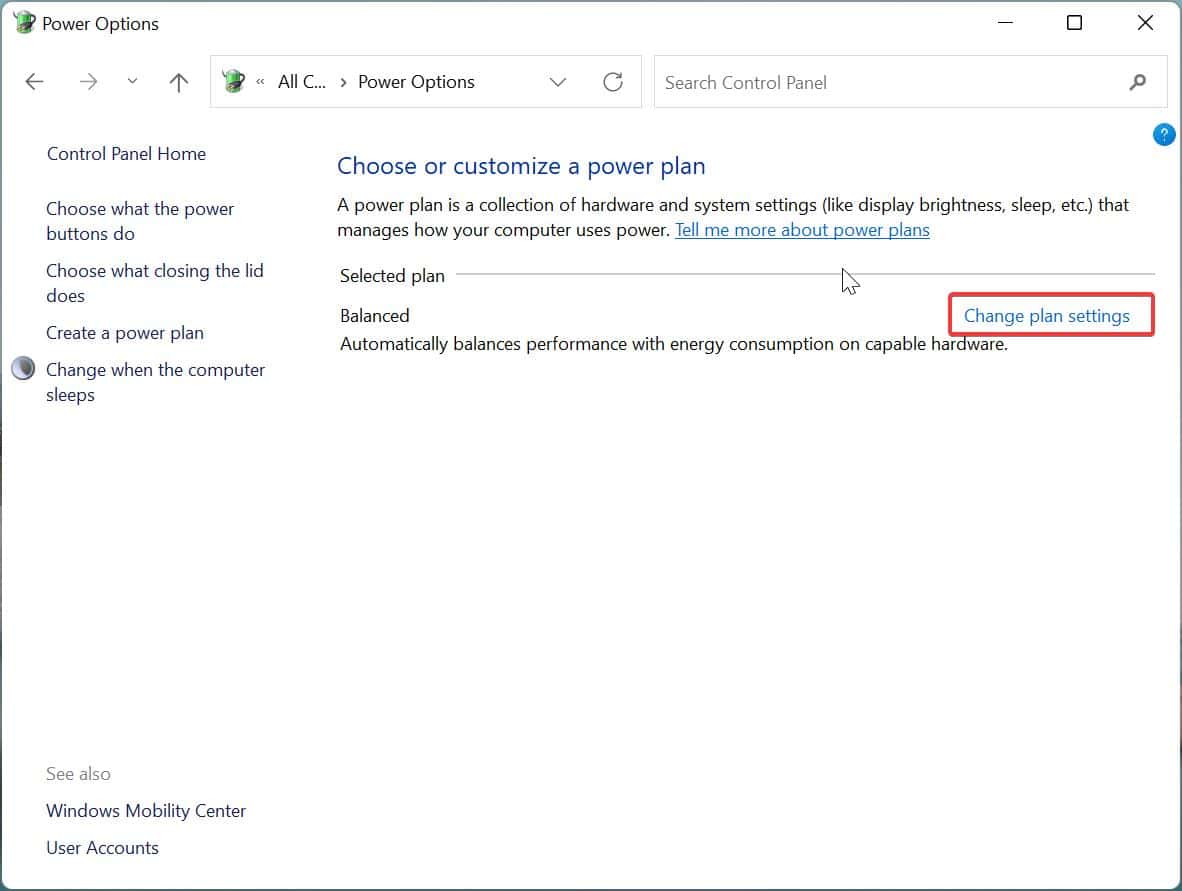
Next click on Change Plan Settings.
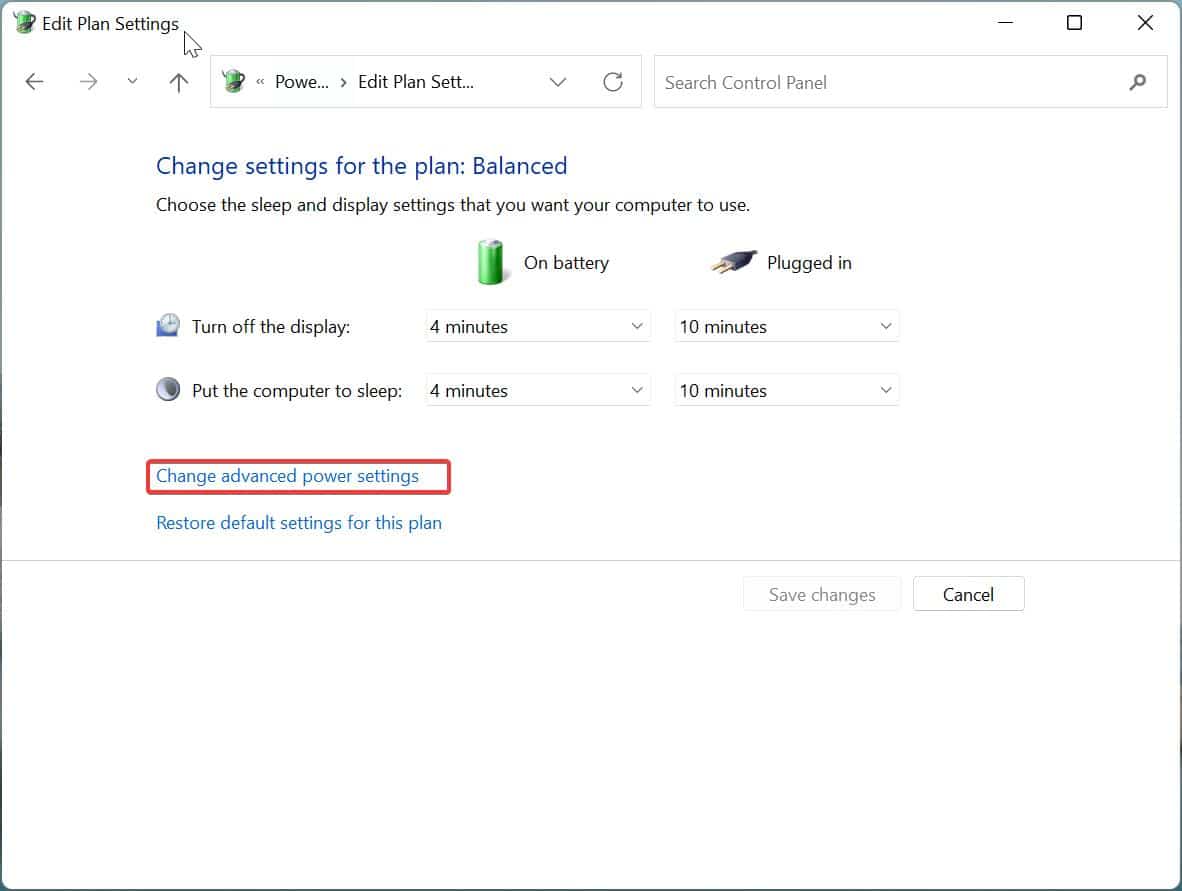
On the next screen, click on Change Advanced Power Settings.
Under Power Options, Expand Hard Disk, under Hard disk you can see two options Turn off hard disk after, on battery (Minutes) and Plugged in.
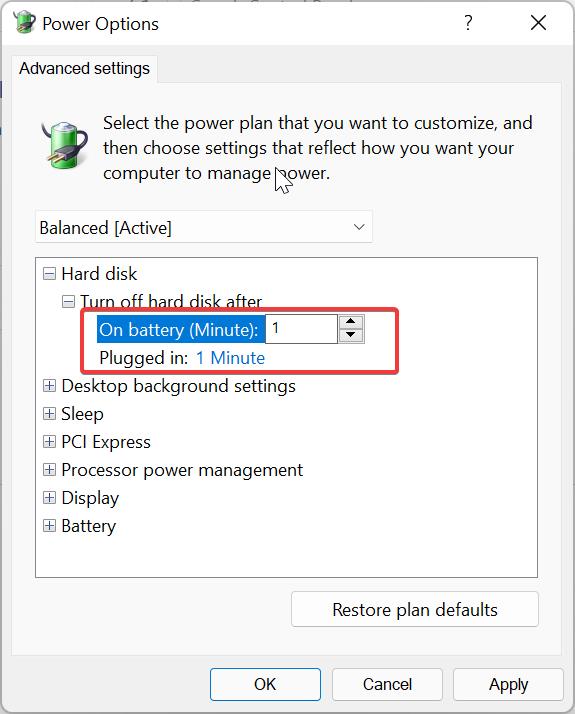
Here you can set the Minutes, you can increase or decrease the minutes. So that after particular minutes of time the HDD will automatically turned off.
Click on Apply and OK.
Method 2: Turn off Hard Disk Using Command Prompt:
In this method, we are going to use Powercfg command to change the Power Settings. Powercfg command allows you to create, edit, and delete power planes without using the control panel. It nearly allows you to manage almost all the aspects of power plans. Mainly it is used to control the hardware-specific configuration that are not configurable through the control panel. You can run powercfg from an elevated command prompt.
Open the Command prompt in elevated mode, Search for the command prompt right-click on it, and choose Run as Administrator.
Now Copy-paste the following command and hit enter.
powercfg -change -disk-timeout-dc 0This command will turn off the HDD On Battery after idle time, here you need to change 0 with the number of minutes you like to disable the HDD after idle time.

Next, Execute the following command and hit enter.
powercfg -change-disk-timeout-ac-0This command will turn off the HDD On Charger Connectivity after idle time, here you need to change 0 with the number of minutes you like to disable the HDD after idle time.
After Executing these commands, close the command prompt and restart your system once. Now your computer will turn off the HDD after the system is idle, this will save the Power Consumption of your laptop battery. You can use this method to save the Power Consumption of the Laptop and to increase Battery life.
Read Also:
How to Check Hard Drive RPM in Windows 10?
How to Check SSD speed using Command Prompt in Windows 11/10?

