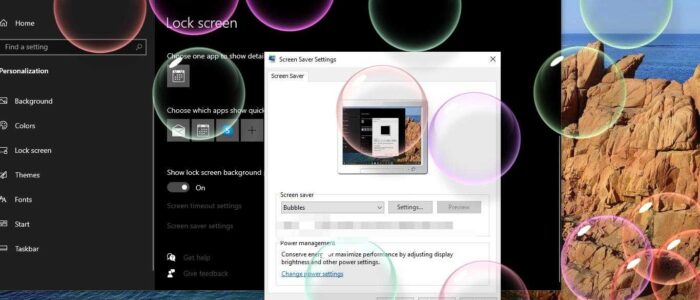
Screensaver is a program that is used to blank the screen or fills it with moving images or patterns when the computer has been idle for a long time. Actually, the Screensaver’s main purpose is to prevent phosphor burn-in on CRT, plasma, and OLED computer monitors. The Modern LCD displays came along with new technologies and it reduced the burn-in and also these monitors offer superior image quality, and the modern laptops and computers made screensaver useless. But still, some companies use screensaver to display their company logo and for other purposes. If you are setting the screensaver for then you need to enable password protection. Because Screensavers are often set up to offer a basic layer of security, by requiring a password to re-access the device. This article will guide you to Turn on Password Protected Screensaver in Windows 10.
Turn on Password Protected Screensaver:
If you enable the screensaver without password protection, users can directly access the computer easily. And this makes your computer so vulnerable. Follow the steps below to turn on Password Protected Screensaver.
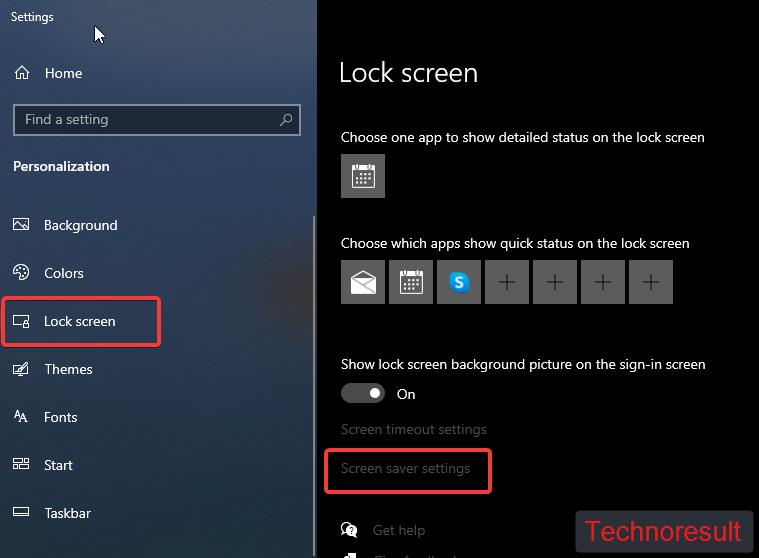
Right-click on your Desktop and choose Personalize and from the left-hand side click on the Lock Screen.
And from the right-hand side under the Lock screen, click on Screen saver settings.
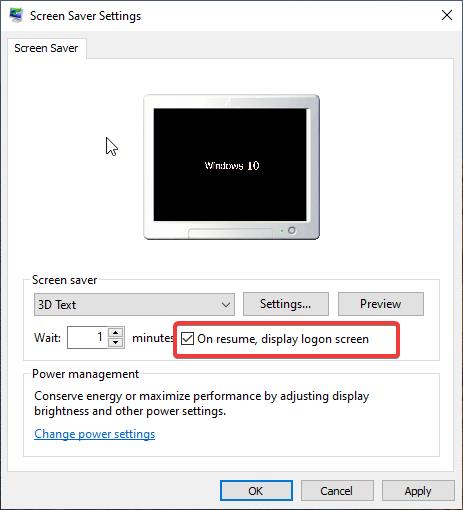
Under Screen saver settings, click on the drop-down menu and choose any screen saver.
Next check on the On resume, display logon screen. Click on Apply and OK.
Now you can wait for the screen saver to appear, and check if the login screen appears.
Read: How to Use Vertical tabs in Chrome using Extensions?

