Windows Update is a free Microsoft service that’s used to provide updates like service packs and patches for the Windows operating system and other Microsoft software. Windows Update can also be used to update drivers for popular hardware devices. Patches and other security updates are routinely released through Windows Update on the second Tuesday of every month – it’s called Patch Tuesday. Sometimes Windows Updates comes with bugs, particularly if you are in Dev Channels. Most of the users will report issues after the Windows update, if you are experiencing any slowness or issue after the Windows update, then uninstalling the updates will mostly fix the issue. There are different ways to uninstall the Updates from your system, this article will guide you to Uninstall Windows Updates using PowerShell in Windows 10/11.
Uninstall Windows Updates using PowerShell in Windows 10/11:
Open Windows PowerShell in elevated mode and type the following command.
wmic qfe list brief /format:table

This command will list out all installed updates, Now type the following command and hit enter.
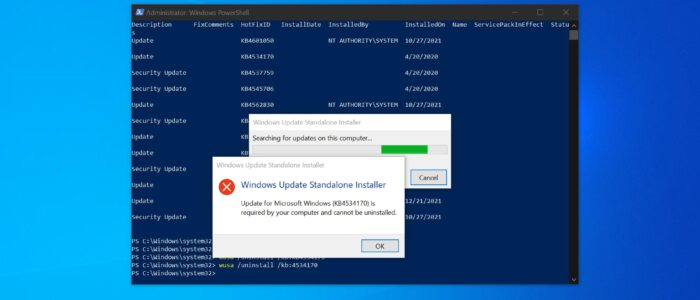
wusa /uninstall /kb:updateID

Replace the UpdateID with the actual KB Updated ID, from the list and then hit enter. This command will uninstall the Update.
Once the uninstallation is done, restart the system once.