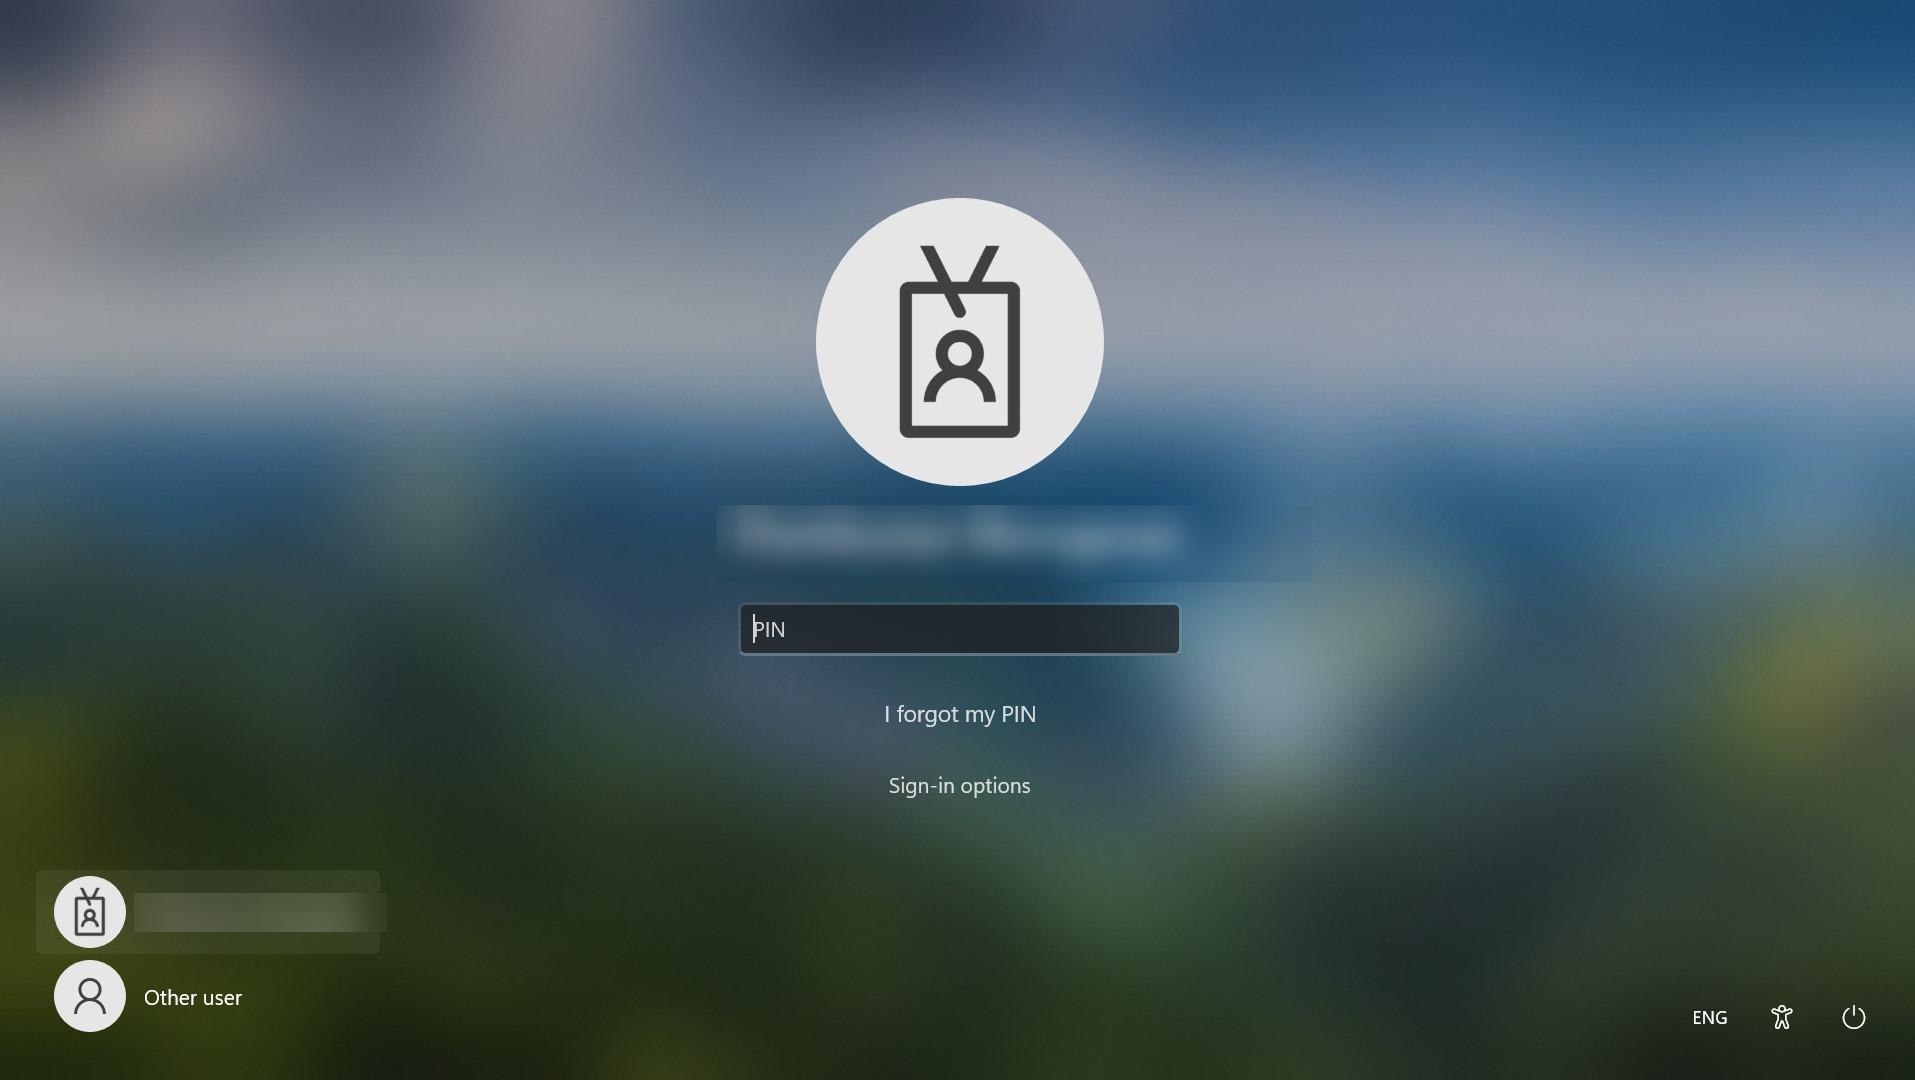
Windows will automatically Lock your computer after you have been inactive for over a minute. This time is called as Lockout Time. Locking your computer keeps your files safe while you are away from your computer. Locking your computer is always a good habit to follow, A locked computer hides and protects programs and documents, and will allow only the person who locked the computer to unlock it again. To lock a windows computer, you have to press and hold the Windows Logo key on your keyboard and press the L key. This key combination will lock your computer. Windows + L Another way to Lock your computer is from the start menu you can click on the start menu and click on the Profile Picture; there you can see the Lock option. Clicking on this Lock Option will Lock your computer immediately. Or you can leave your system idle for over a minute, this will automatically lock your computer. Windows will allow you to increase or decrease lockout time, this article will guide you to Set Lockout time to Automatically Lock Computer using different methods.
Set Lockout time to Automatically Lock Computer:
In Windows 11/10 you can set the Lockout time to automatically lock your computer using three different methods. Also, find the method below to set lockout time using Registry Editor.
Method 1: Using Screen Saver Settings:
Open Windows Settings by pressing Windows + I and from the left-hand side click on Personalization and from the right-hand side click on Lock Screen.

Under the Lock Screen option, click on the Screen saver.

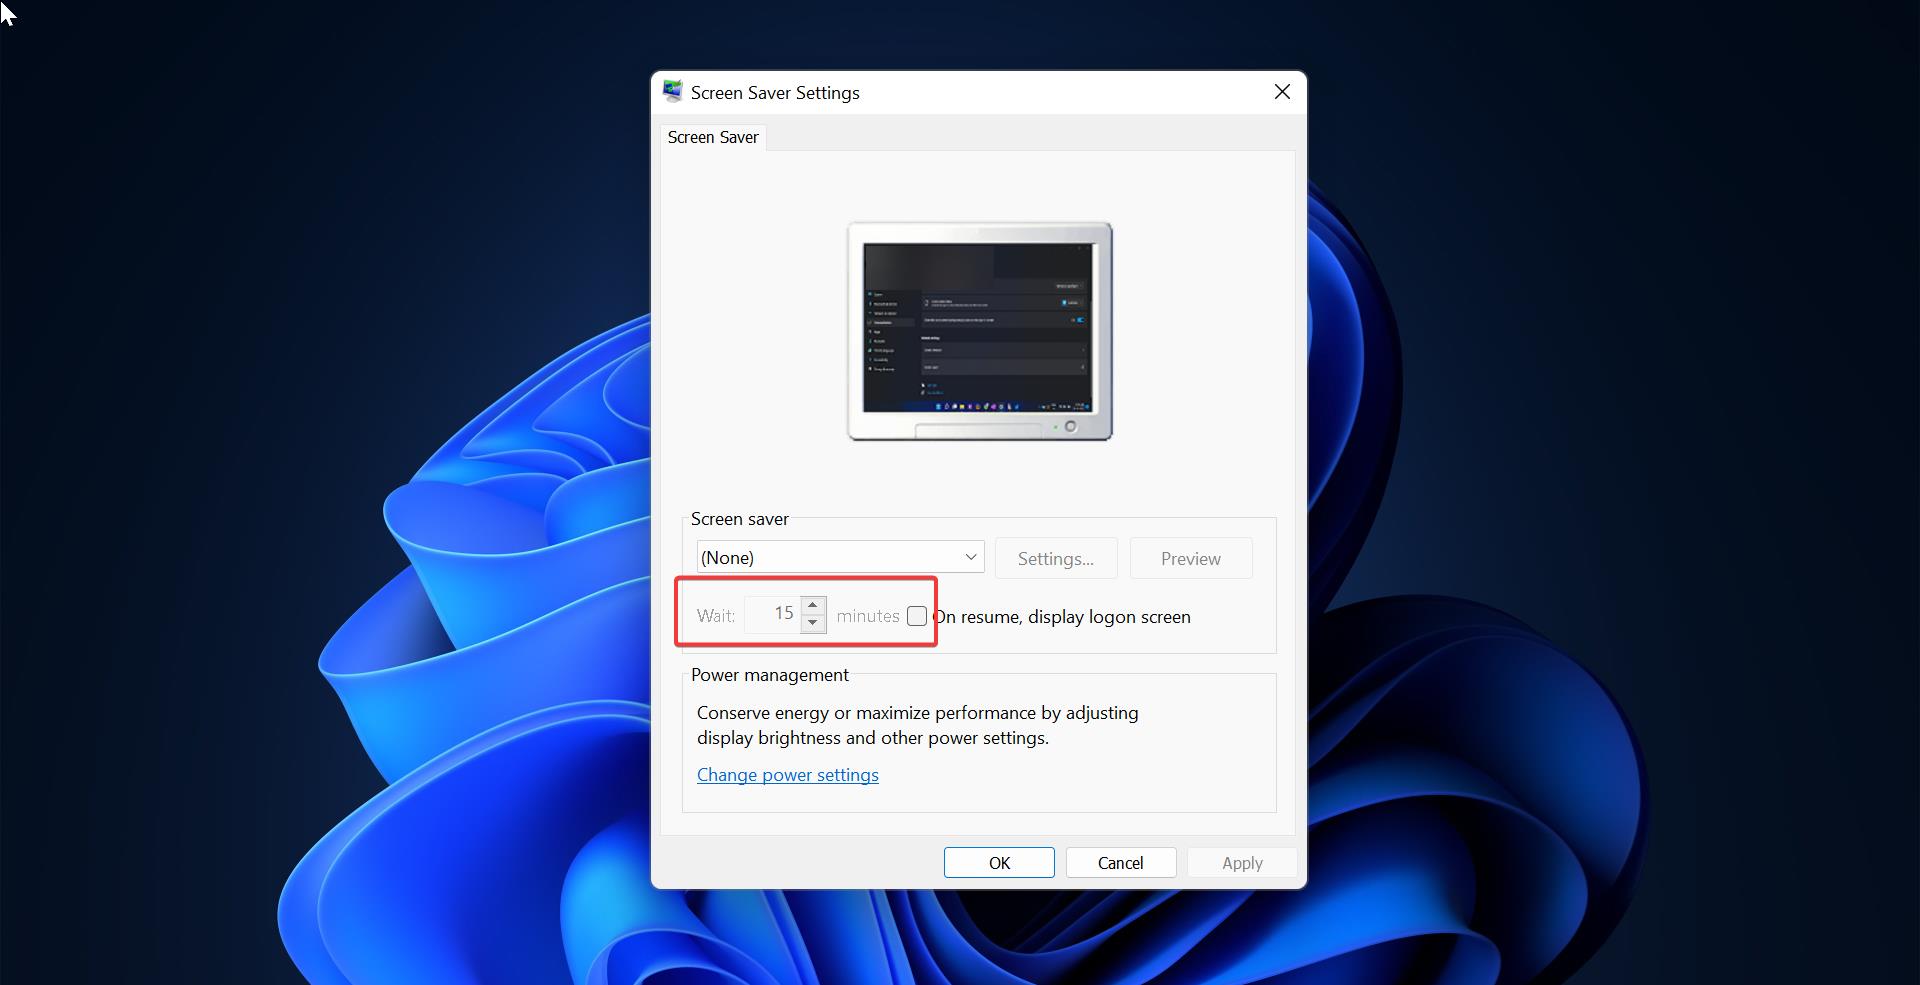
Under the Screen saver setting, just increase or decrease the “Wait” time. You can’t decrease the value below 1 minute.

Next, click on OK.
Method 2: Using Local Security Policy:
Open Run command by pressing Windows + R and type Secpol.msc and hit enter, this command will open the Local Security Policy.
Now navigate to the following path.
Security Settings > Local Policies > Security Options > Interactive Logon: Machine inactivity limitFrom the left-hand side click on Security Options and from the right-hand side click on Interactive logon: Machine inactivity limit.

Under Local Security Settings, Set Machine will be locked after time in seconds.

Click on Apply and OK.
Method 3: Set Lockout time to Automatically Lock Computer using Registry:
Open Run command by pressing Windows + R and type Regedit and hit enter, this command will open the Registry Editor Console.
Navigate to the following path.
Computer\HKEY_LOCAL_MACHINE\SOFTWARE\Microsoft\Windows\CurrentVersion\Policies\SystemFrom the left-hand side click on System, and from the right-hand side look for the DWORD named “InactivityTimeoutSecs“, if you are not able to find the DWORD, right-click on the System registry key and choose New > DWORD (32-bit) Value, and set the name as “InactivityTimeoutSecs“.
Double click on “InactivityTimeoutSecs” DWORD and set the Lockout time in Seconds.

Click on OK, and close the Registry Editor.
Read Also: