Windows automatically downloads and installs updates, drivers, and hotfixes released by Microsoft based on the Windows Insider channel. There are three different types of channels available in the Windows Insider Program, Dev, Beta, and Release Preview Channel. Dev Channel is for highly technical users and it will get frequent Windows Updates and you can experience all the first releases of the latest features. The Beta Channel is for early adopters and IT professionals and you’ll get Somewhat latest and most stable Windows Build. Under Release Preview Channel you’ll receive stable Windows updates. If you are not signed up for Windows Insider Channel then you’ll receive Stable Windows Updates. If you are using the Windows Insider build of Windows 11 then you’ll receive Windows updates very frequently, if you want you can Pause the Windows updates for a maximum of a Week (7 Days), by default Windows will resume the updates after a Week. If you are in a stable build or you do not have a Windows Insider build of Windows 11, then you can pause the Windows updates for a maximum of up to 5 Weeks (35-Days) by default. If you are using the Windows Insider channel and you want to manually Increase the default pause update days, then use this Windows guide. This tutorial will guide you to Increase Pause Windows Update Days in Windows 11.
Increase Pause Windows Update Days in Windows 11:
Note: Modifying the Registry is risky, and it causes irreversible damage to your OS Installation Follow the steps correctly. Friendly advice Before Modifying Registry Creating Restore Point is recommended.
Open Run command by pressing Windows + R and type Regedit and hit enter, this command will open the Registry editor console.
Now navigate to the following registry path.
HKEY_LOCAL_MACHINE\SOFTWARE\Microsoft\WindowsUpdate\UX\SettingsFrom the left hand side click on Settings registry key and from the right hand side look for the DWORD value FlightSettingsMaxPauseDays.

If you are using Windows Insider preview build then you can find the FlightSettingsMaxPauseDays DWORD under Settings registry key.
If you are not able to find the DWORD then you need to create it manually, right click on Settings registry key and choose New > DWORD(32-bit) Value, and name it as FlightSettingsMaxPauseDays.
Double click on FlightSettingsMaxPauseDays DWORD and modify the value data, Select Decimal and set the value data in days like if you want to increase to 35 days, then enter the value 35 and click on OK.

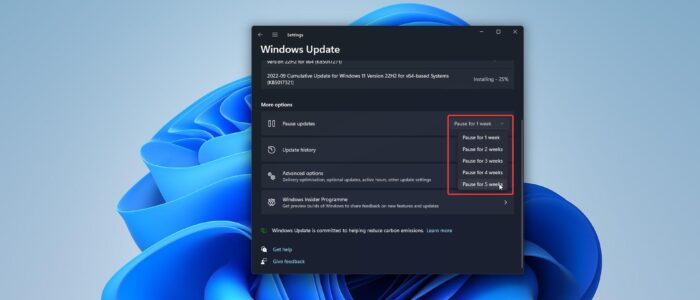
Close the registry editor and restart the system once. After restart just open the Windows update page, under pause update option you can see the option to pause the Windows updates upto 5 weeks.
Read Also:
How to fix Can’t resume Windows updates in Windows 11?