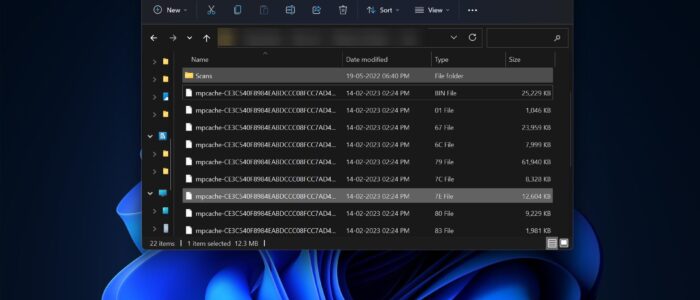
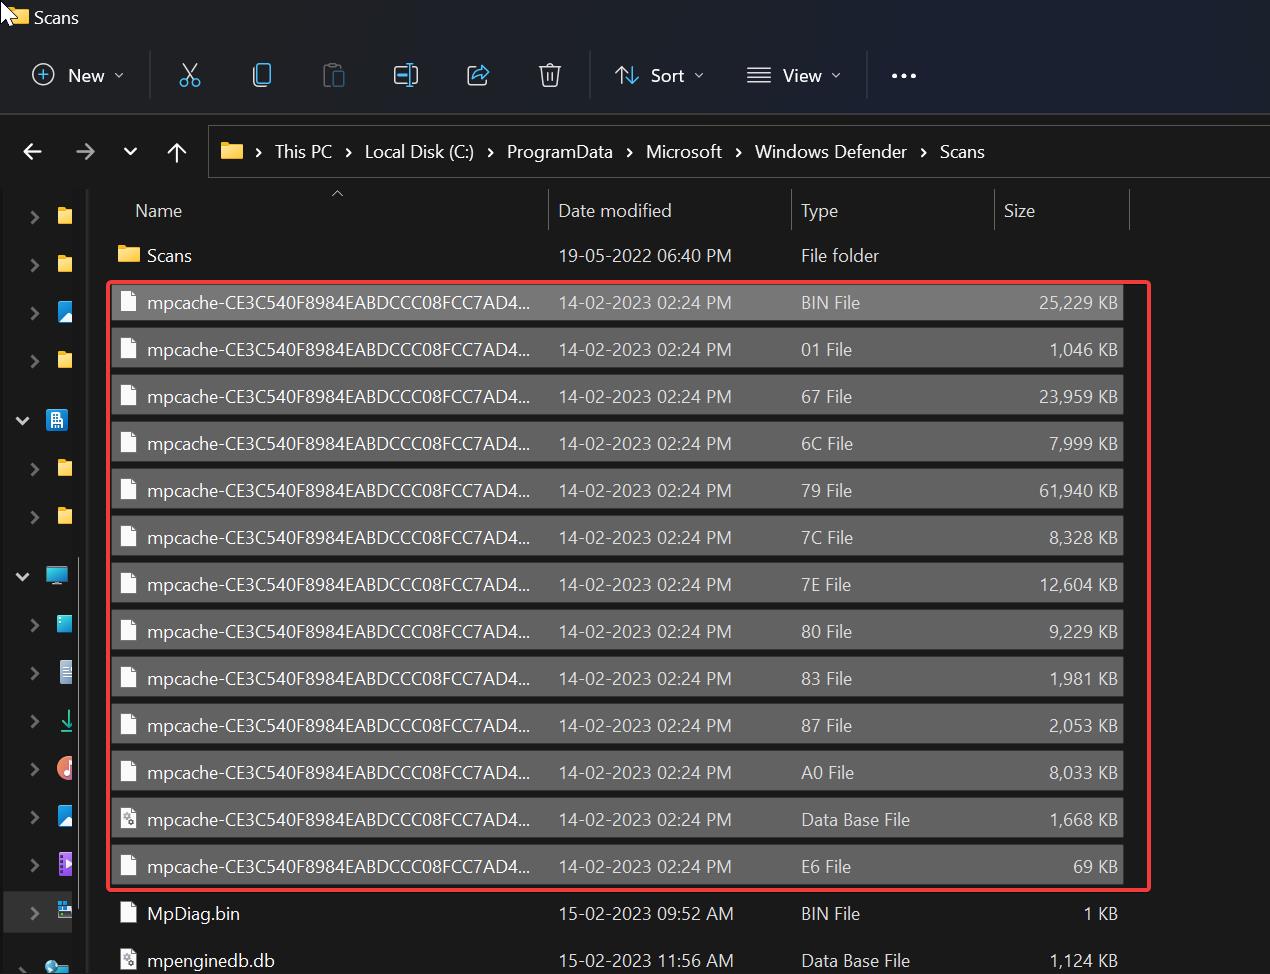
Mpcache.exe is an executable file which is related to Microsoft Defender, mpcache files are the cache files that help Windows defender to run different types of scans. Whenever Defender initiates scan it will generate one cache file in the computer’s particular location. Mpcache files by default stored in the following location C:\ProgramData\Microsoft\Windows Defender\Scans. Over time mpcache files will consume more disk space and reduce your disk space. To increase your disk space you can delete these mpcache files, but you cannot delete the files directly, it will throw you an error like “The action can’t be completed because the file is open in Microsoft Defender Antivirus Service”, some users suggest by using the Disk Cleanup you can delete the cache files, but this method doesn’t work on many occasions. This article will guide you to Delete mpcache files in Windows 11 using different methods.
Delete mpcache files in Windows 11:
In Windows 11 you can use two different methods to delete the mpcache files, In both methods, we need to stop the defender process before deleting the mpcache files.
Method 1: Using Command Prompt
Open the Command prompt in elevated mode, Click on the start menu and search for cmd and right click on it and choose Run as Administrator.
First, we need to disable all Windows Defender tasks, type the following commands one by one, and hit Enter.
schtasks /Change /TN "Microsoft\Windows\Windows Defender\Windows Defender Cache Maintenance" /Disable > NUL 2>&1schtasks /Change /TN "Microsoft\Windows\Windows Defender\Windows Defender Cleanup" /Disable > NUL 2>&1schtasks /Change /TN "Microsoft\Windows\Windows Defender\Windows Defender Scheduled Scan" /Disable > NUL 2>&1schtasks /Change /TN "Microsoft\Windows\Windows Defender\Windows Defender Verification" /Disable > NUL 2>&1
Once you executed all the above-mentioned commands, just copy-paste the following command to delete the Windows Defender mpcache files.
del "C:\ProgramData\Microsoft\Windows Defender\Scans\mpcache*" /s > NUL 2>&1
Next, Open the following file explorer path to verify.
C:\ProgramData\Microsoft\Windows Defender\Scans
Now, all the mpcache files would have been deleted.
Method 2: Using Windows Security
In Manual method, you can’t delete the Windows Defender cache files directly, some users reported that while deleting they received an error like “The action can’t be completed because the file is open in Microsoft Defender Antivirus Service“. To overcome this issue, first we need to stop the Real-time protection and defender process. Follow the below-mentioned steps to delete the mpcache files without any error.
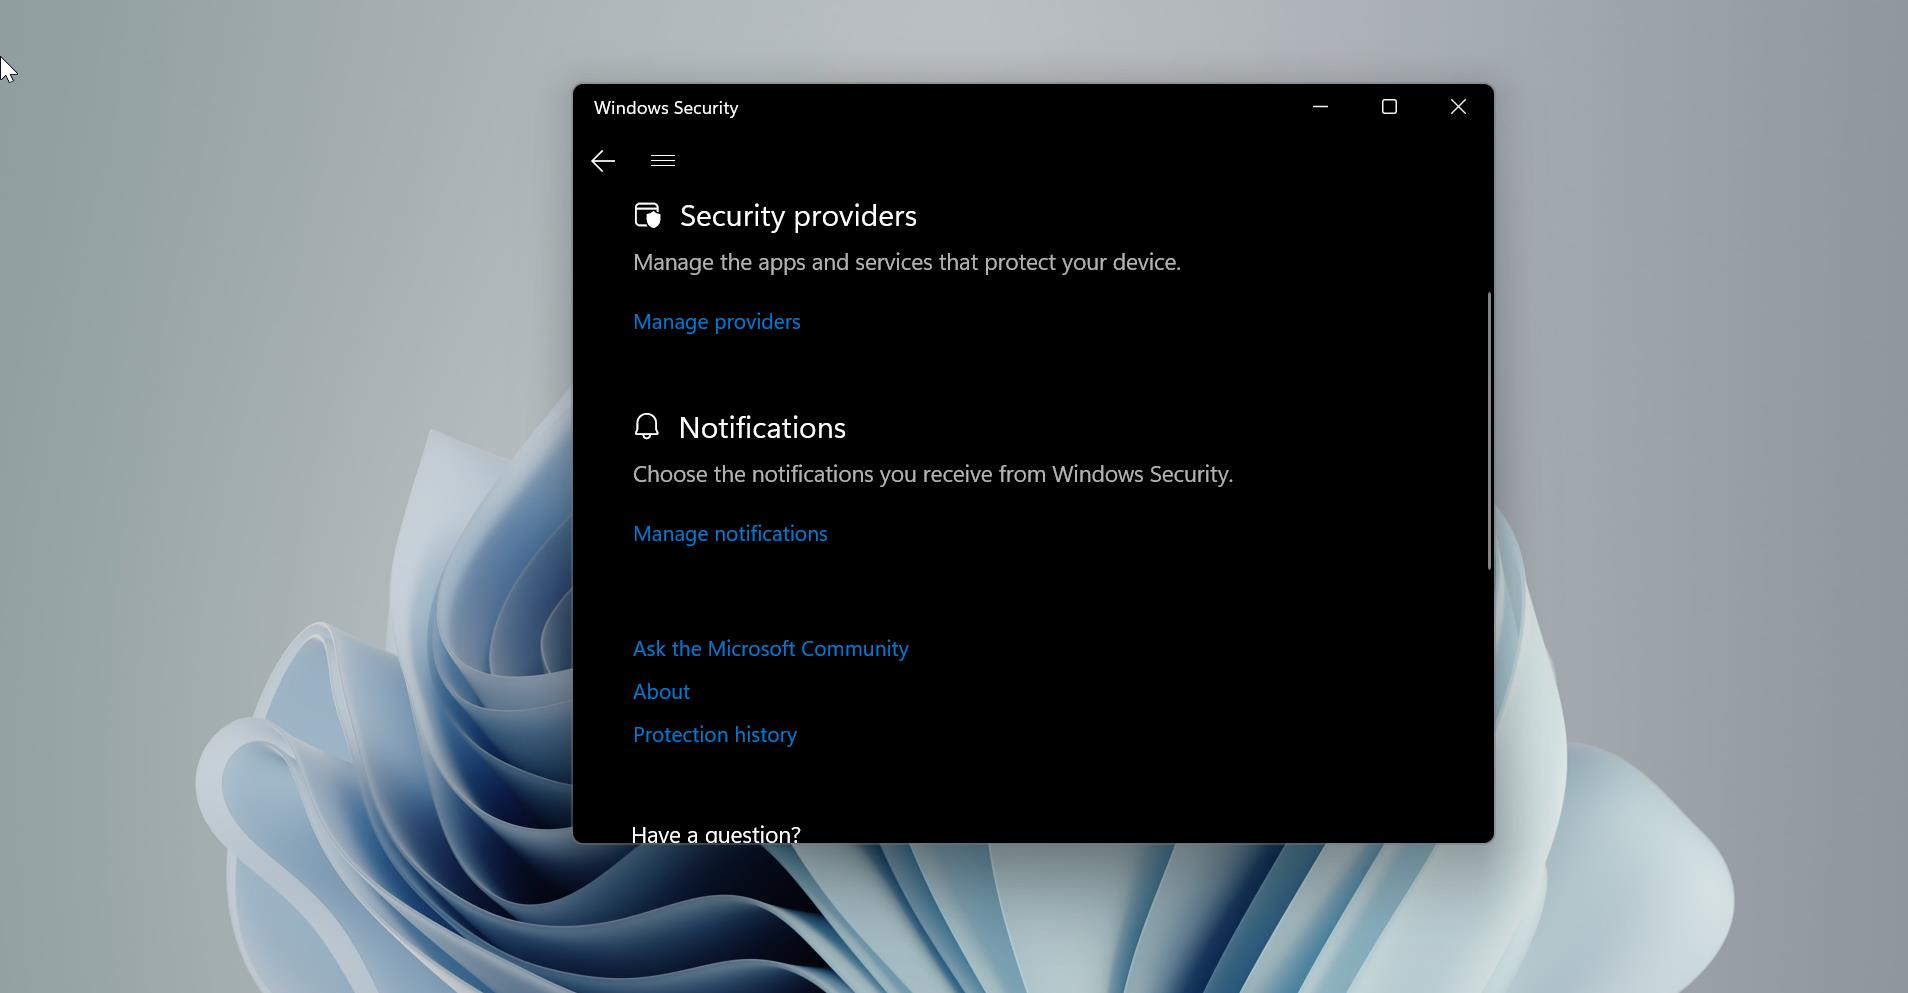
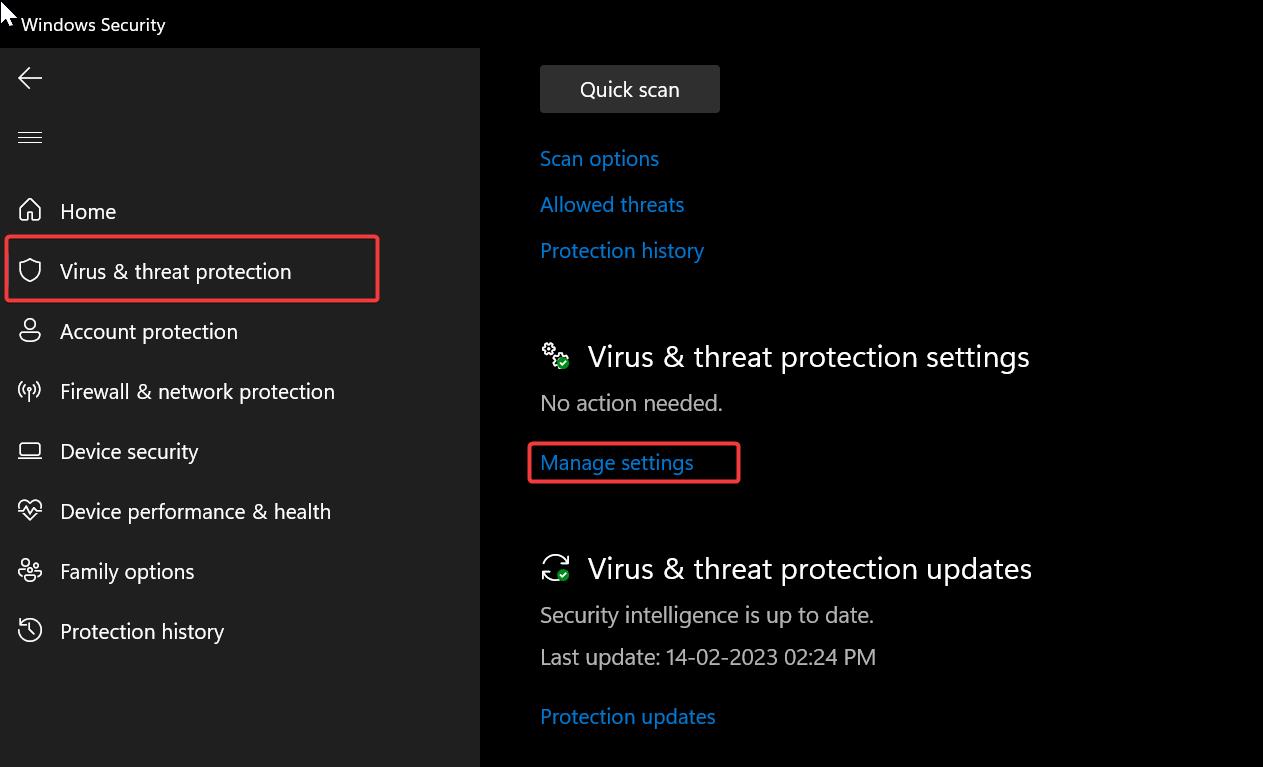
Launch Windows Security, from the left-hand side, click on Virus & threat protection, and from the right-hand side under Virus & threat protection settings click on Manage settings.
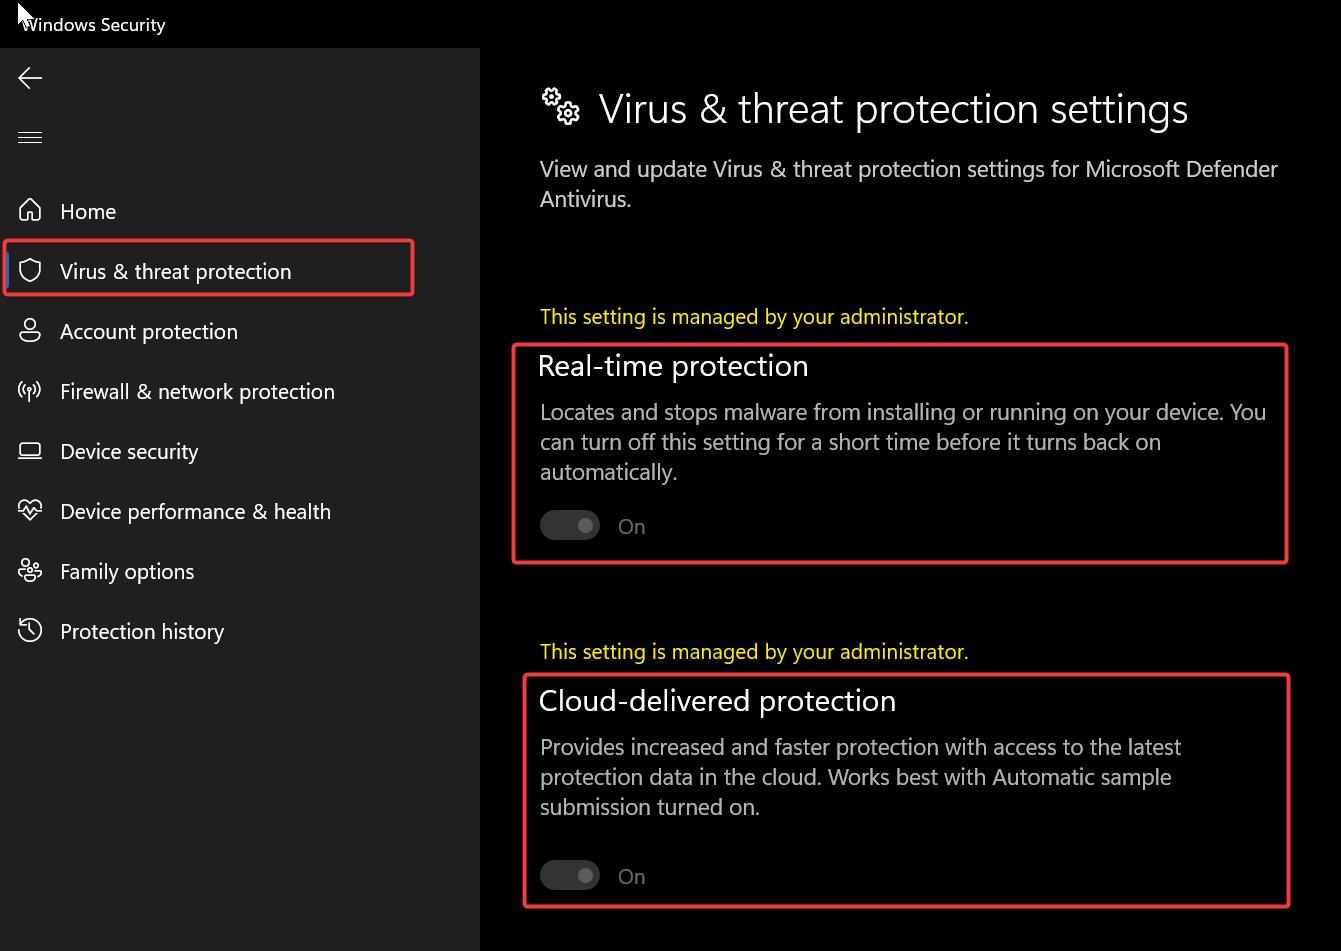
Under Virus & threat protection settings, Turn off the Real-Time protection & Cloud-delivered protection.
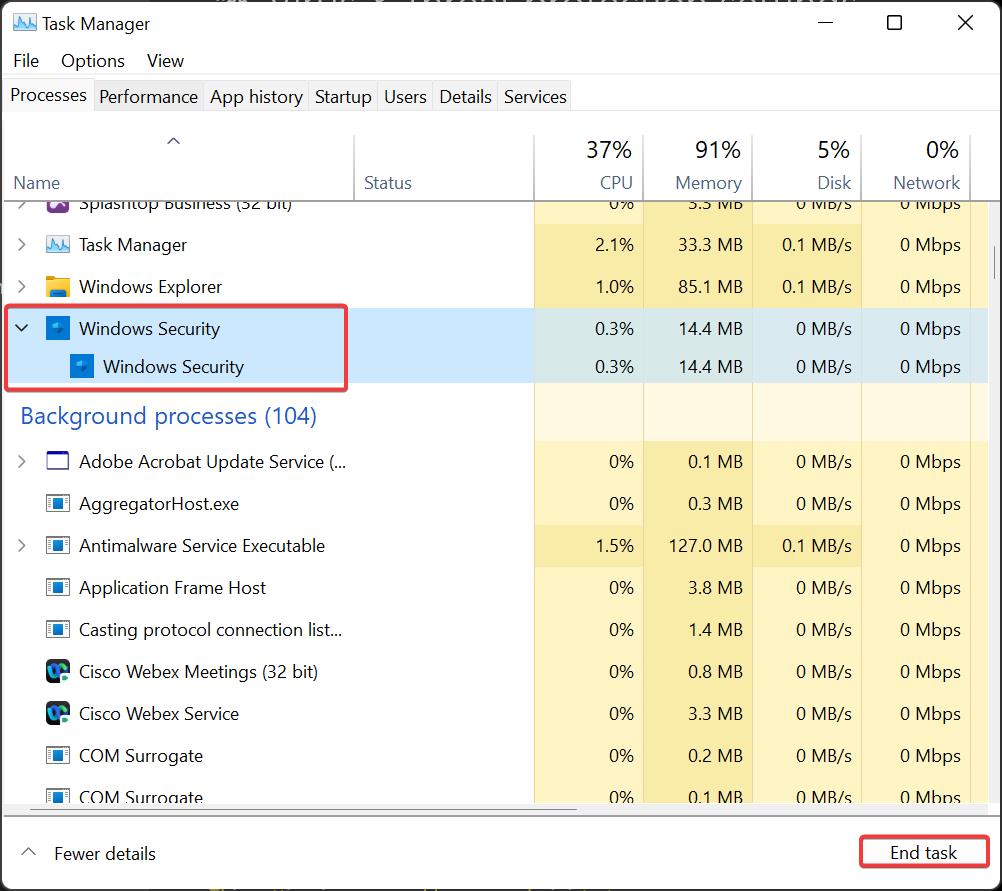
Next, Open the Task Manager and click on the Process tab and look for Windows Security processes and choose End Task.
Now navigate to the following path “C:\ProgramData\Microsoft\Windows Defender\Scans\” and Delete all mpcache files.
That’s it.
Read Also:
How to Update Windows Defender Virus signature using Command Prompt?
Fix You’ll need new app to Open Windows Defender error in Windows 11
Fix Can’t access Ransomware protection in Windows Defender

