Windows 11 comes with the new File Explorer which is completely based on the Windows UI Library (Win UI), this new file explorer retains the same familiar version of the legacy version. And Windows 11 file explorer has new visual elements, tweaks, a new command bar, new icons, and many more improvements. The new design for File Explorer matches with the Windows 11 design, and recently Microsoft released the most awaited Tabs feature for Windows 11 File Explorer. After a long awaiting period of time, Microsoft finally released the tabs feature in file explorer on Windows 11, this feature was first introduced in Windows 11 insider Preview build 22572, to all Windows Insiders. And later this feature was rolled out to all Stable Windows 11 users, you may see this feature from Windows 11 22H2. You can use the Tabs in Windows 11 File Explorer to open multiple folders and drives on separate tabs in a single Window. It’s like Google Chrome, you can copy files and folders between tabs, rearrange tabs, and Switch between tabs easily. This Tabs feature got another improvement, now you can drag Explorer tab as a new Window, Before the ability to drag a tab out from a File Explorer window as a separate Window was not there. But this feature is an experimental feature, it’s not fully rolled out for Windows 11 Stable-built users. This feature is available from Windows 11 preview build 25290 or higher, but still, this feature is hidden, you need to enable this feature manually. This article will guide you to Enable Drag Explorer tab as new Window in Windows 11.
Enable Drag Explorer tab as new Window feature:
You can Enable this feature using a third-party tool called ViveTool.
You can download this tool from the GitHub page, click here and download. Download the Zip file.

Next, you need to extract it, right-click on the Zip file, and choose Extract all. Extract all the files to the Windows > System32 folder.
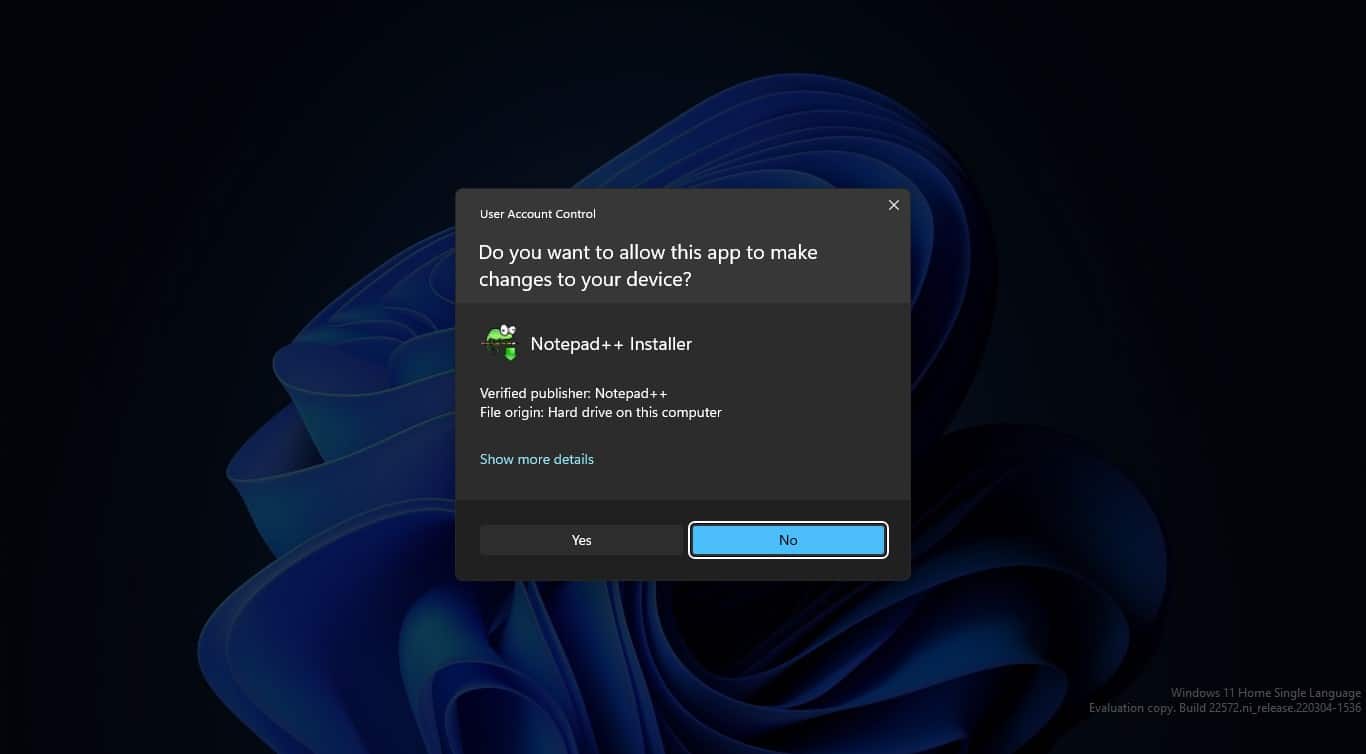
You’ll get an admin prompt, click on yes and extract all the files to the System32 folder.

Next, open the command prompt in elevated mode, right-click on the Command prompt, and choose Run as administrator.
Type the following command and hit enter.
ViVeTool.exe /enable /id:39661369
Once you executed this command, restart your Windows 11 computer to make the changes effective. That’s it we have successfully enabled Drag Explorer tab as new Window feature.
How to Use Drag Explorer tab as new Window feature?
Once you enabled this feature, Just open File Explorer, click on the File Explorer button on the taskbar, or simply press Ctrl + E.
Next Open a new tab by pressing Ctrl + T or just press + icon.
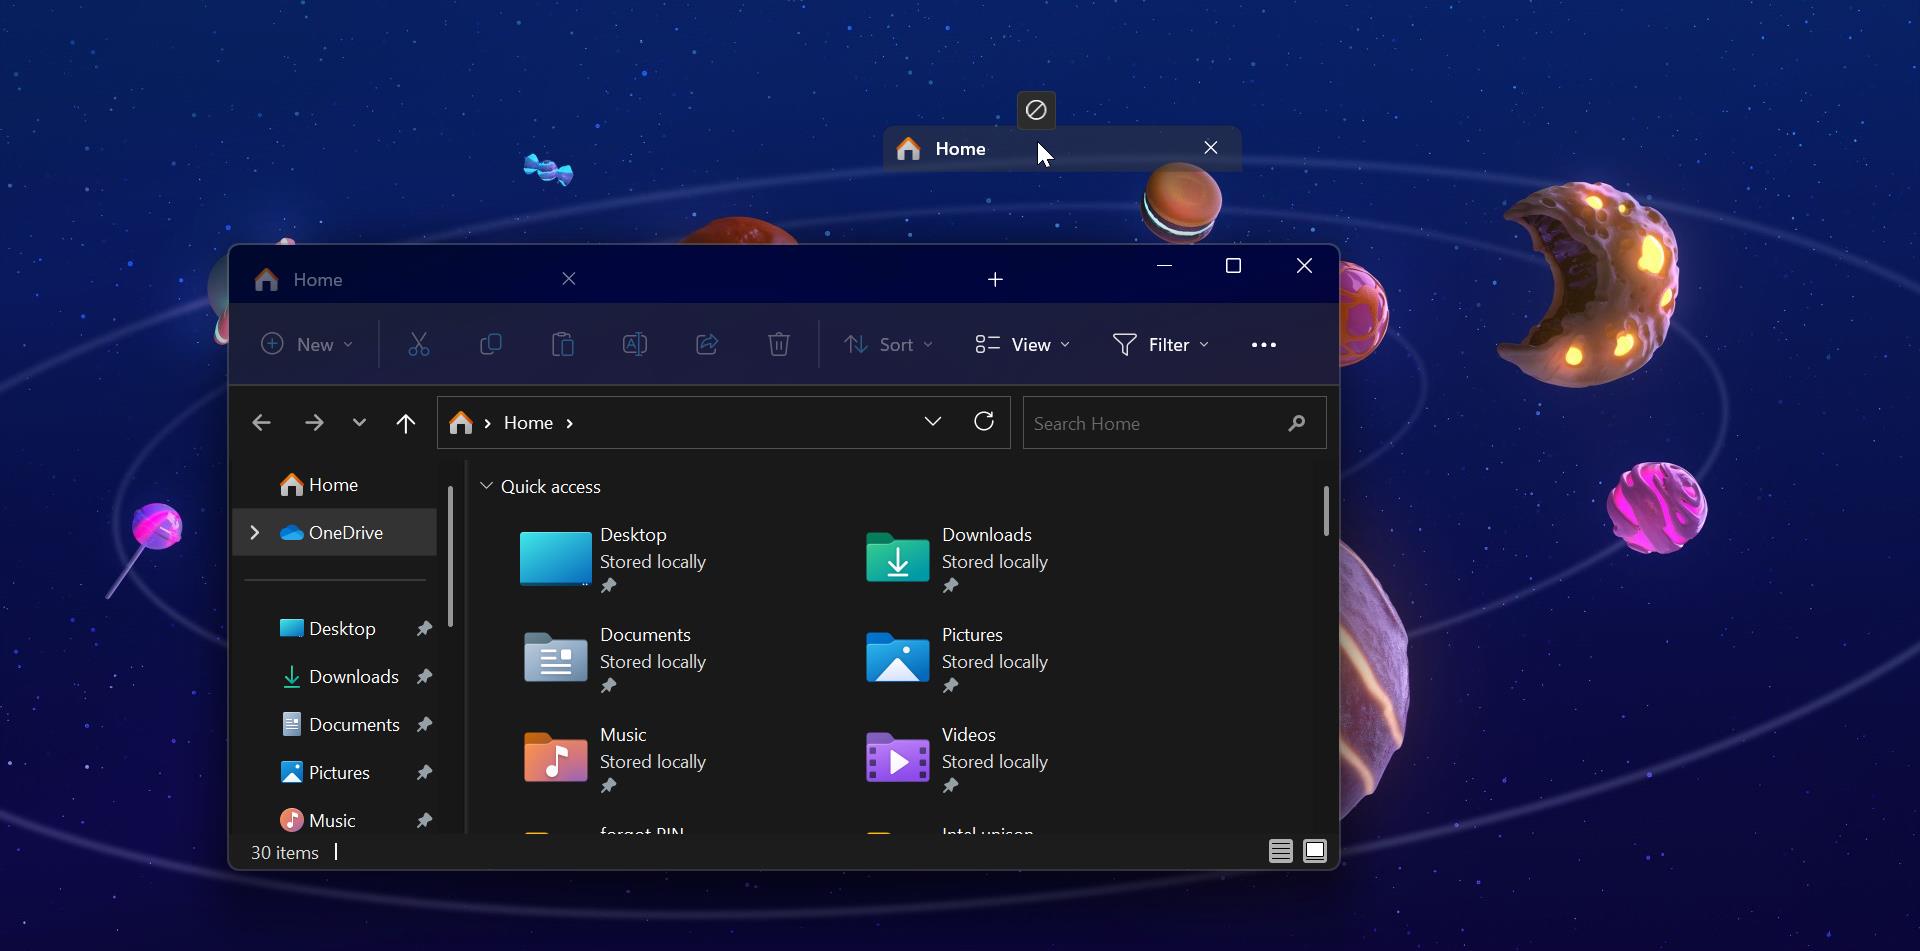
Next, Press and hold the mouse cursor on any file explorer tab and drag it out. Release the mouse button so that a particular tab will open in a New Window.
In case if you want to disable this feature, then open the Command prompt in elevated mode and execute the following command.
ViVeTool.exe /disable /id:39661369This will disable the drag feature.
Note: Using this feature you can drag only a single tab out at a time, you cannot select and move multiple tabs from file explorer. And you cannot drag and move the tab from one file explore window to another window.
Read Also:
How to Disable Tabs in Windows 11 File Explorer?
Fix Quick Access not showing in Windows 11 File Explorer
How to Block Ads in Windows 11 File Explorer?
How to Hide the Navigation pane in Windows 11 File Explorer?