In Windows 11 Transparency effects will show window backgrounds and surfaces appear slightly transparent with an acrylic blur effect. This effect will appear in some of these windows include context menus, File Explorer, Quick Settings, Settings, Sign-in Screen, start menu, taskbar, and more. The acrylic blur effect is part of the Fluent Design, Microsoft introduce the fluent design in Windows 10 build 18237, and this was developed in Windows 11. By default, this Transparency effect was enabled in Windows 11, Windows 11 offers the direct option to Turn on or Off Transparency effects. This article will guide you to Disable Transparency Effects in Windows 11.
Disable Transparency effects in Windows 11:
In Windows 11 Transparency effects is enabled by default, if you want to turn off or disable, then you can use the following methods. You can disable Transparency effects in Windows 11 using three different methods.
Using Windows Settings:
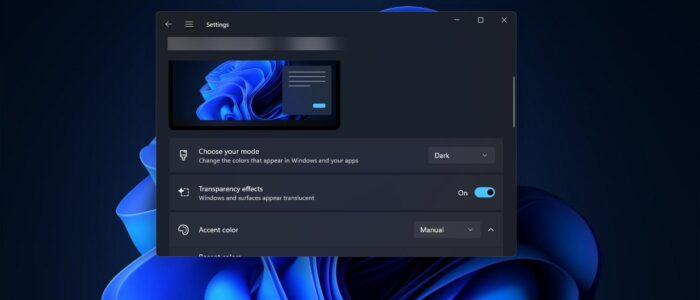
Open Windows Settings by pressing Windows + I and from the left-hand side click on the Accessibility and from the right-hand side click on Visual effects.

Under Visual effects, you can see the Transparency effects option toggle button, turn off the toggle button to turn off the Transparency effects in Windows 11.

Using Personalization settings:
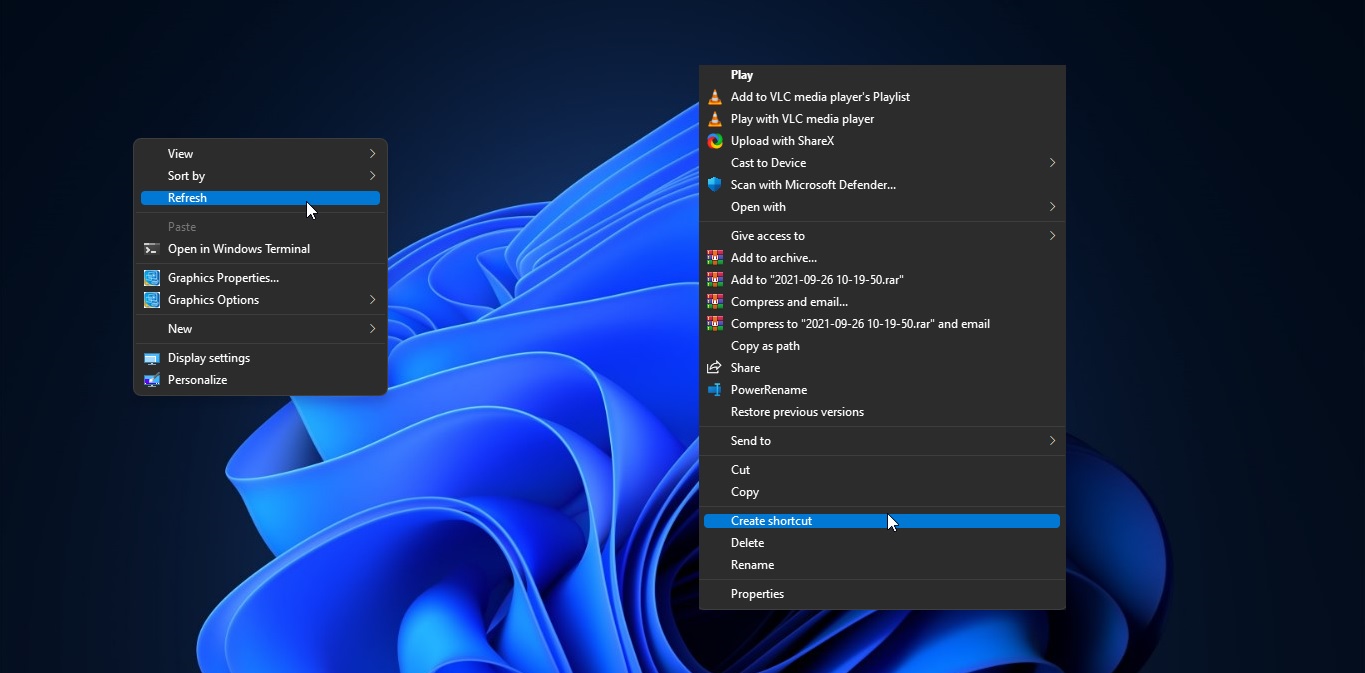
Right-click on the Windows Desktop and choose Personalize option, Under the Personalization option, click on the Colors option.

Under Colors, you can see the Transparency effects toggle button, Turn off the toggle button to disable the Transparency.

Using Registry Editor:
Note: Modifying the Registry is risky, and it causes irreversible damage to your OS Installation Follow the steps correctly. Friendly advice Before Modifying Registry Creating Restore Point is recommended.
Open the Run command by pressing Windows + R and type Regedit and hit enter, this command will open the Registry Editor console.
Now navigate to the following registry path.
HKEY_CURRENT_USER\Software\Microsoft\Windows\CurrentVersion\Themes\Personalize
From the left-hand side click on the Personalize registry key and from the right-hand side look for the DWORD named Enable Transparency.
Double click on the Enable Transparency DWORD and modify the value from 0 to 1 and click on Ok.

Close the registry editor and restart the system once. This will Turn off the Transparency effects in Windows 11.
Related: How to Disable acrylic blur effect on Log-in Screen in Windows 11?