Microsoft Teams is the chat-based collaboration tool that provides global, remote, and dispersed teams with the ability to work together and share information via a command space. Microsoft Teams becoming very popular among corporate because of its unique and cool features like document collaboration, one-on-one chat, team chat, and more. Microsoft Teams is also fully integrated with many other Office 365 services. The main and core capabilities of Teams are Chat, Hub, calling, Video calling, Meeting, and File Sharing. Teams is a powerful tool, many corporate companies already migrated to Teams from Skype for business. Because Teams offers high call quality Voice calls with background-noise suppressing capability. The AI-based background noise cancellation feature enhances the utility of the service. It automatically analyzes the audio and it isolates the human voice and applies a filter to the background noise like office noise, typing, and other users' voices. Teams allow to enable or disable this noise cancellation feature on Microsoft Teams. This article will guide you to Enable Noise Cancellation on Microsoft Teams.
Noise Cancellation on Microsoft Teams:
Launch Microsoft Teams and click on your Profile icon.
Now click on Settings.
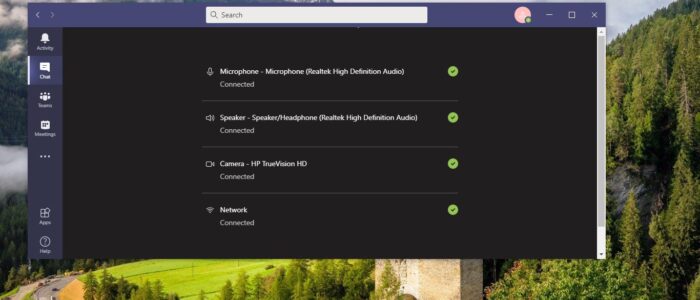
From the Left-hand side click on the Devices option.
From the right-hand side look for the Noise Suppression entry.
Under Noise Suppression click on the drop-down menu and choose Auto (Default). This will enable the noise cancellation feature in Microsoft Teams.

You can also enable this feature during the meeting, click on the three-dot menu at the top-right corner, and choose Device settings.
Then locate the Noise suppression option and enable the noise cancellation from the drop-down menu.