We already covered about Windows Update, how to start and stop windows update in a normal way. In this post, we will cover about installing Windows Update using PowerShell. PowerShell is a powerful command-line scripting language integrated into the .NET framework, which can be embedded within other applications. It automates batch processing and creates system management tools. It includes more than 130 standard command-line tools for functions and enables administrators to perform tasks on local and remote Windows systems through access to Component Object Model (COM) and Windows Management Instrumentation (WMI). To install windows update we have to install the module first, Module is a package of commands such as cmdlets, providers, functions, workflows, variables, and aliases. To run a windows update, install windows update module first.
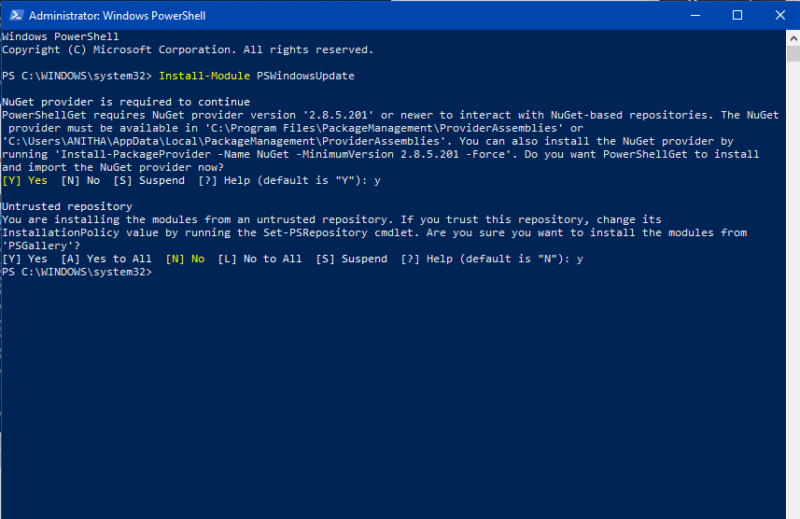
Step 1: Install Windows Module.
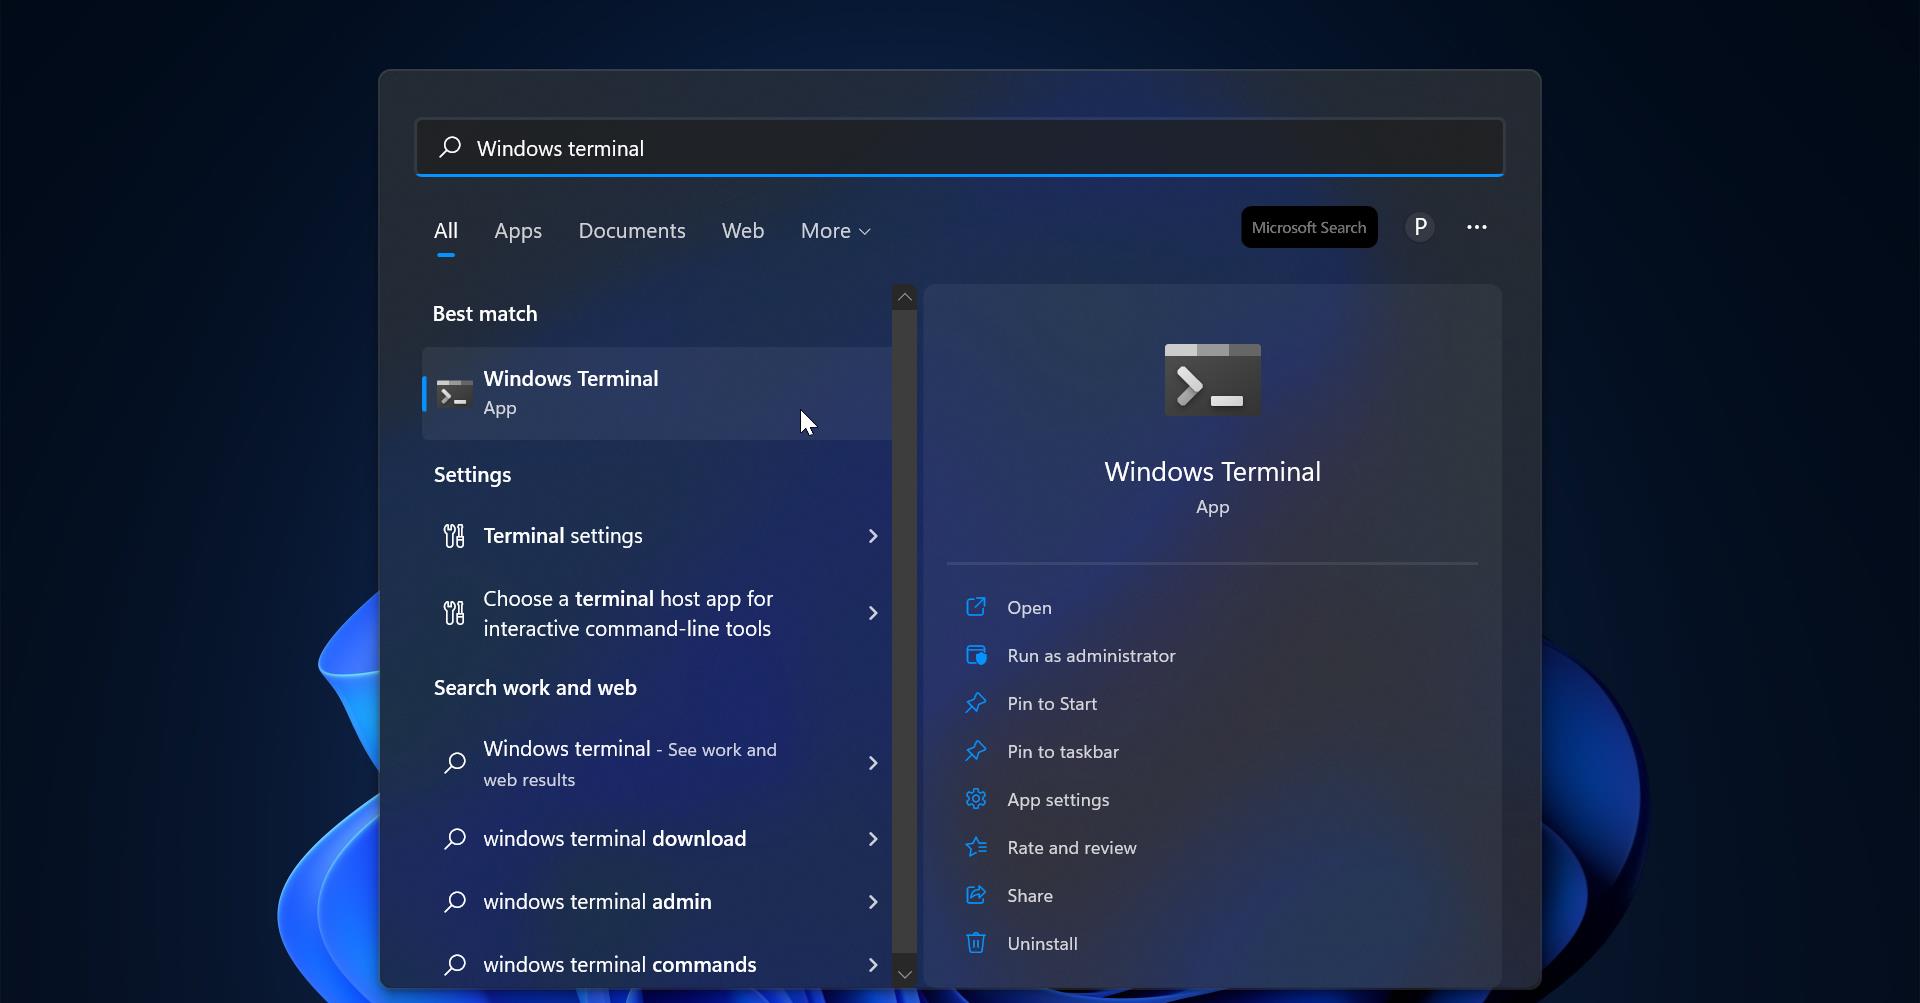
- Open PowerShell in admin mode, Run below-mentioned command.
Install-Module PSWindowsUpdate
Step 2: Download Windows Update
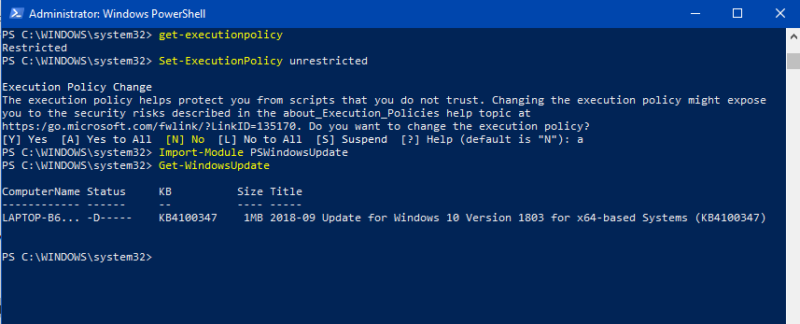
Run the below-mentioned command, this command will check for recent updates. Before running the command, you have to check the Execution policy. Check here how to enable the execution policy?
Get-WindowsUpdate
Step 3: Install Windows Update.
Before installing Windows Update check for the windows installer service is enabled or not. We can enable the installer service in GUI method, but this post is about PowerShell and installing Windows Update using PowerShell so we enable the windows installer service using PowerShell itself.
- Open PowerShell and type the below-mentioned command to start the windows installer service.
Start-Service msiserver
- Next, run the below-mentioned command to install the windows update.
Install-WindowsUpdate
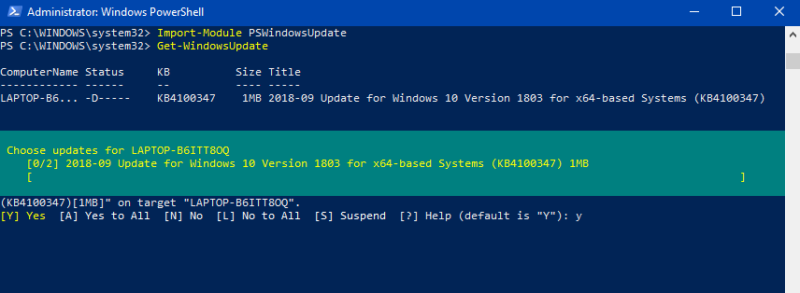
This command will install recent windows update which is shown by step 2 command.