PUA or Potentially Unwanted application Protection is a feature, which is included in Microsoft Defender Antivirus. PUA protection feature detects PUA files and any attempts to download, move, run, or install them. PUA is a type of software that can cause system slowness, also it may cause other damages like unexpected ads, or install other software which may be more harmful to your computer. Some experts say, disabling PUA protection leads your system to be vulnerable, and some hackers may use your computer for crypto mining, these kinds of software may come as PUA. When the PUA file is detected by the endpoint, Defender antivirus sends a notification as a threat detected. PUA protection was first introduced in Windows 10 May 2020 update, and there are two options available in PUA protection, Block apps and Block downloads. By default, PUA protection is turned off in Microsoft defender, you can enable PUA protection by using the following methods, this article will guide you to Enable PUA protection in Microsoft Defender.
Enable PUA protection in Microsoft Defender:
You can enable PUA protection in Windows 10/11 by using the following methods, there are different ways to turn on or off PUA protection in Microsoft Defender.
Method 1: Using Microsoft Edge:
Launch Microsoft Edge and Click on the menu the three dots button from the top right corner and choose Settings.
Under the edge setting from the left-hand side click on Privacy, Search, and services and from the right-hand side scroll down and look for the Security section.
Under the Security section, look for Block potentially unwanted apps, and turn the toggle button on/off to enable/disable the PUA protection.

Then close the Microsoft Edge.
Method 2: Enable PUA protection using Windows Security:
Click on the Start menu and search for Windows Security.
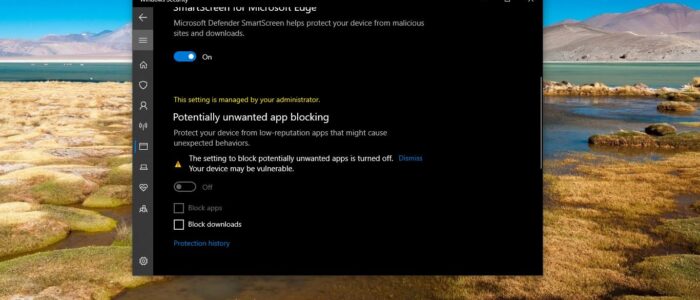
Next Click on App & browser control, then under Reputation-based protection, click on Reputation-based protection settings.

Under Reputation-based protection settings, you can see Potentially unwanted app blocking.
Turn on the PUA protection and Check the options Block apps and Block downloads.

That’s it you have successfully enabled the PUA protection. Follow the same steps to disable the PUA protection.
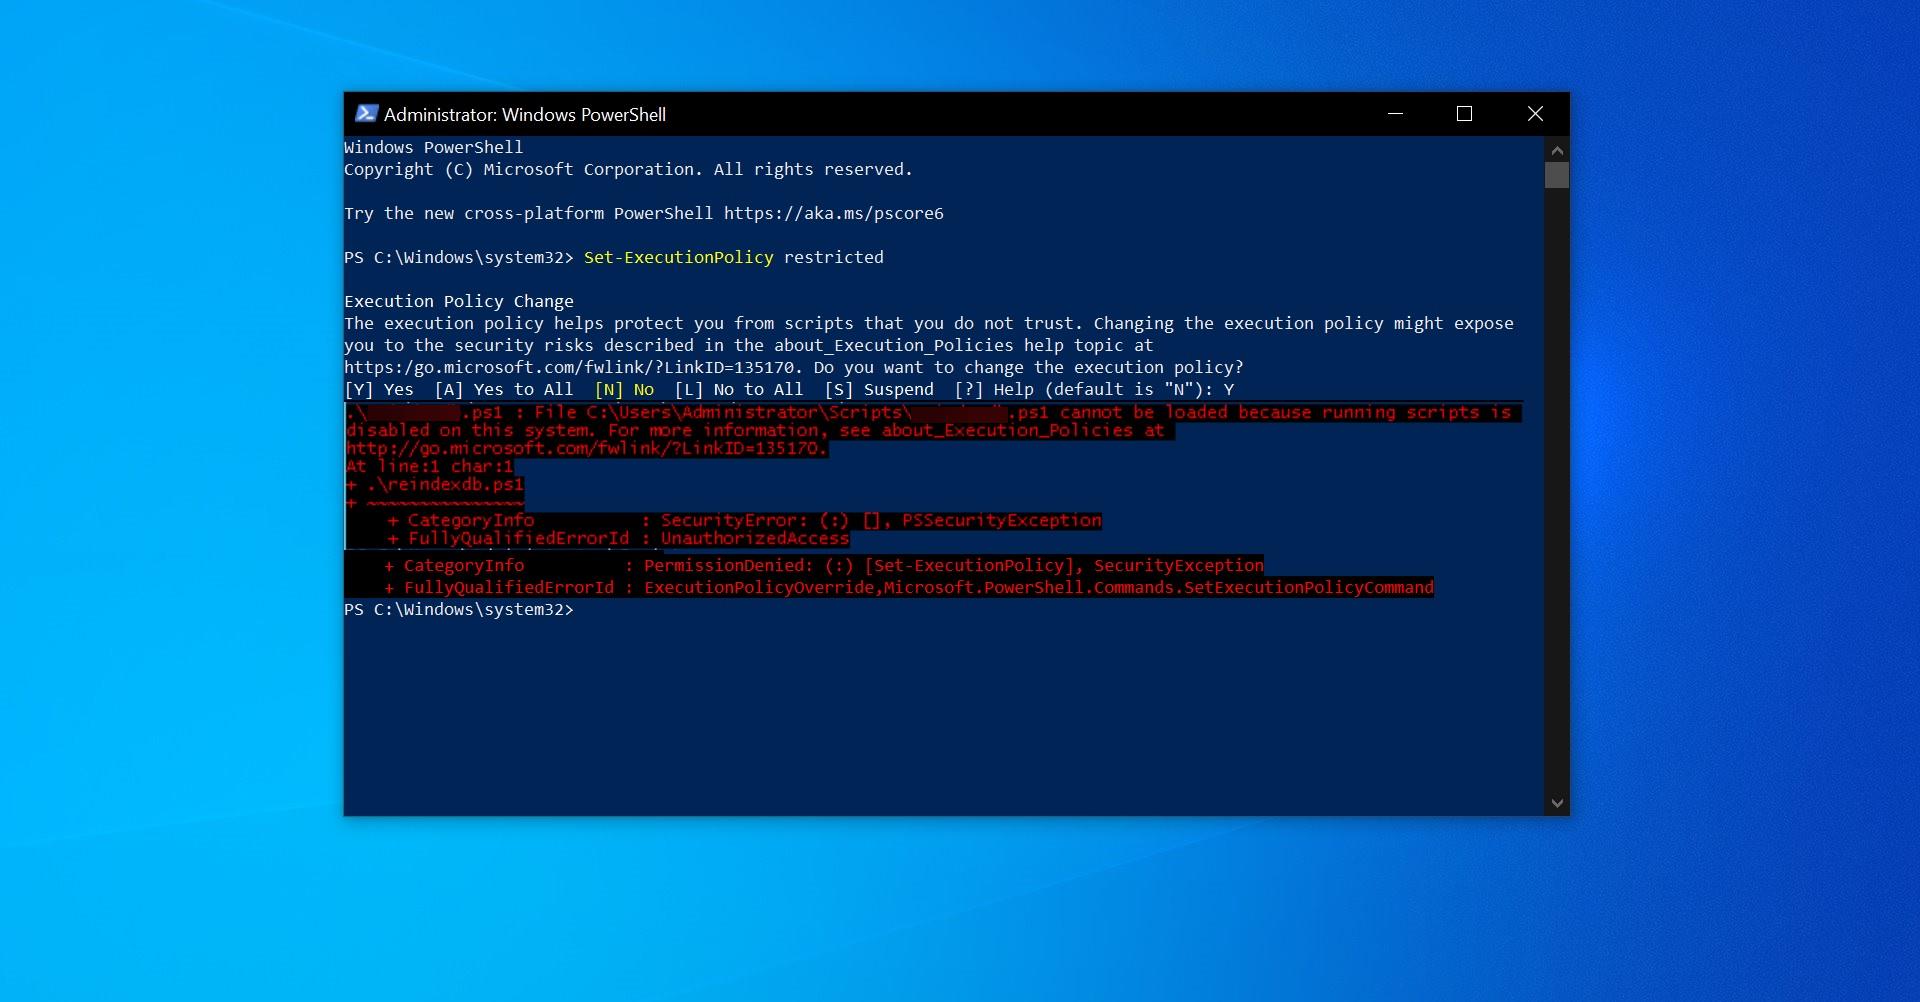
Method 3: Using Windows PowerShell:
Open Windows PowerShell in elevated mode, then run the following command to Enable the PUA protection.
Set-MpPreference -PUAProtection Enabled

This Command will enable the Defender PUA protection. If you want to disable the PUA protection then enter the following command in the elevated PowerShell window.
Set-MpPreference -PUAProtection Disabled

IF you want to set the PUA protection to audit mode then type the following command in the PowerShell window.
Set-MpPreference -PUAProtection AuditMode
This command will enable the Audit mode, In Audit mode, it will only detect and log PUA files, but it will not block the apps.
Method 4: Using Group Policy Editor:
Open Run command by pressing Windows + R and type gpedit.msc and hit enter, this command will open the Group Policy Editor.
Now navigate to the following path.
Computer Configuration\Administrative Templates\Windows Components\Windows Defender Antivirus
Or
Computer Configuration\Administrative Templates\Windows Components\Microsoft Defender Antivirus
Once you navigated to the path then look for the policy named “Configure detection for potentially unwanted applications”.
Double click on the policy and open Policy Settings, Now choose Enabled and under options, click on the drop-down menu and choose Block to enable the PUA protection.
Method 5: Using Registry Editor:
Open Run command by pressing Windows + R and type Regedit and hit enter, this command will open the Registry Editor console.
Now navigate to the following registry path.
Computer\HKEY_LOCAL_MACHINE\SOFTWARE\Policies\Microsoft\Windows Defender
From the left-hand side click on the Windows Defender registry key and from the right-hand side, right-click on an empty area and choose New > DWORD (32-bit) value, and name the DWORD as PUAProtection.
Now double click on the PUAProtection DWORD and set the value as mentioned below.
0 or delete = Disable
1 = Enable
2 = Audit Mode

Click on OK and close the registry editor.
Read Also:
How to scan individual Files and Folders using Microsoft Defender?
How to Enable Microsoft Defender Application Guard for Office?
How to Install Microsoft’s new Defender app in Windows 11?