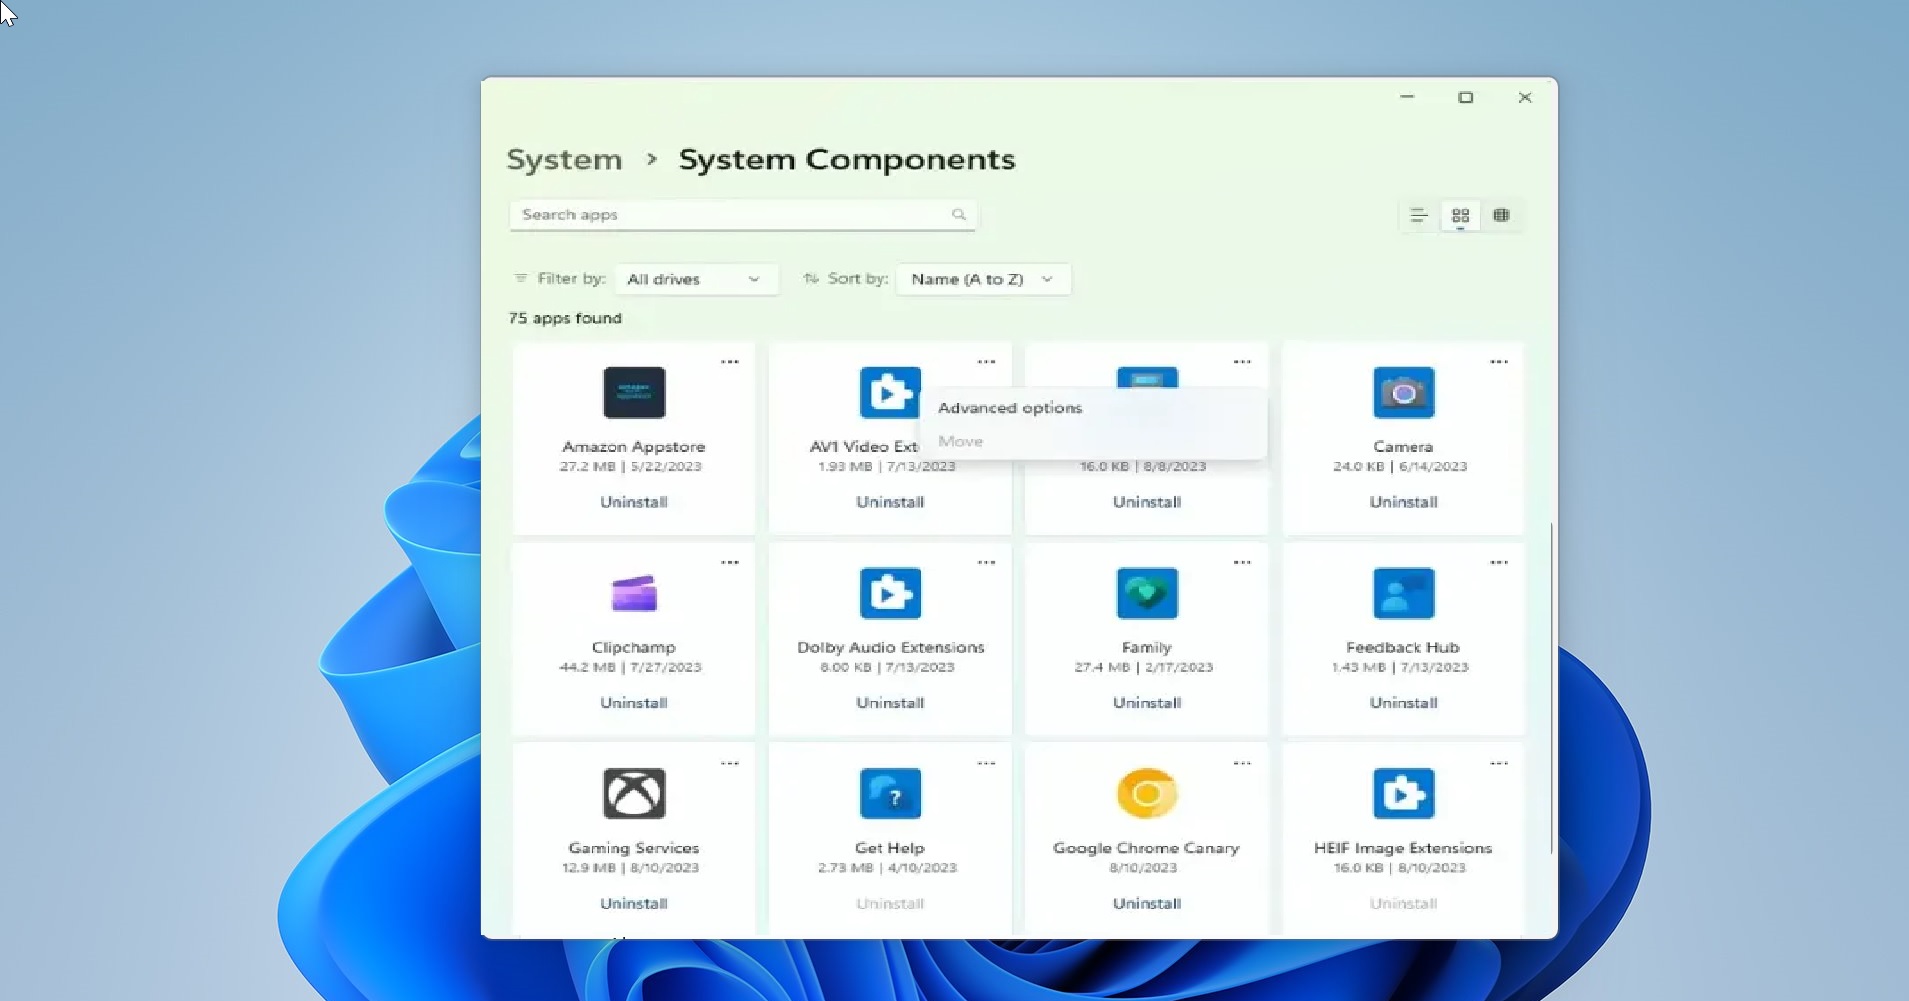
Microsoft keeps on migrating Control panel settings to new Settings app one by one, in that list Microsoft is working on adding System Components to the Settings app, which contains list of all inbox apps, codecs, and plugins in one place. This Settings page is not officially rolled out for the Stable Windows 11 users, but for testing purposes, Microsoft rolled out the System Components page to the Windows 11 Build 25926 (Canary) users. This System components page includes first-party apps (Such as File Explorer, Phone Link, Microsoft Store, and Others), Extensions (such as video codecs), and more. It provides the user with the same Installed apps view, with icons, installation date, app size, and extra options to view the components options and remote it. Microsoft is still working on this feature and it’s not officially rolled out to the public, but if you are running Build 25926, then you can access it using the following steps. This article will guide you to Enable new System Components page in Windows 11 Settings.
Enable new System Components page in Windows 11 Settings:
You can enable this new System Components page in Windows 11 Settings by using a third-party tool called ViveTool.
You can download this tool from the GitHub page, click here and download. Download the Zip file.
Next, you need to extract it, right-click on the Zip file, and choose Extract all. Extract all the files to the Windows > System32 folder.
You’ll get an admin prompt, click on yes and extract all the files to the System32 folder.
Next, open the command prompt in elevated mode, right-click on the Command prompt, and choose Run as administrator.
Type the following command and hit enter.
c:\vivetool\vivetool /enable /id:44702824

once you have seen the successful message, Close the command prompt and restart your system once to make the changes effective. Now you’ll see a System Components page under the System section.
If you want to restore it, follow the same steps above and type the following command in the command prompt, and hit enter.
c:\vivetool\vivetool /disable /id:44702824
Restart the system to make it effective, that’s it.
Read Also:
How to Enable New App Picker in Windows 11?
How to Enable Small Taskbar in Windows 11?
How to Change the Alt-Tab View in Windows 11?