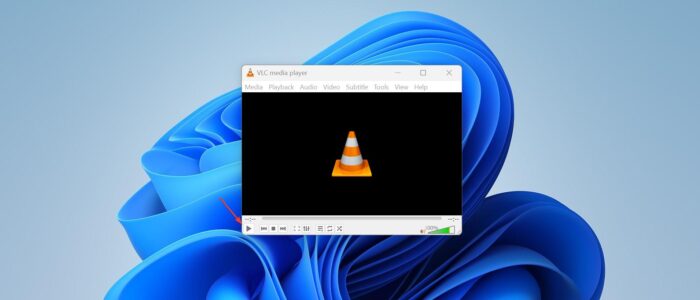
VLC Media Player (short for VLC) is a free and open-source media player and multimedia framework written by the VideoLAN project. VLC is a portable multimedia player, encoder, and streamer supporting many audio and video codecs and file formats as well as DVDs, VCDs, and various streaming protocols. It can stream over networks and to transcode multimedia files and save them into various formats. VLC is used to stand for VideoLAN Client, but since VLC is no longer simply a client, that initialization no longer applies. VLC is one of the most platform-independent media players available, with versions for Microsoft Windows (10), Mac OS X, GNU, Linux, BeOS, and BSD. Playing videos in VLC is very easy and simple, and VLC is popular for its ability to play the video content of incomplete, Unfinished, or damaged video downloads before the files have been fully downloaded. VLC has a lot of hidden features, you can use VLC for Screen Recording, it is one of the most wanted functionality for any user. You no need to download additional software, with the help of VLC media player you can record your Windows Screen. This article will guide you to record your Windows screen using the VLC media player.
Screen Record using VLC Media Player:
Using VLC media Player, you can easily record your Windows Screen, just follow the simple steps below.
Launch the VLC media player, Click on the start menu and search for VLC media player, click and launch the media player.
Click on Media from the top toolbar and choose Open Capture Device. Once you selected that option you’ll get Open Media Window.

Under Open Media, click on the Capture Device tab.
Change the Capture mode to Desktop.

Under Options set the Desired frame rate for the Capture to 30 or 60 fps.
Next, click on the Play drop-down menu and choose Convert.

Then it will take you to the next page, under Settings, choose the profile drop-down menu and select the format which you want to convert.
Then finally set the Destination, click on the Browse button and select the path where you want to save the file and type the name and choose the folder.

Next click on the Start button to start the screen recording, and use the Stop button to stop the recording. The recording will be saved on the location which you have set during the configuration.
You can use the same steps to record your screen again, or if you want you just click on the play button again to overwrite the recording. Hope this helps.
Read Also:
How to Enable Dark Mode in VLC media player?
How to Play video using Command Prompt with VLC?
How to play only audio from a Video file using VLC Player?
Fix VLC not playing mkv files in Windows 11