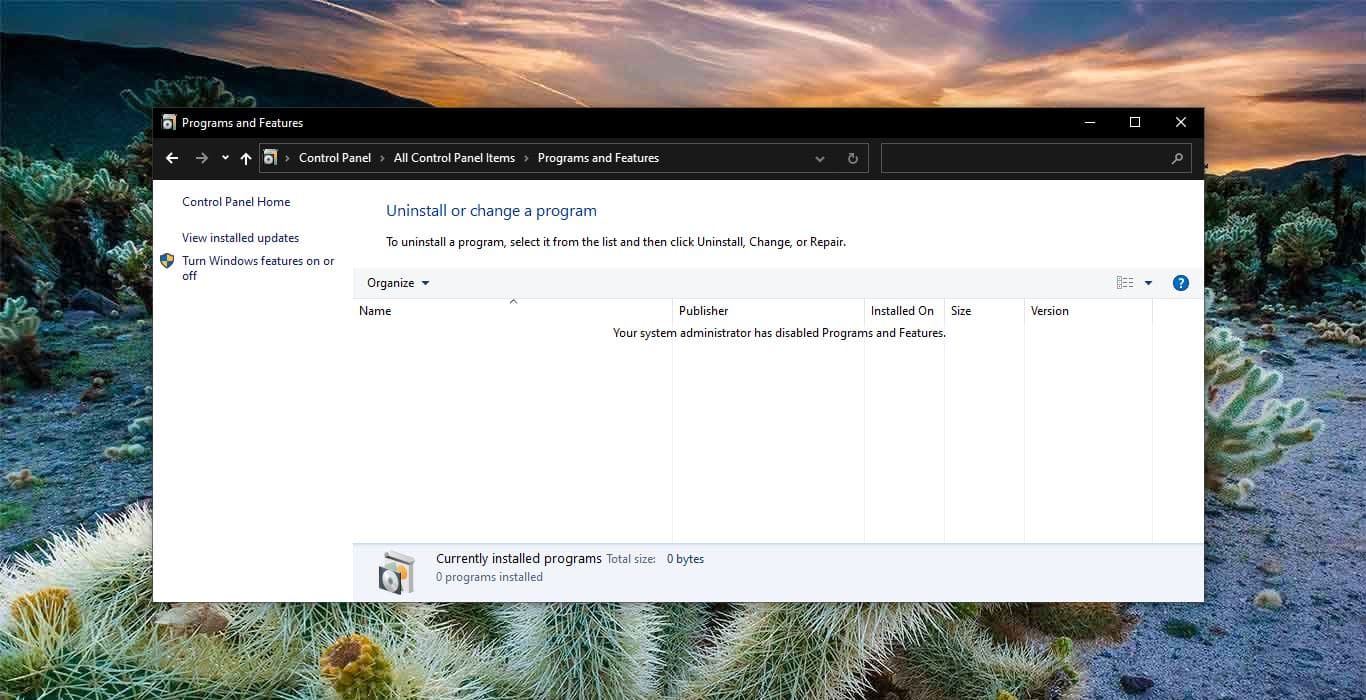
In Windows Programs and Features is the page that comprises an index of all installed programs and applications on Your PC. Programs and Features allow users to view, change, repair, or Uninstall the Programs. By default, all the Installed Programs are arranged in alphabetical order, but you can change the view using the View Option. Under the View option, you can see Large icons, Extra Large icons, medium icons, Small icons, List and details. You can choose your favorite View option, by selecting the view options list. Allowing Programs and Features page to standard users will be risky, and users can mess with the Installed Programs. This article will guide you to Show/Hide Programs and Features in Control Panel.
Show/Hide Programs and Features in Control Panel:
You can use the following methods to Show/hide Programs and Features from the control panel.
Using Group Policy Editor:
If you are a Windows 10 Home user, then use the Registry Editor method, because Group Policy Editor is not available for Windows 10 Home User. This method is only suitable for Windows 10 Pro, Education, and Enterprise editions.
Open Run command by pressing Windows + R and type gpedit.msc and hit enter. This Command will open Group Policy Editor.
Now Navigate to the following path.
User Configuration\ Administrative Templates\ Control Panel\ Programs\
From the Left-hand side click on the Programs and from the right-hand side look for the Policy Named Hide “Programs and Features” page policy.

Next, Double Click on the Policy to open the Policy settings, under the Policy setting choose Enabled and click on Apply and OK.

Once you applied the policy then you need to update the Group Policy. Open Command Prompt and type the following command.
Gpupdate /force
Once the Policy applied successfully, you can open Programs and Features page and check.
Using Registry Editor:
Note: Modifying the Registry is risky, and it causes irreversible damage to your OS Installation Follow the steps correctly. Friendly advice Before Modifying Registry Creating Restore Point is recommended.
Open the Run command by pressing Windows + R and type Regedit and hit enter. This command will open the Registry Editor Console.
Now Navigate to the following path.
HKEY_CURRENT_USER\Software\Microsoft\Windows\CurrentVersion\Policies\Programs
From the left-hand side click on the Programs Registry key and if you are not able to find the Programs Registry key, then right-click and choose New > Key and name it as Programs.
Next click on the Programs and from the Right-hand side right-click on an empty area and choose New > DWORD (32-bit) Value and name the DWORD as NoProgramsAndFeatures.
Double Click on the NoProgramsAndFeatures DWORD and modify the value to 1 and click on OK.

Close the Registry Editor and restart the system once. Now you can open the Programs and Features and check, Installed Programs will no longer visible.
Read Also: Fix Control Panel is not Opening in Windows 10