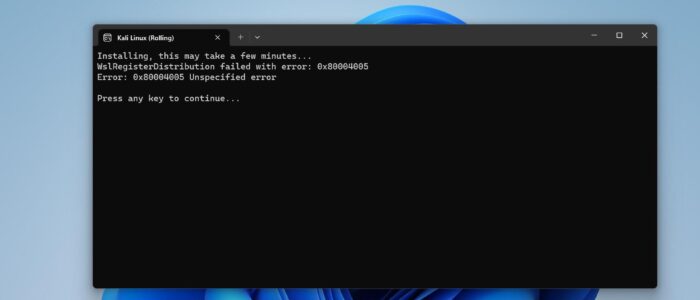
If you encounter the error message ‘WslRegisterDistribution failed with error 0x80004005’ when attempting to launch the Windows Subsystem for Linux (WSL) on your Windows 11/10 system, this troubleshooting guide aims to assist you in resolving the issue. The full error message may appear as follows.
Installing, this may take a few minutes...
WslRegisterDistribution failed with error: 0x80004005
Error: 0x80004005 Unspecified error

Press any key to continue...
Some users reported this error occurs during the installation of WSL, and for some users, this error occurs while launching Installed WSL. To resolve this issue, follow the below-mentioned troubleshooting methods.
Fix WslRegisterDistribution failed with error 0x80004005 Error:
Once you encounter this error, restart your system once, post restart, launch the WSL, and check, if you are still facing the issue, then proceed with the following methods.
Solution 1: Check the WSL is Turned ON
First, make sure the WSL optional feature is enabled or not. Search for Windows features on or off and click on it.
Under Windows features look for Windows Subsystem for Linux. Make sure the WSL is enabled. If not run the following command.

Open PowerShell in elevated mode and run the following command.
Enable-WindowsOptionalFeature -Online -FeatureName Microsoft-Windows-Subsystem-Linux
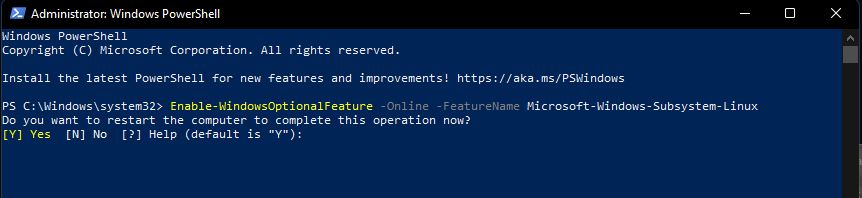
This command will enable the Windows Subsystem for Linux feature in Windows 10/11.
Note: If the WSL is already enabled, try to turn off the feature and turn it on again, this will mostly resolve the issue.
Solution 2: Restart the LxssManager services
Open Windows + R and type services.msc and hit enter, this command will open the Services Management Console.
Look for LxssManager service, if it’s not started start the service, and if it’s already running try to restart the service.
Try to set the service Startup type to automatic, right-click on the service and choose Properties.

Under Properties > General tab, set the Startup type to Automatic. Click on Apply and OK.
Solution 3: Update the WSL version
Try to update the WSL version, if you are using WSL1, then install WSL2, follow the below-mentioned steps to install WSL2.
First, Download WSL 2 Kernal Update.
You’ll get a .msi file, double click on the msi file to install WSL2.
Click on Next and then finish. That’s it you have successfully installed WSL2.
Next, we need to set the WSL2 as the default version, Open PowerShell in elevated mode, and type the following command.
wsl --set-default-version 2This command will set the WSL2 as the default version for all the Linux distros, if you want to set WSL2 version for specific Linux distros then type the following command.
wsl --set-version Ubuntu 2Just change the Linux distro name from the command if you want to change the WSL version for other Linux distro. That’s it.
Solution 4: Reinstall the Linux Distribution
If there is an issue with the problematic distribution, Reinstall the Linux Distribution.
Click on the start menu and search for the Linux Distribution, right-click on it, and choose Uninstall.
Once it’s uninstalled, restart your system once and install New Linux Distribution from Microsoft Store.
Read Also:
Fix No Internet connection in WSL on Windows 11/10
How to remove WSL Linux distro using PowerShell in Windows 11?
How to install WSL2 in Windows 11?
Fix Process Exited with Code 4294967295 in WSL on Windows 11
WslRegisterDistribution Failed with Error 0x80004005 in Windows 11: Quick Fix Guide