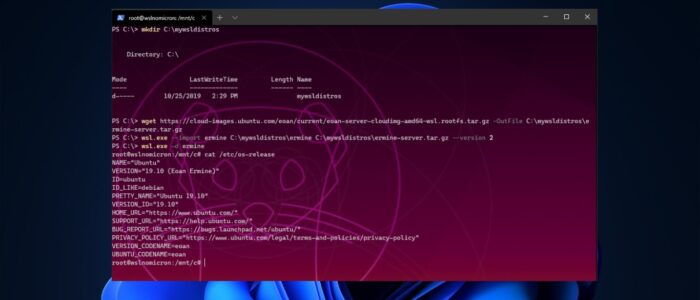
Windows subsystem for Linux is a way to run the Linux operating system in windows without installing any Third-Party virtual machine. WSL allows users to run the Linux Operating system alongside Windows. Using WSL, you can install the Linux distributions as an app from the Windows Store. Windows has a driver that sits between the NT kernel and Linux kernel-mode that does the translation and exposes the virtual files. Its compatibility layer for running Linux binary executable natively on windows 10/11. This kernel interface is developed by Microsoft which can then run a link on top of it moreover it can support all kinds of Linux distribution not only the same. like Ubuntu, open-source, fedora. This feature was introduced with the windows anniversary update the fall creates update. You can install the WSL in two different methods, the old method involves the Microsoft Store and you need to download the WSL packages from the Microsoft Store and install it on your PC. The second method involves the command prompt, which is very easy to install WSL. This article will guide you to Install WSL using Command Prompt in Windows 11.
Related: How to Add Kali Linux to Windows Terminal Profile?
Install WSL using Command Prompt:
Microsoft simplifies the Installation process of Windows Subsystem for Linux in Windows 11. You can install the WSL in Windows 11 using a single line of command. This command will download and install all the required components of WSL, including the virtual machine platform and Linux GUI apps. Follow the below-mentioned steps to install WSL using the command prompt.
First, make sure the WSL optional feature is enabled or not. Search for Windows features on or off and click on it.
Under Windows features look for Windows Subsystem for Linux. Make sure the WSL is enabled. If not run the following command.
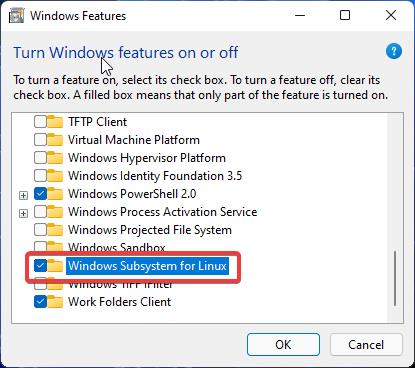
Open PowerShell in elevated mode and run the following command.
Enable-WindowsOptionalFeature -Online -FeatureName Microsoft-Windows-Subsystem-Linux

This command will enable the Windows Subsystem for Linux feature in Windows 10/11.
Once you enabled the WSL restart the system once and proceed with the following steps.
Install WSL in Windows 11 using Command prompt:
Open Command prompt in elevated mode, or you can use the Windows Terminal.
Now type the following command and hit enter.
wsl --list --onlineThis command will list out the number of valid Linux distribution, now you can choose the Linux distribution from the list and install.
Type the following command to install the specific Linux distro on Windows 11.
wsl --install -d <DISTRO-NAME>
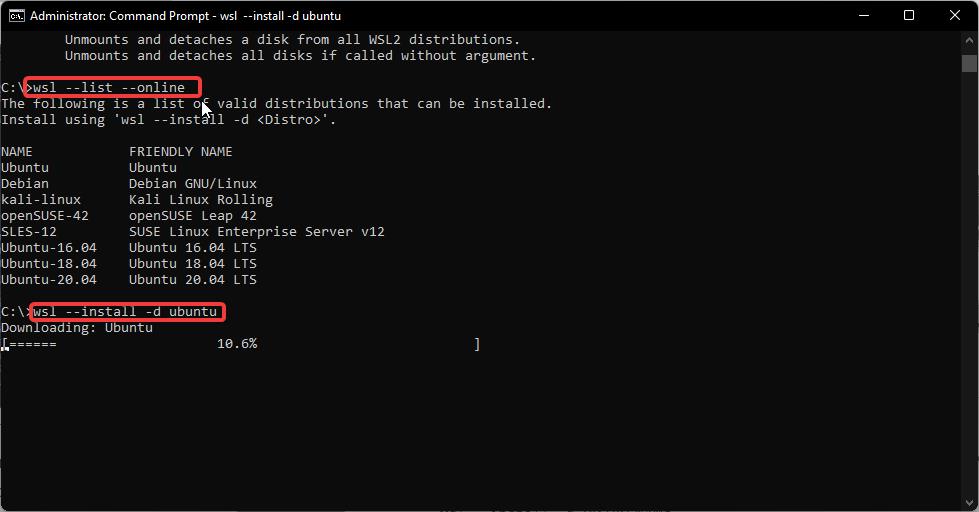
This command will install the specific Linux distro. In case if you encounter any error while launching the Linux distro, then you need to update the WSL. Follow the below-mentioned steps to update the WSL.
Update WSL on Windows 11:
Open Command prompt in elevated mode and type the following command to update the WSL.
wsl --update
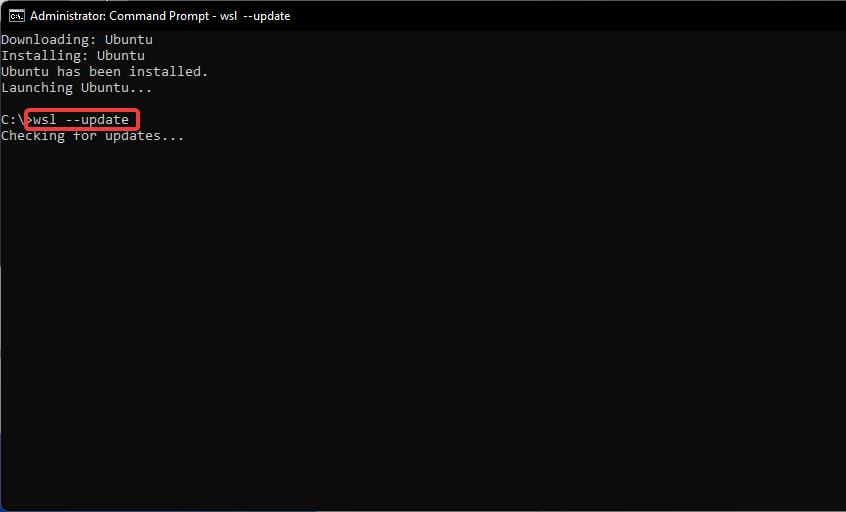
This command will check for the latest updates and then it will download and install. After the update restarts the system once and try to launch the Linux WSL.
In case if you want to roll back to the previous version of WSL then type the following command.
wsl --update rollback
This command will roll back the WSL to the previous version. There are various commands you can use in WSL, type wsl –help to view all the commands in command prompt.
Read Also:
How to install windows subsystem Linux?
How to install FFmpeg using Command Prompt in Windows 11/10?
How to remove WSL Linux distro using PowerShell in Windows 11?
Fix No Internet connection in WSL on Windows 11/10
Fix WslRegisterDistribution failed with error 0x80004005 in Windows 11
Fix Process Exited with Code 4294967295 in WSL on Windows 11

