Remote Desktop Connection is also Known by several names formerly Microsoft Terminal Services Client, mstsc, Remote Desktop, or tsclient. In IT terms we used to call Remote Desktop or RDP. It is one of the components of Microsoft windows that allow a user to take control of a remote computer or virtual machine over a network connection. To access Remote connection both the devices should be connected to the same network or to the internet. Once the connection is established the users can now access and take control of the other system. You can have unrestricted control over the Mouse, Keyboard, or basically the entire computer. Mostly Remote Desktop is used by IT professionals, Customer support representatives, Managed service providers, or MSPs. In most of the Corporate companies, Users use RDP to access the client machines to work remotely. As I mentioned above Remote Desktop is installed and enabled by default in all Windows Versions. This article will guide you to Disable Remote Desktop using Command Prompt or PowerShell.
Disable Remote Desktop using Command Prompt:
Note: Modifying the Registry is risky, and it causes irreversible damage to your OS Installation Follow the steps correctly. Friendly advice Before Modifying Registry Creating Restore Point is recommended.
Open Run command with Admin Privileges. Search for command prompt in Cortana search right click on command prompt and choose run as admin.
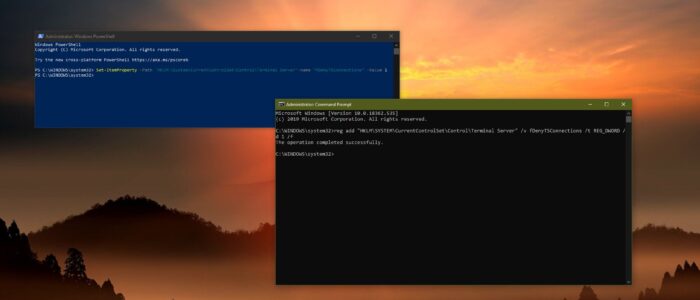
Now type the following command and hit enter
reg add “HKLM\SYSTEM\CurrentControlSet\Control\Terminal Server” /v fDenyTSConnections /t REG_DWORD /d 1 /f
fDenyTSConnections specifies whether Remote Desktop connections are enabled.
By default, this value is set to 1, But if you already enabled the Remote Desktop connection, then the value will be set to 0, Run the above-mentioned command to Disable it.

Next, execute the following command to allow RDP in the firewall.
netsh advfirewall firewall set rule group=”remote desktop” new enable=yes
This command will update the firewall rules and now you can start using Remote Desktop connection.
Disable RDP using PowerShell:
Note: Modifying the Registry is risky, and it causes irreversible damage to your OS Installation Follow the steps correctly. Friendly advice Before Modifying Registry Creating Restore Point is recommended.
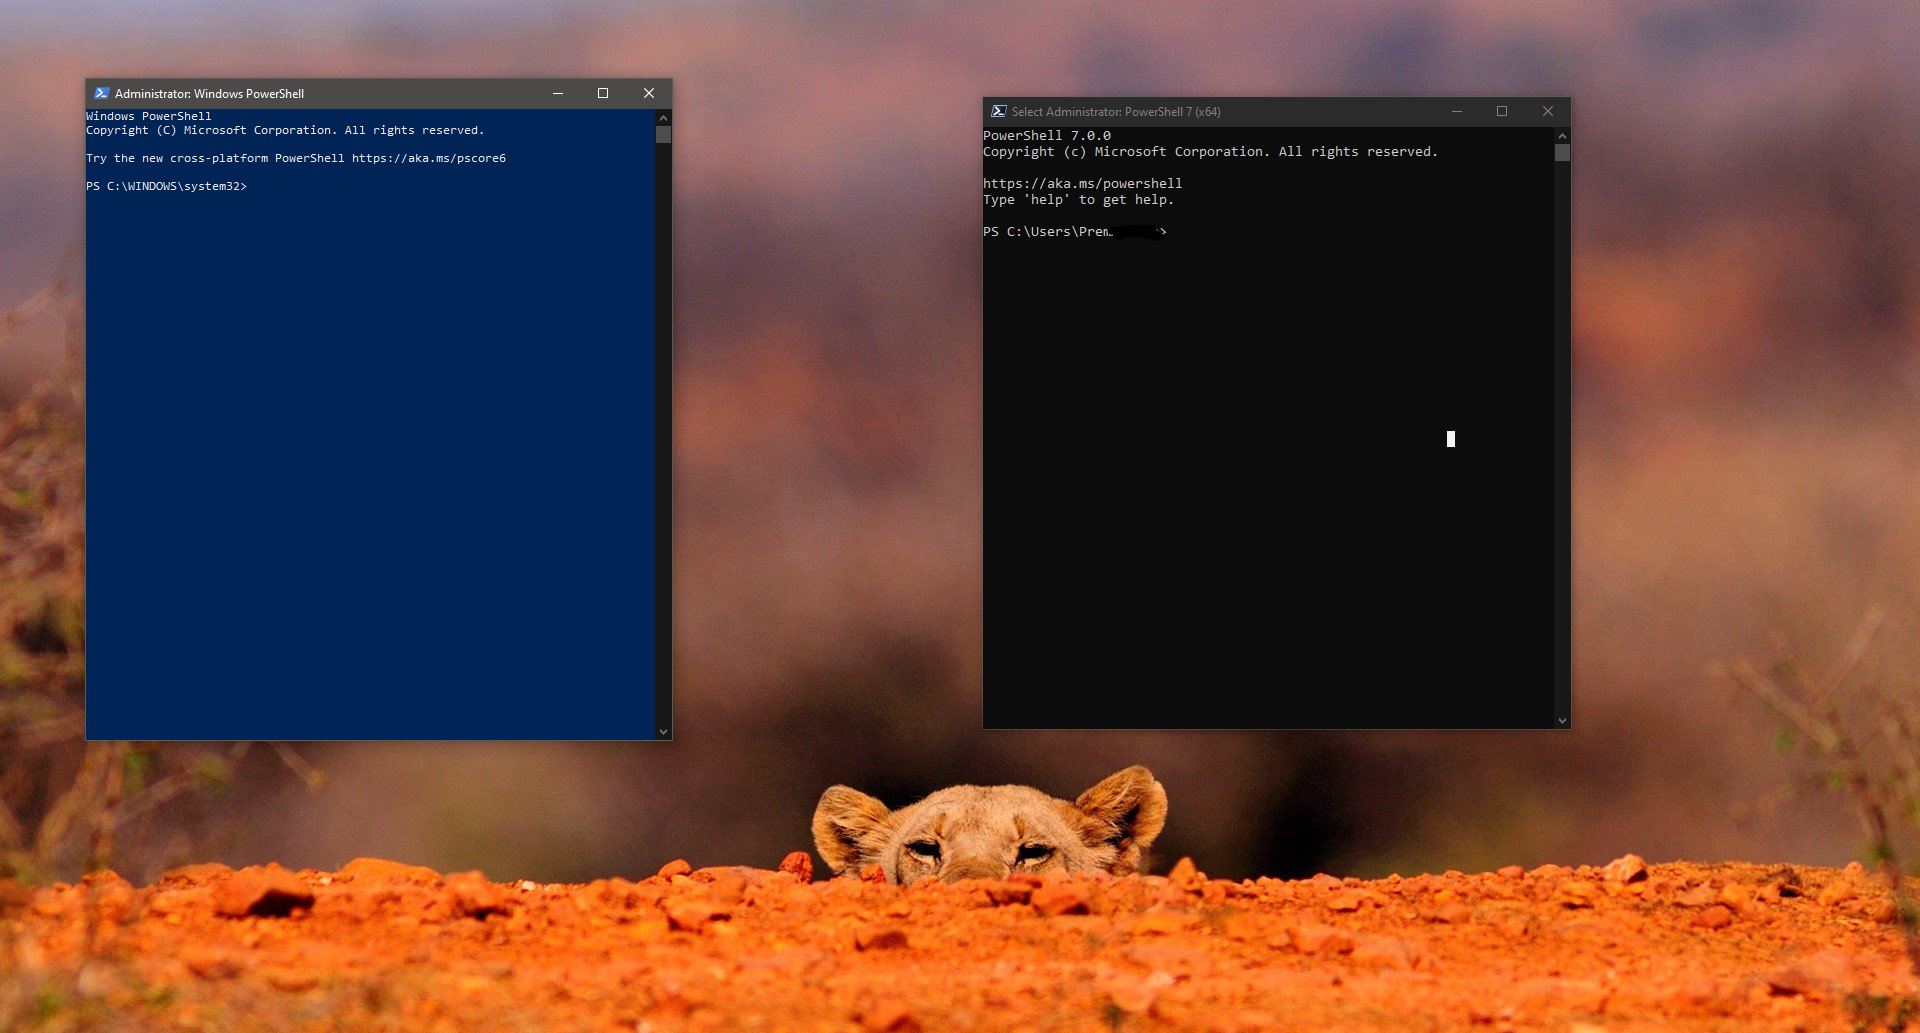
Open Windows PowerShell in admin mode, search for PowerShell in Cortana search, right-click and choose run as admin.
Now enter the following command and hit enter.
Set-ItemProperty -Path ‘HKLM:\System\CurrentControlSet\Control\Terminal Server’-name “fDenyTSConnections” -Value 1
fDenyTSConnections specifies whether Remote Desktop connections are enabled.
By default, this value is set to 1, But if you already enabled the Remote Desktop connection, then the value will be set to 0, Run the above-mentioned command to Disable it.

Next, execute the following command to allow RDP in the firewall.
Enable-NetFirewallRule -DisplayGroup “Remote Desktop”
This command will update the firewall rules and now you can start using Remote Desktop connection.
Read Also:
Fix RDP Authentication Error has Occurred in Windows 11/10
Fix RDP Error Code 0x104 in Windows 10
How to fix Remote Desktop Connection audio not Working?
Fix Remote Desktop Services is currently busy in Windows 11/10
How to increase the RDP session time limit in Windows 11?

thanks, that is great.