Everyone needs to work with a better performance system, Somehow we always end up working in a slow environment. You can avoid this by clearing the Temp files daily basis. This post explains how to Increase Win 10 Performance by Auto Deleting Temp Files.
What is Temp files and How it’s creating?
A temporary file or temp file is a file created to hold information temporarily while a file is being created. After the program has been closed, the temporary file should be deleted. Temporary files are used to help recover lost data if the program or computer is abnormally halted. Microsoft Windows and Windows programs often create a.TMP file as a temporary file. However, the Windows temporary folder can contain any file, not just .tmp files. Whenever you start an excel or word the temp file is created in the Temp folder by the system. This temp files stores the information of the particular file. If the system shutdown happens unexpectedly no need to worry about the data which you didn’t safe, it will automatically save by the system in the temp folder. This example is a reference so like this the system save all the windows programs temp data in the temp folder. If we didn’t delete the Temp files for so many days this will create a pile of data and occupies the disc space. This is the main reason for system slowness.
Increase Win 10 Performance by Auto Deleting Temp Files

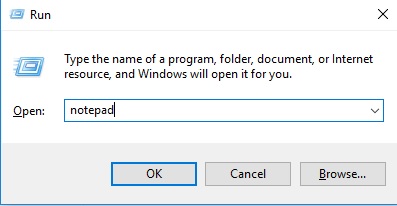
1. Open Notepad, Press Windows + R it will open the Run Dialog box and type Notepad in the RUN and Hit Enter.
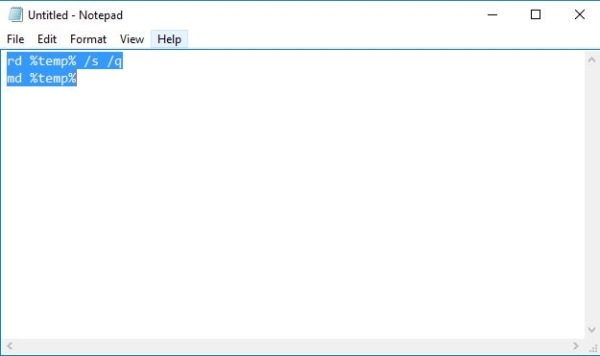
2. Now copy-paste the following code into your newly opened Notepad file.
rd %temp% /s /q
md %temp%

This command first removes the Temp directory and Recreate it back, while removing the directory all the Temp data will be deleted.
3. The next step is saving the file. If the system wants to clear the Temp files at startup the file should be saved in the startup folder. The Startup folder in Windows contains a list of shortcuts of those applications that start when your Windows start. Earlier, you could easily access the Windows 7 startup folder from Start Menu > Startup.
4. In Windows 10 the Startup Folder Location has been changed. To save the file, hit CTRL+S keys together. Or you can click on the File tab at the top and then choose Save as an option. Once the Save as window opens up, choose Save as type as All files.
For the File name option, copy-paste the following path and file name.
%appdata%\microsoft\windows\start menu\programs\startup\cleantemp.bat
Here the file name is mentioned as cleantemp.bat you can change the name as your wish, without changing the extension.
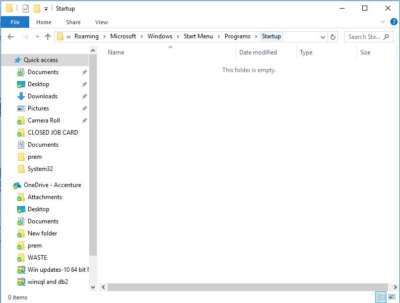
If you need to delete the file from the startup folder. Enter the following path in the file explorer and Hit enter. Then you can search for the cleantemp file and delete it.
%appdata%\microsoft\windows\start menu\programs\startup

Read More:
How to Increase Disk Space by Deleting Crash Dump Files?
How to Free Up Disk Space Using Storage Sense on Windows 10?
What is mpcache.exe? How to Delete mpcache files in Windows 11?
How to Move Browser Cache Location with cache Relocator?


