A PowerShell Module is a package that contains PowerShell commands, such as cmdlets, Providers, functions, workflows, variables, and aliases. Windows PowerShell modules enable you to partition, organize, and abstract your Windows PowerShell code into self-contained, reusable units. With these reusable units, you can easily share your modules directly with others. If you are a script developer, you can also repackage third-party modules to create custom script-based applications. Modules, similar to modules in other scripting languages such as Perl and Python, enable production-ready scripting solutions that use reusable, redistributable components, with the added benefit of enabling you to repackage and abstract multiple components to create custom solutions. At their most basic, Windows PowerShell will treat any valid Windows PowerShell script code saved in a .psm1 file as a module. PowerShell will also automatically treat any binary cmdlet assembly as a module. However, you can also use a module (or more specifically, a module manifest) to bundle an entire solution together. Today in this guide will help you to install Windows PowerShell module in Windows 10.
Steps to install Azure PowerShell Module
- Open PowerShell in Run as admin mode

- And type the below-mentioned command and hit enter

Install-Module AzureRM
- After installing we have to import the Azure module, enter the below-mentioned command to import the Azure module. Importing is the process that loads the module into active memory so that a user can access that module in their PowerShell session. In PowerShell 2.0, you can import a newly-installed PowerShell module with a call to the Import-Module cmdlet. In PowerShell 3.0, PowerShell is able to implicitly import a module when one of the functions or cmdlets in the module is called by a user. Note that both versions assume that you install your module in a location where PowerShell is able to find it; for more information, see Installing a PowerShell Module. You can use a module manifest to restrict what parts of your module are exported, and you can use parameters of the Import-Module call to restrict what parts are imported.
Import-Module AzureRM
- After importing we can log in to Azure account using this module, Type the below-mentioned command to Login Azure account


Login-AzureRmAccount
- Once you entered the command it will show the Microsoft login tab, enter your office or personal account to login into Azure portal.
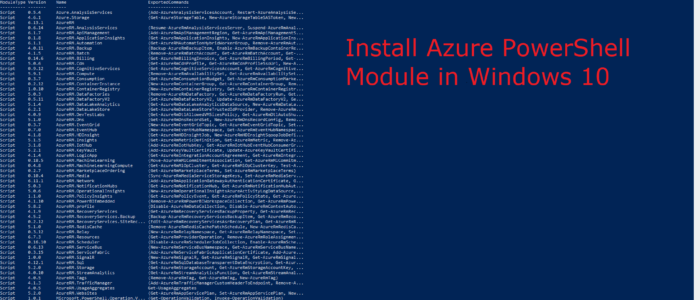
- To get the list of all imported modules you can use the below-mentioned command.
Get-module –ListAvailable

- This command will list out all the available or imported modules and also you can find the path of all imported modules. To get the path you can enter the below-mentioned command.
$env:PSModulepath

This command will show the available path for available modules.
Read Also:
How to find Global Administrator in Azure AD using PowerShell?