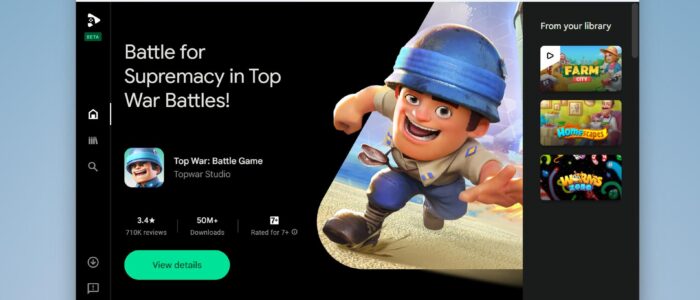
Last Year Google Launched Google Play Games Beta for Windows PC to enable Players to experience immersive and seamless cross-platform gameplay. Using Google Play Games, users can browse, download, and play mobile games on their PCs which allows users to take advantage of larger screens and improved controls with mouse and keyboard inputs. Users can also pick up where they left off since progress and game libraries are synced across devices. Google recently announced that Google Play Games beta on PC is now available to users in India, Users can play mobile games across their phones, tablets, Chromebooks, and PCs, its available in English and Hindi. Besides India, this was launched in over 60 new regions. Google Play Games contains hundreds of games, all optimized for larger screens and improved controls. If you are a Windows 11 user and want to install Google Play Games beta, then this article will guide you to Install Google Play Games Beta on Windows 11.
Install Google Play Games Beta on Windows 11:
Before installing Google Play Games beta, your PC needs to fulfill a few hardware requirements to run Google Play games, Make sure your computer meets the minimum requirements before installing Google Play Games Beta.
Minimum Requirements to Install Google Play Games Beta:
- OS: Windows 10 (v2004)
- Storage: Solid state drive (SSD) with 10 GB of available storage space
- Graphics: IntelⓇ UHD Graphics 630 GPU or comparable
- Processor: 4 CPU physical cores (some games require an Intel CPU)
- Memory: 8 GB of RAM
- Windows admin account
- Hardware virtualization must be turned on
Enable Hypervisor Platform on your Windows PC:
As a First step, you need to enable Windows Hypervisor Platform on your Windows PC to install and run Android games from Google Play Games. Follow the steps below to enable Hypervisor Platform on your PC.
Open the Run command by pressing Windows + R and type appwiz.cpl and hit enter, This command will open the Programs and features.
From the left-hand side click on Turn Windows features on or off.

Under Windows Features Check Windows Hypervisor Platform and click on OK.

This will enable Hypervisor Platform on your PC, Restart your system once to make the changes effective.
Download and Install Google Play Games Beta:
Once you enabled the Hypervisor Platform, then you can download and install Google Play Games on your Windows 11 PC.
Go To Google Play Games Official site in your Browser and Click on Download beta.

A setup file will download on your PC, double click and Open the Setup file.
Google Play Games will now be downloaded and installed on your PC. This will take time depending on your network speed.

Once the setup is installed successfully, it will launch the Google Play Games window, Click on Sign in with Google.

Authenticate with your Google Account and click on Allow, once you authenticate, it will ask you to confirm the Profile, click on Looks good, and proceed.

Then Accept the Terms and Conditions and set the Privacy, You can check or uncheck to share anonymous data with Google to help to improve its apps with future updates.
Click on Finish and Proceed to the Google Play Games dashboard.
Here you can see a list of Games, scroll down the homepage to find a game you wish to download.

Install the Games as per your wish and play. You can see the installed Games under the Library section.
Once the game is installed, click on Play to play the game.
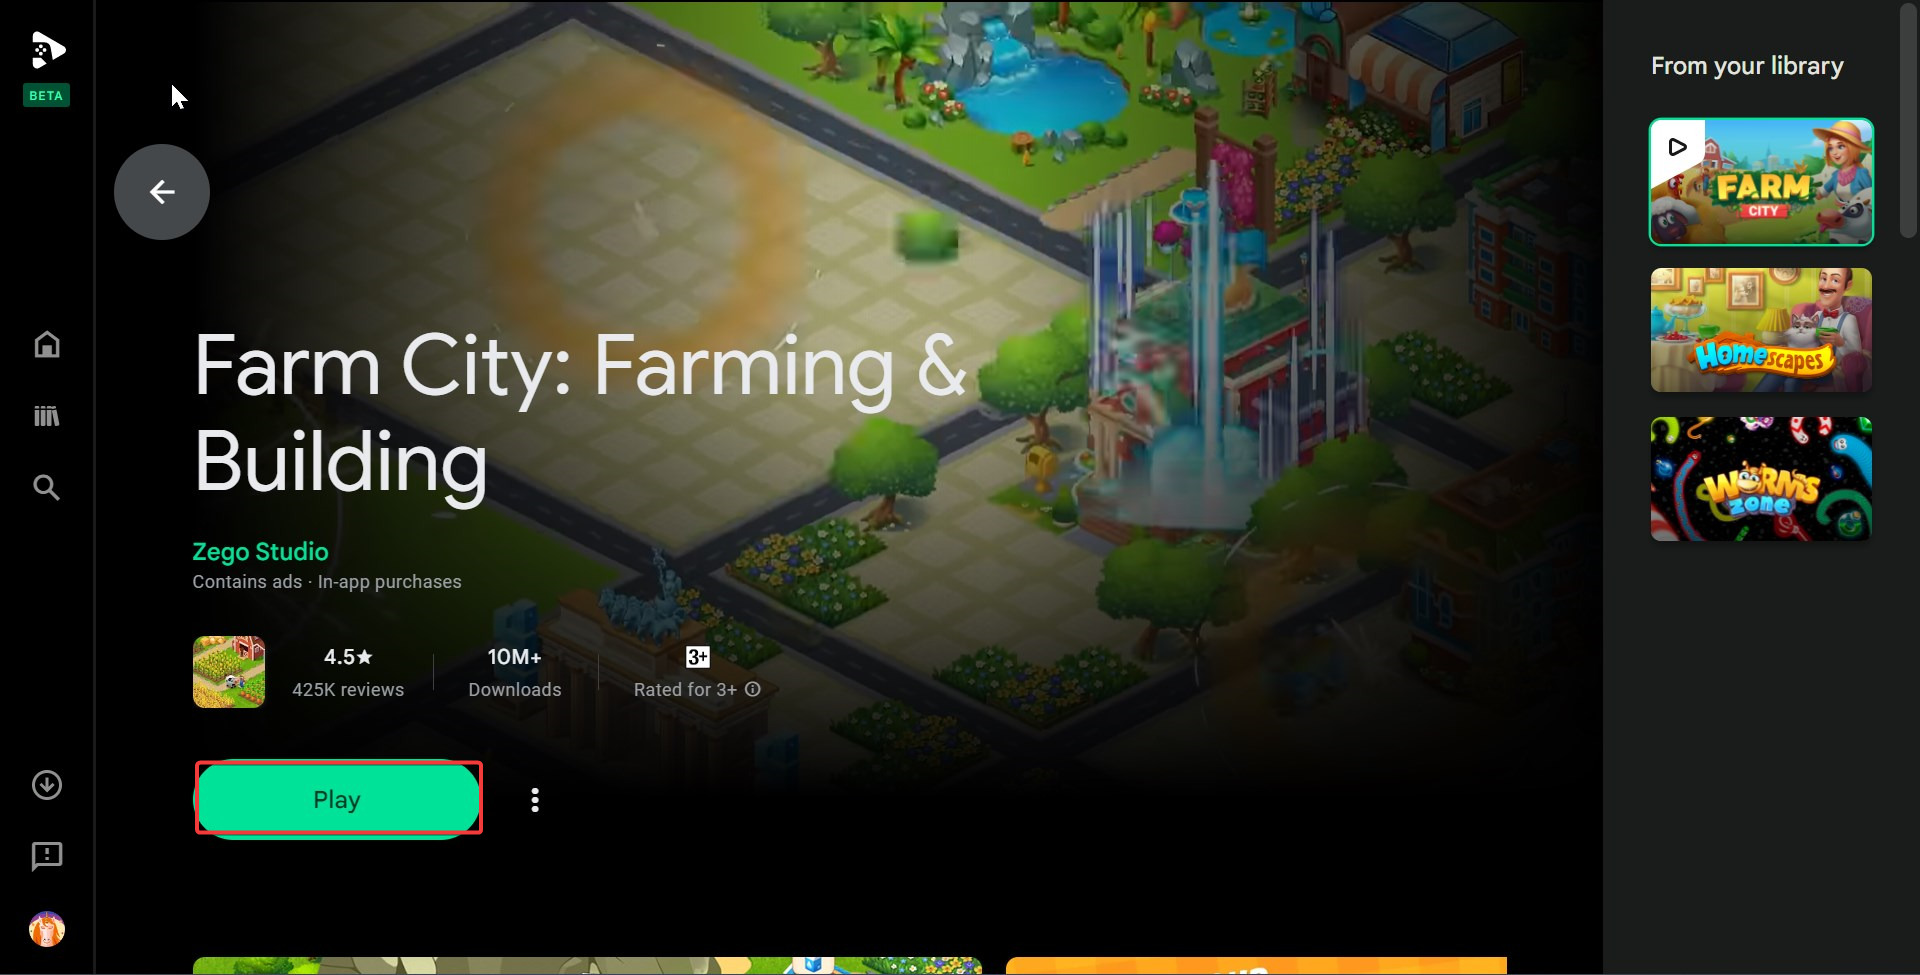
By default, the game will now launch in Full-screen mode, Press the Shift + tab to exit the full screen or to exit game.
Also, you can see the volume controls and Remap controls on this window. To quickly access and disable the full-screen mode, you can use the F11 key.
Video Guide:
Read Also:
Top 5 Windows Old apps and games still we can use in Win10
Install Windows Subsystem for Android in Windows 11
What is Windows Subsystem for Android?
Microsoft Edge Introduced Edge’s Secret Surfing Game

