Microsoft has finally released the first Windows 11 preview build through the Windows Insider Preview Program. There are lot of confusion in installing or upgrading Windows 11. First, in two ways you can install Windows 11 on your PC. First, check for your PC eligibility using the PC Health Check-up or WhyNotWin11 tool. If your system passes the eligibility check then you can sign up for Windows Insider Program and then choose the Dev channel and upgrade Windows 10 to Windows 11.
In the second method, if your system doesn’t pass the system eligibility check, then you can install the Windows 11 Preview Build by downloading the Windows 11 ISO. I have already shown the UUP Dump tool method to download and install Windows 11 on an unsupported system. But many users reported that the ISO conversion is not happening and getting errors while converting the ISO. To fix this issue, we have downloaded the preview build and convert it to ISO and upload it to the Mirror Links Drive. You can download the Windows 11 Preview build from the below-mentioned mirror links.
Install Windows 11 Insider Preview build in Non supported Systems:
To Install Windows 11 Insider Preview build in Not supported system, you need to download the ISO file first. Click on the mirror link below and download the Windows 11 preview build ISO.
You can also download the Windows 11 Insider Preview from their Official Download page, but that build is currently not available.
Mirror links: Click here to Download.
How to Install Windows 11 preview build in Non supported system?
In two ways you can install the Windows 11 Insider Preview build in Non supported system.
In the first method directly download and mount the ISO on your Windows 10 system and click on the setup file to Install.
Follow the on-screen instruction, while installing you will get a pop-up, choose to Keep Windows settings, Personal Files and apps.
That’s it after the installation, open Windows Settings and click on Update & Security.
Click on the Windows Insider Program located on the left panel and make sure you have chosen the correct Windows Insider Channel.
For unsupported devices use the Clean Installation method:
First download the ISO from the above link and follow the instruction as mentioned below.
Create a Bootable Windows 11 image using the Rufus Software. Make sure you are having a 16GB thumb drive, to create a bootable image first, you need to Download the Rufus software. Install the Rufus on your machine, right-click on it and choose run as admin.
Choose the Windows 11 ISO, and under partition choose GPT and Target system choose UEFI (non CSM), click on Start.
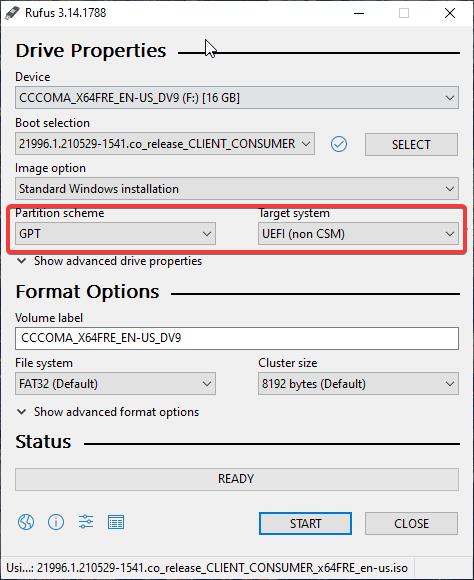
Now Rufus will show pop-up to format all your data on the USB drive, click on Yes and proceed with the installation, The bootable process will take time, be patience and once the installation is done, you can see the Ready message.
Next, Mount the recent Windows 10 ISO file and open the Sources folder, and select all the files and folders except the install.wim file and copy to the bootable image pen drive inside the Sources folder.
You’ll get replace files folder popup, just click on Yes to all and replace it.
That’s it you have successfully created Windows 11 bootable image, now you won’t get any error while installing.
Get Windows Insider Preview build from Windows 11 Leaked Version:
Most of the users Installed the Leaked version of Windows 11 on unsupported devices. if you didn’t install the Leaked version, then click on this link and first Install the Leaked Version on your system.
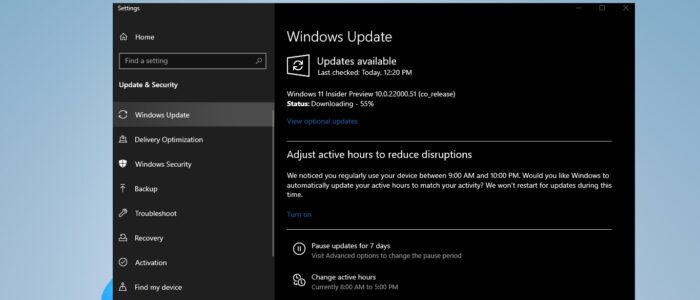
Once you installed the Leaked version on your system, then sign up for Windows Insider Program. Then Go to the Windows Update Settings and click on Check for Updates.
Now you’ll get Windows Insider Preview build, Click on Download and install it. After the Installation your system will automatically restart.
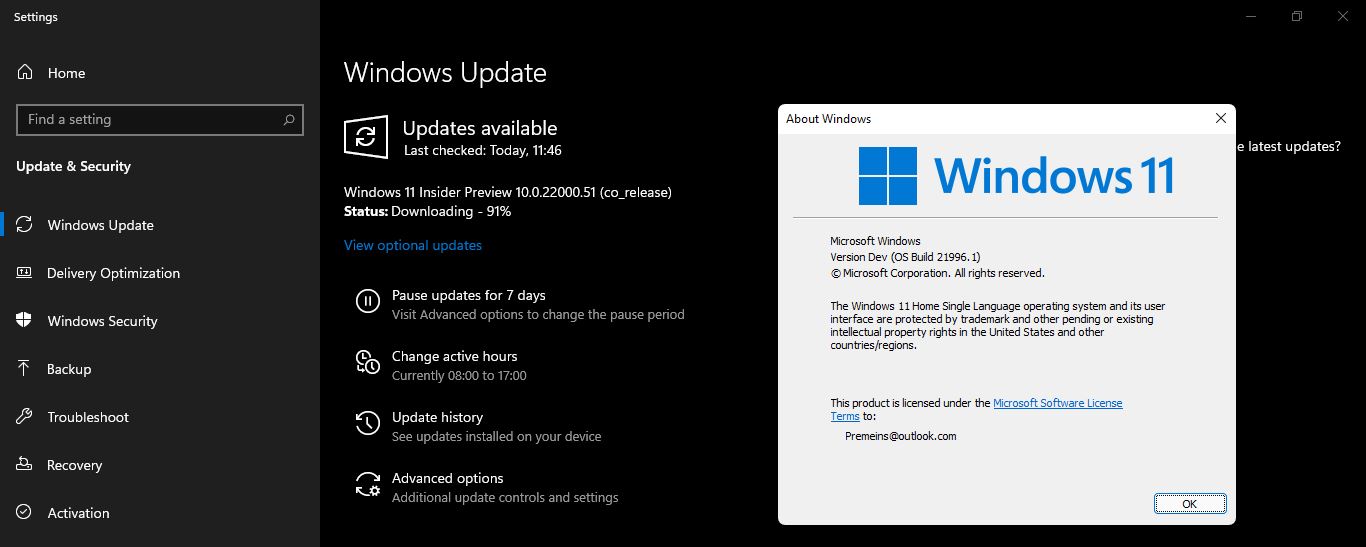
I personally Installed Windows 11 Insider Preview build on Core i3 5th gen processor. it’s working fine for me.
Read Also:
Install Windows 11 without Microsoft Account

