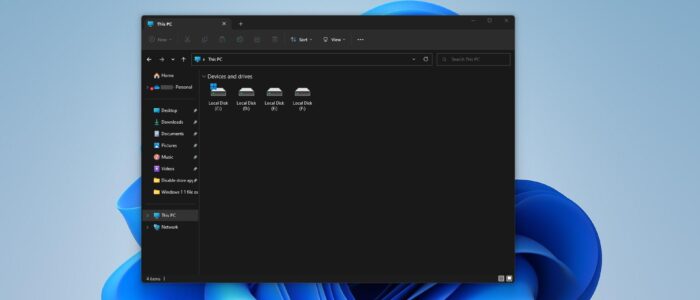
Windows 11 File Explorer is completely based on the Windows UI Library (Win UI), but it still retains the same familiar legacy version. Windows 11 File explorer has new visual elements, tweaks, a new command bar, new icons, tabs, and many more improvements. The new File explorer matches the Windows 11 design and it comes with rounded corners and a base layer that uses mica material which is semi-transparent and that does not affect performance or battery life. Microsoft removed the ribbon style and replaced it with a new command bar that has new icons, including Cut, Copy, Paste, Rename, Share and Delete. Apart from these changes, there are lot of improvements and features added in Windows 11 File Explorer. Recently few users reported that they are facing the Windows 11 File explorer not responding issue after the Windows update. This article will guide you to fix Windows 11 File Explorer not responding or the Slowness issues in Windows 11.
Fix Windows 11 File Explorer not responding or Slow:
There is no particular root cause for this issue, Before proceeding make sure your device is supported for Windows 11, if you installed Windows 11 on an unsupported device, then you may encounter this kind of issue. Follow the below-mentioned resolution methods to fix this issue.
Solution 1: Restart File Explorer:
Once you encounter this issue, the first resolution is to restart the file explorer, Open Task Manager,
Press Ctrl + Alt + Del, and Choose the Task Manager.
Click on the Process tab and look for Windows Explorer. Click on it and choose Restart task.
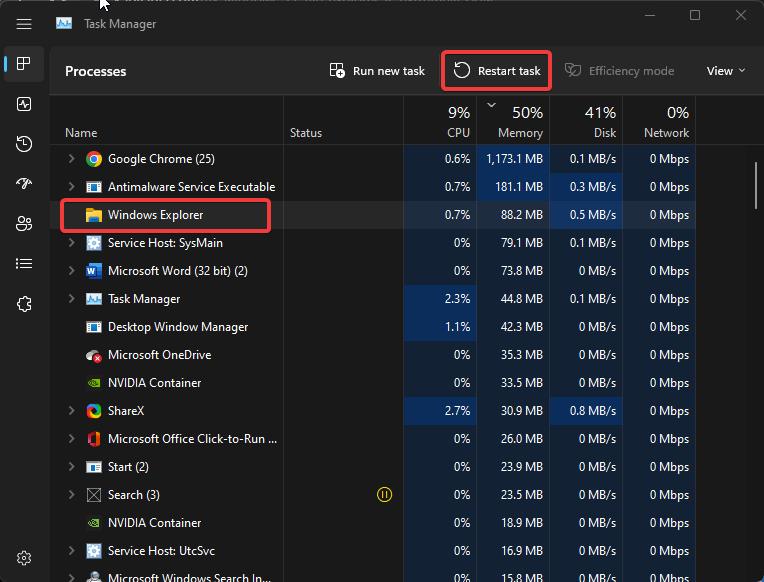
This will restart the Windows Explorer process.
Solution 2: Disable Quick Access:
Quick access is a feature that provides an easy way to find files and folders. It’s like browser history, it stores all recently access files and folders. This makes the user to conveniently access recent files without searching it, sometimes Quick access files and folders may load slowly this will make the File Explorer to respond slowly. Disabling the Quick access will make the File Explorer to load fast. Follow the below mentioned steps to Disable Quick Access feature.
Open File Explorer by pressing Windows + E and press the three dots menu button from the top right corner and choose Options.
Under Folder Options click on General, and under Privacy section uncheck the following options.
- Show recently used files
- Show frequently used folders
- Show files from Office.com
And finally click on Clear to delete and the quick access history.
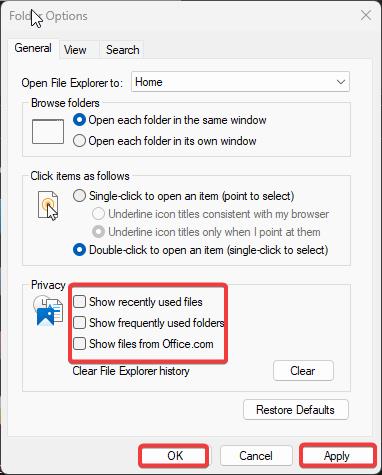
Click on Apply and OK.
Solution 3: Close all the Background Processes:
Open Windows Task Manager, Press Windows + X and click on Task Manager.
Click on the Processes tab and under Apps, click on the Superfluous apps and close all the apps.
End all third-party or unnecessary apps that running in the Background.
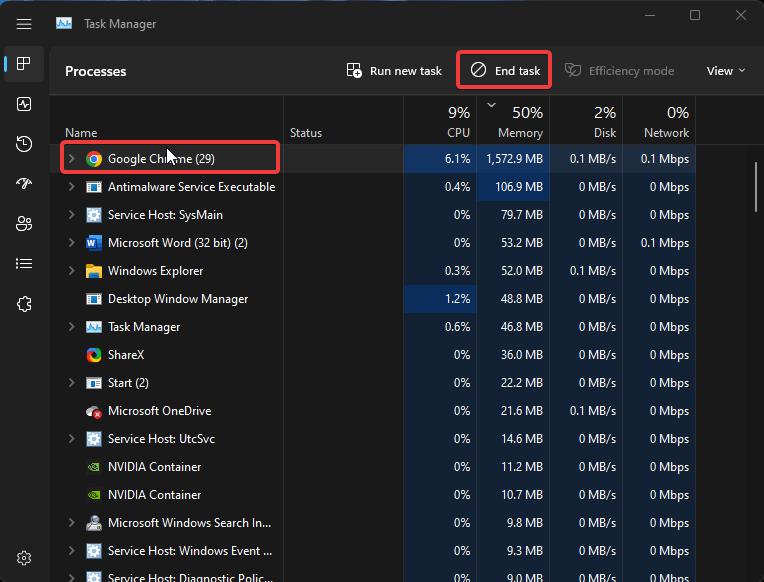
Close the Task Manger and clear the temp files. Restart your system once.
Solution 4: Check for Windows Updates:
Open Windows Settings by pressing Windows + I and from the left-hand pane click on Windows Update.
From the right-hand pane, click on Check for Updates, If there is any pending updates, click on Download and install all.
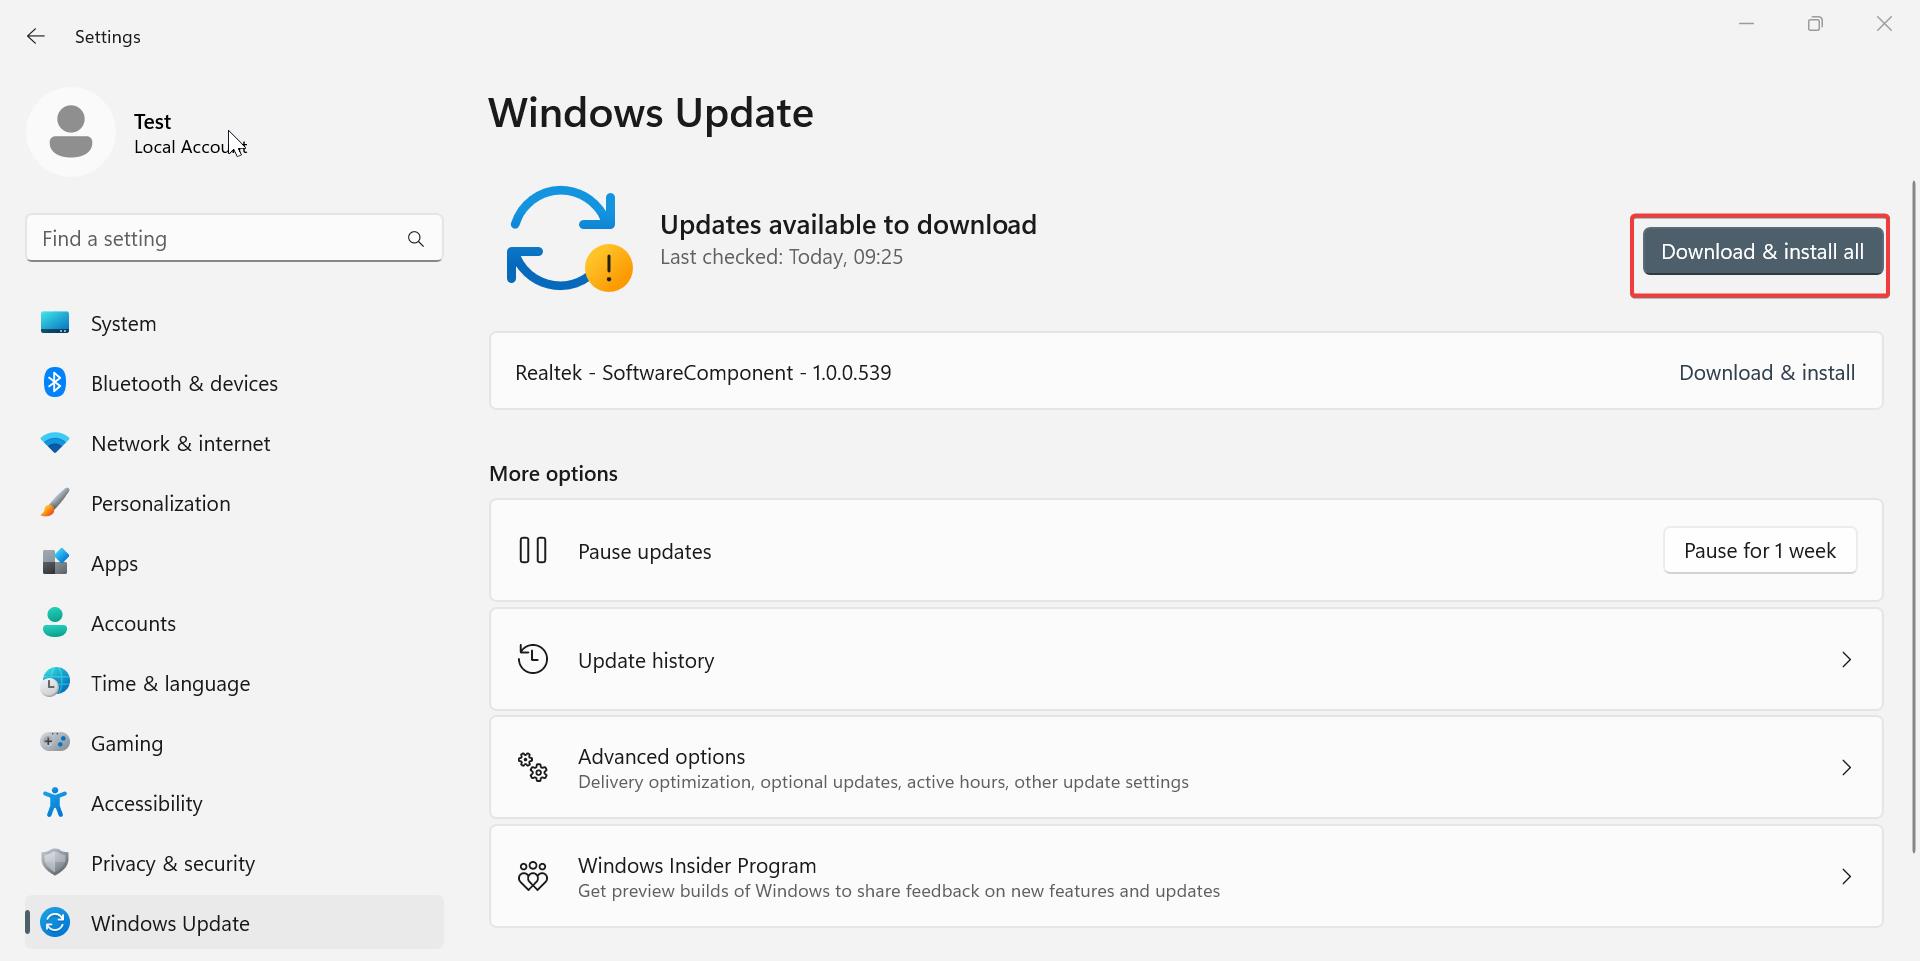
Restart the system once and check.
Read Also:
Fix Quick Access not showing in Windows 11 File Explorer
Fix Map Network Drive missing in Windows 11 File explorer menu
How to Block Ads in Windows 11 File Explorer?
How to Change the Default Folder in File Explorer on Windows 11/10?
Fix Disk Space Usage bar missing in File Explorer on Windows 11/10
How to Disable Tabs in Windows 11 File Explorer?
How to use File Explorer size filter in Windows 11?

