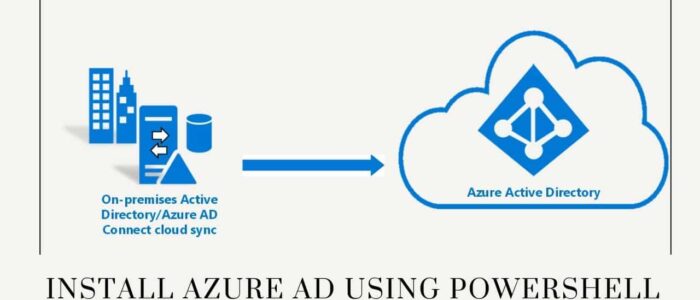
Azure Active Directory is Microsoft’s multi-tenant, cloud-based identity, and access management service. In Simple terms, Azure Active Directory is a Cloud-based Active Directory, which is used to manage users and groups. Azure AD allows users to sign in and access external resources such as office 365, the Azure Portal, and a list of other SaaS applications. And, you can access the internal resources, such as apps on your corporate network and intranet, along with any cloud apps developed by your own organization. Azure AD has three types of audiences, IT administrators, Application Developers, and Online Customers. Here Online Customers are the users who use the services like Office 365, Azure, CRM services. Once the user ID is created in Azure AD you can immediately start to manage access to your integrated cloud apps. Application Developers use these services to build applications, using many resources the development will become so quick. And finally, the IT administrators take care of all the user creation and sign-in procedures and solve issues related to authentications. Azure AD has a lot of features, that allow users to access and manage things very quickly. There are many ways to access the Azure AD, you can directly login to the Azure portal, or you can use the Office 365 portal to manage users and groups, or you can use the PowerShell to Connect and manage Azure AD. This article will guide you to connect to Azure Active Directory Using PowerShell.
Related: How to install Azure PowerShell Module in Windows 10?
Connect to Azure Active Directory Using PowerShell:
Follow the below-mentioned steps to install and connect to Azure Active Directory using PowerShell. We can connect to Azure AD using PowerShell in different methods.
Basically, we can use PowerShell Modules to connect to Azure AD, and there and two Azure AD PowerShell Module.
- MS Online – The original PowerShell Module that was released six years ago and is not being developed anymore.
- Azure AD – The new version of the original Module that currently being developed but not complete and still in Preview Edition.
And Due to the lack of updates and development, the MS online is not being used by many users, so we skip to the Azure AD part, Azure AD PowerShell module has two versions at the moment. First Azure AD 2.0, this is the basic and stabled version, and the second one is Azure AD Preview, this is the latest Azure AD PowerShell Module build, which has more cmdlets than the 2.0 version.
The following steps will show you to Install and connect to Azure AD PowerShell Module in Windows 10/11.
Click on the Start menu and search for Windows PowerShell and right-click on it and choose Run as Administrator.

Once you launched the PowerShell type the following command.
Install-Module AzureAD
Now you will get one message like an untrusted repository, type Y and hit enter. So this command will install the Azure AD PowerShell module.

To check the Installed module, just type the following command.
Get-InstalledModule
This command will show you the list of installed Modules on your system.
To connect to Azure AD type the following command.
Connect-AzureAD
Once you enter this command, you’ll get enter one pop-up to enter your Microsoft credentials, Enter your credentials and click on Next.

That’s it you have successfully installed and connected to Azure AD using PowerShell.
Read Also:
How to Install Azure CLI using PowerShell on Windows?
How to find Global Administrator in Azure AD using PowerShell?