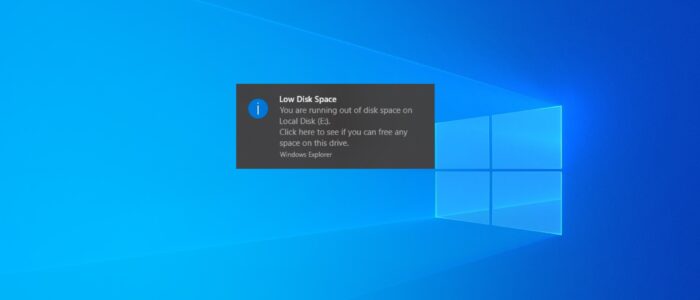
In Windows Operating System once your computer Disk Space is full, immediately you’ll receive an alert from Windows like your computer is running low on Space. You’ll receive this alert based on the disk usage on system partitions or connected drives. If any partition on your system is full then you’ll get this warning message, once you receive this warning message you need to take action, like by deleting unwanted files. If you are getting the warning message for the system OS drive then you need to take immediate action, you shouldn’t ignore this warning, otherwise, your system could crash. But if you are getting a low disk space warning on other drives or partitions then you can ignore it. Windows 10/11 offers several tools like Storage Sense, OneDrive File On-Demand, Compact OS, NTFS compression, and many others to delete junk files, temporary files, apps, and games to optimize the device storage. By using these types of tools you can easily reclaim additional space, and also clearing the disk space on the C drive will improve the overall performance of your system. Once you start receiving this warning message, it keeps popping up every few minutes to remind you that your system running out of space. But you can ignore if the warning message is for other partitions. And you can disable this warning message. This article will guide you to Disable Low Disk Space Warning in Windows 11.
Note: Use this method only if the Disk space is full for other partitions except OS drive.
Disable Low Disk Space Warning in Windows 11:
There is no direct option to enable or disable the Low Disk Space Warning message, so in this method, we are going to use the registry editor to Disable the Low Disk Space Warning message.
Note: Modifying the Registry is risky, and it causes irreversible damage to your OS Installation Follow the steps correctly. Friendly advice Before Modifying Registry Creating Restore Point is recommended.
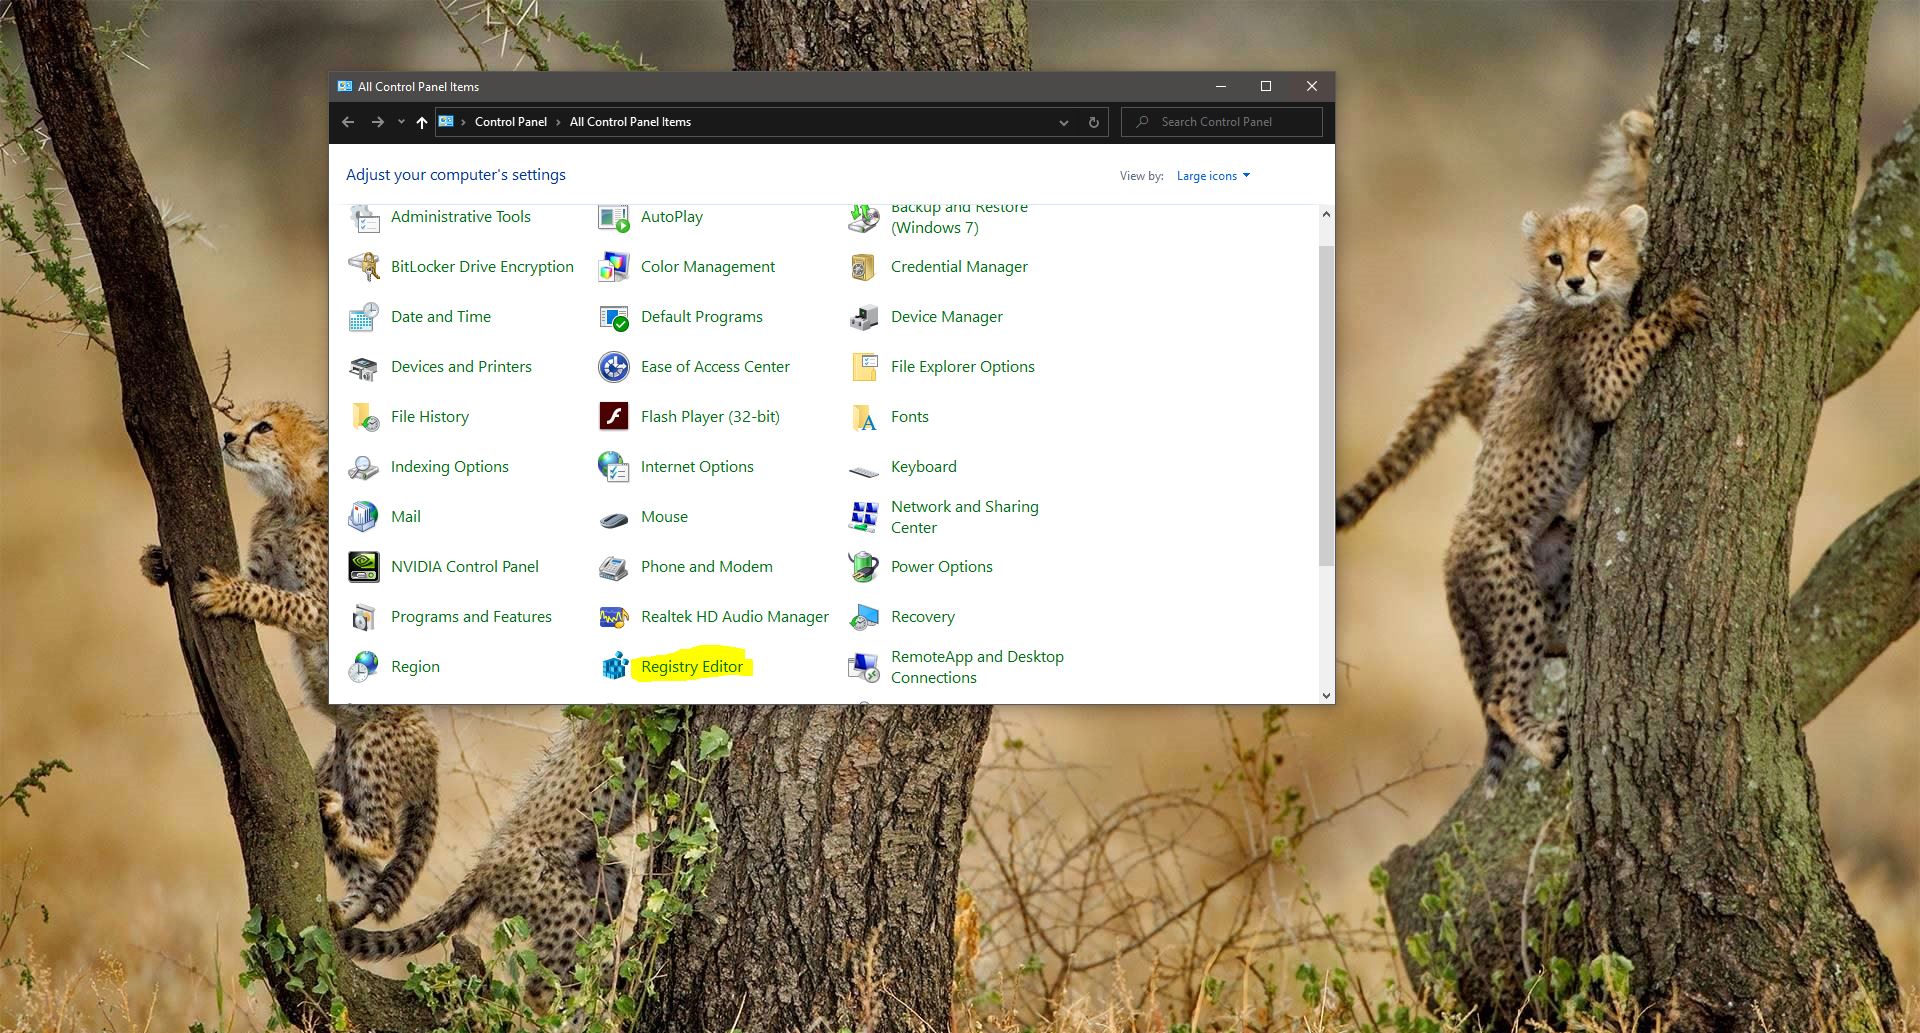
Open the Run command by pressing Windows + R and type Regedit and hit enter, this command will open the Registry Editor Console.
Now Navigate to the following registry path.
Computer\HKEY_CURRENT_USER\Software\Microsoft\Windows\CurrentVersion\Policies
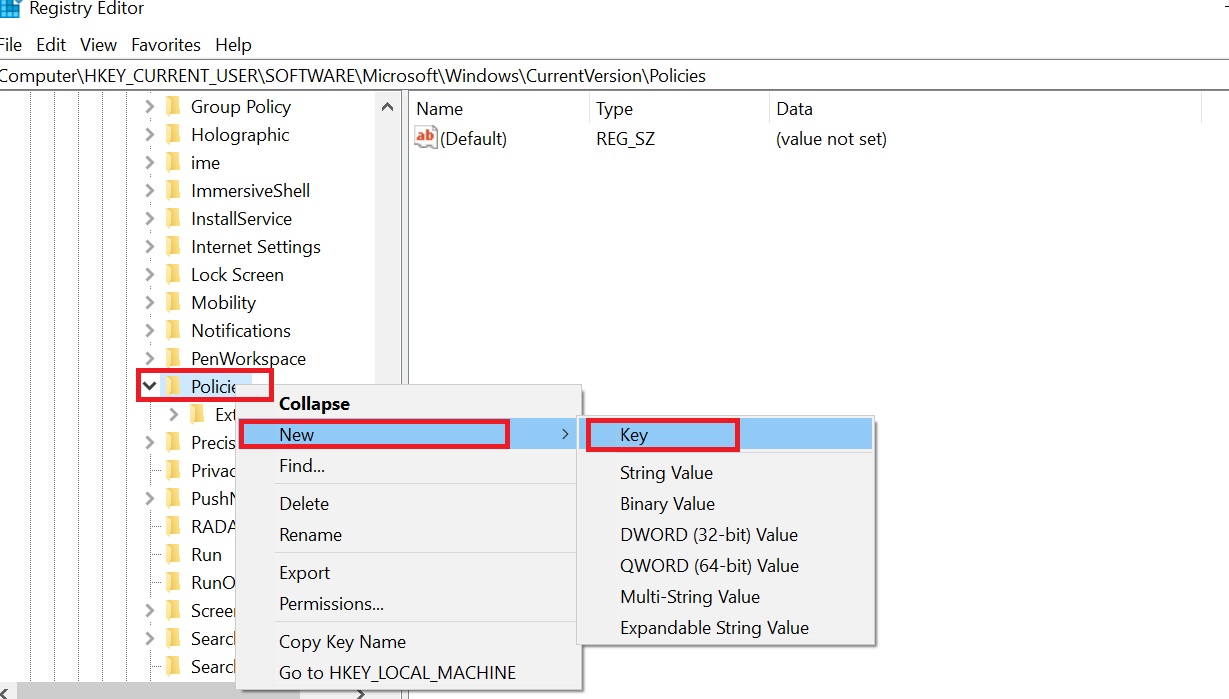
From the left-hand side look for the Registry key named Policies and right-click on it and choose New > Key, and name the new key as Explorer and hit enter.
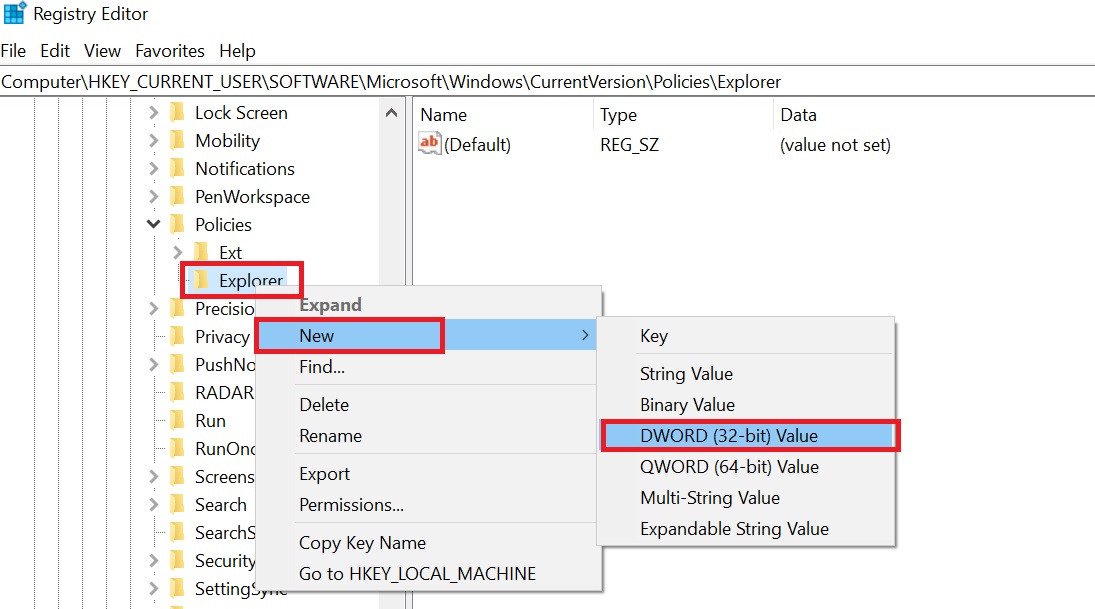
Next Right-click on the Explorer Registry key and choose New > DWORD (32-bit) Value and name it as NoLowDiskSpaceChecks.
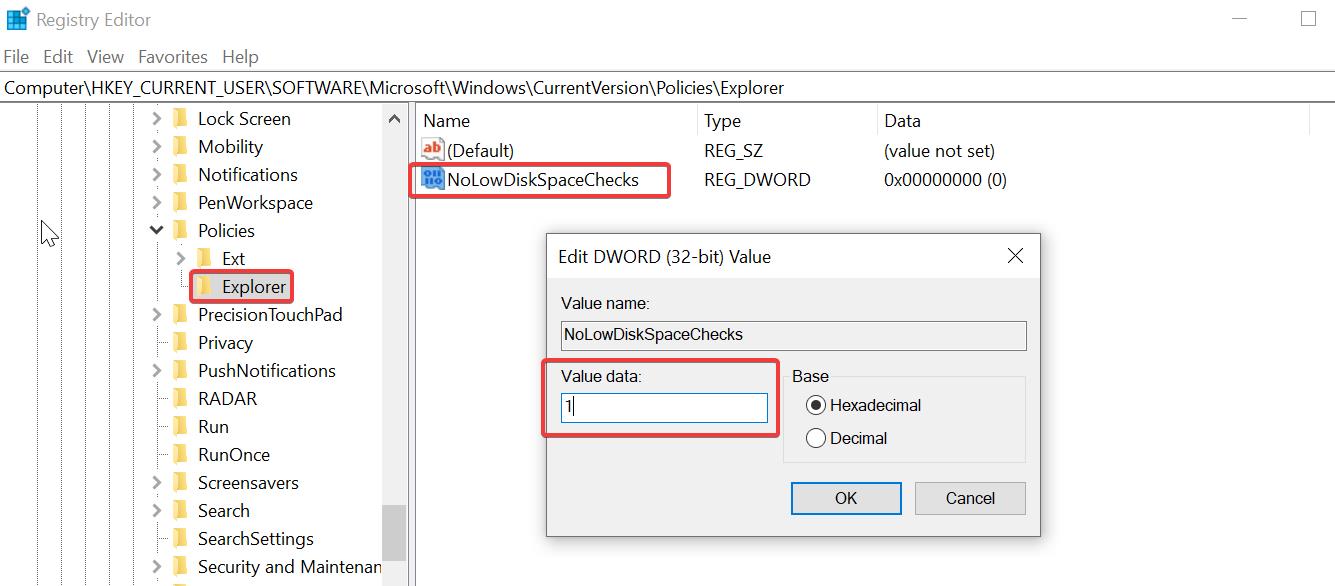
Next Double click on the NoLowDiskSpaceChecks DWORD and set the Value as 1 and click on OK.
Once you modify the value, just close the registry editor and restart the system once. This will Disable the Low Disk Space Warning message in Windows 11.
To Enable the Low Disk Space Warning message, just follow the same steps above and Delete the NoLowDiskSpaceChecks DWORD or modify its value to 0 and click on OK. This will Enable the Warning message.
Read Also:
How to Increase Disk Space After Upgrading to Windows 11?
How to Extend OS partition drive on Windows 11?
Fix Full Disk Space issue in Dell Laptops

