Repairing Windows will fix almost any issue with your PC, and it’s the final troubleshooting method for almost any kind of Problem. Windows offers an Automatic Repair option to Repair the PC if it’s not booting properly. To access the Automatic Repair option you need to boot your PC in safe mode. Under Safe mode, you can access a lot of troubleshooting tools under the Advanced Recovery Environment. But sometimes still these tools won’t help you to fix your PC problems, so the final option is to Reset the PC or you can do a repair install of Windows 11 by performing an in-place upgrade without losing any data. This article will guide you to Repair Windows 11 using an ISO file.
Before Proceeding you need to check the Repair Install requirements.
- You can perform a repair install of Windows 11 from within Windows 11, you’ll not be able to do an in-place upgrade from boot or in safe mode.
- You need to download the same edition, same version, and same or higher build Windows 11 installation media (ISO or USB) as the currently installed Windows 11.
- Make sure the Windows 11 installation media has the same language as your currently installed Windows 11.
- Make sure your system has 20 GB of free Disk space to perform an in-place upgrade.
Repair Windows 11 using ISO file:
If your system is booting and you are not able to fix any particular problem, then repairing or resetting your PC is the best choice. This article will guide you to repair your Windows 11 operating system using an ISO file. Before proceeding make sure there is no important data on C drive and if your Windows drive is encrypted, suspend or Turn off the encryption.
First Download the Windows 11 ISO file, and make sure the version and language match your currently installed version.
Mount the ISO file using File Explorer.
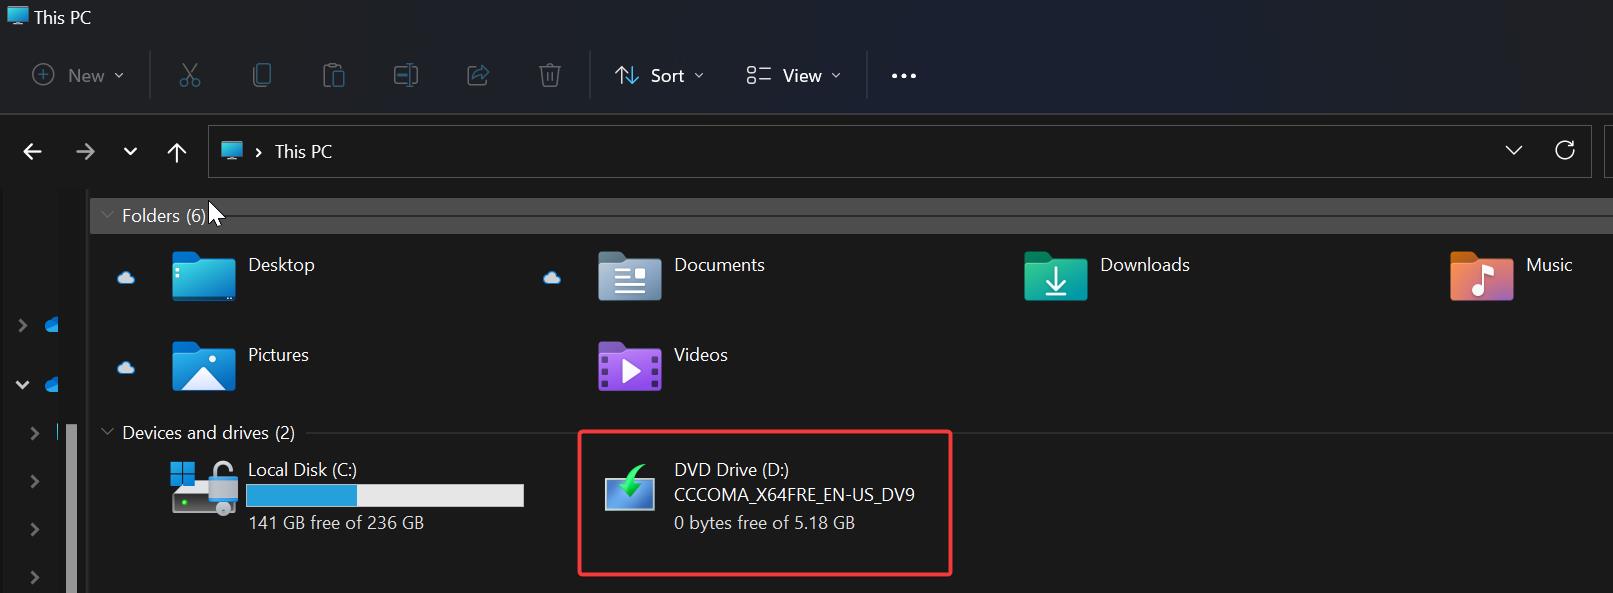
Or you can connect the Bootable USB drive and access the Windows setup.exe file from the USB drive.
Run the Setup.exe file to start Windows 11 setup.
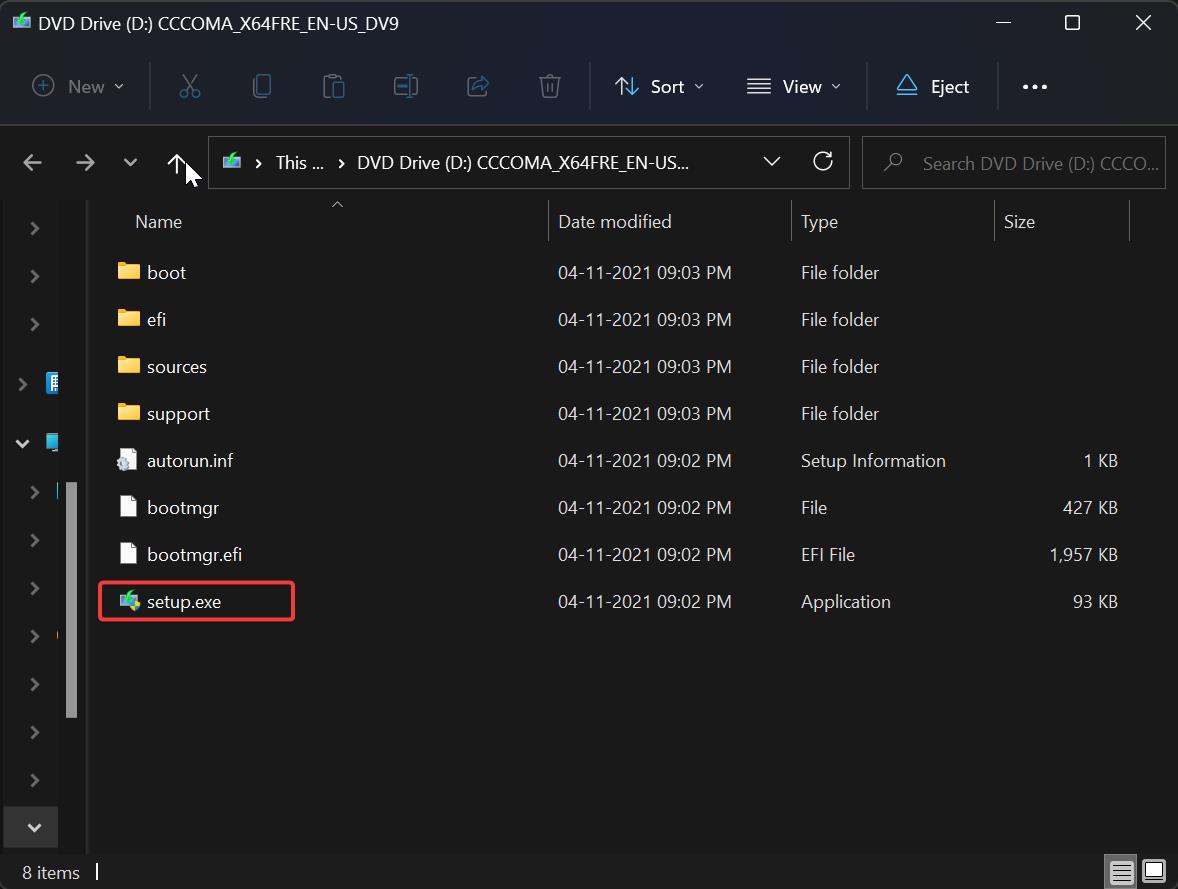
Next, you’ll receive UAC prompt click on Yes and continue.
Now Windows 11 setup will start preparing, once it’s done, you need to follow the on-screen instructions.
On the next screen, just check or uncheck I want to help make the installation better depending on your choice, then click on Next.
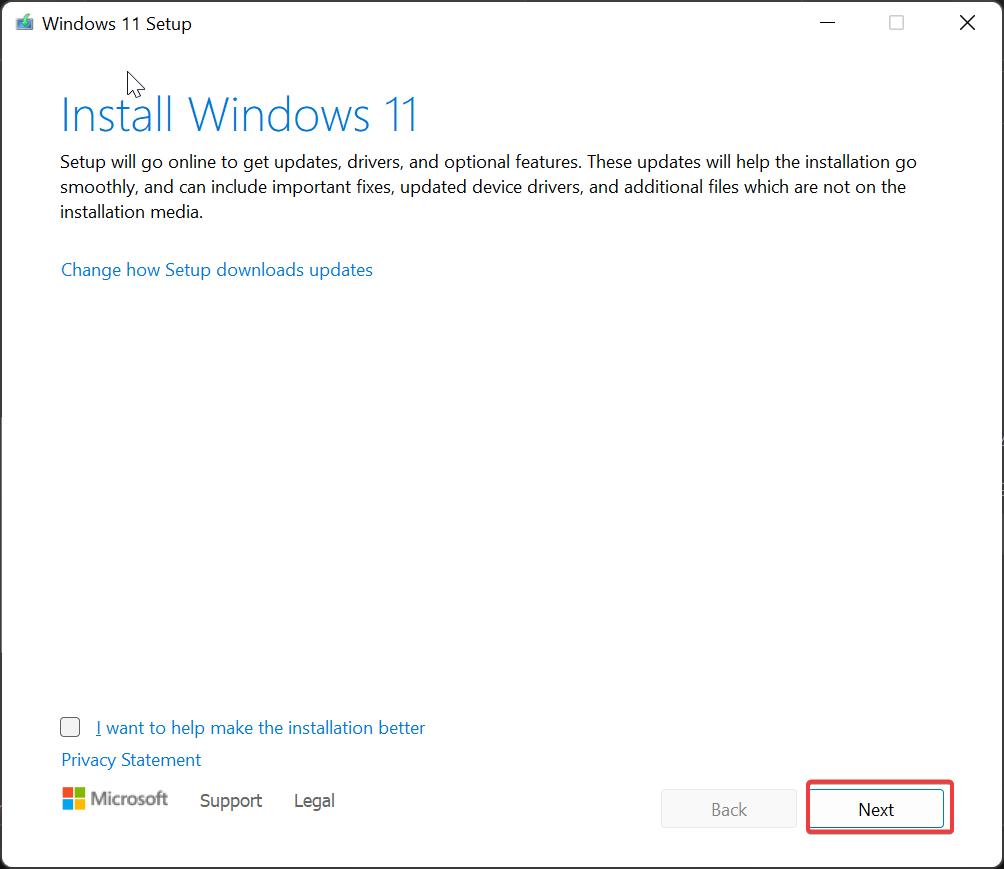
Under the Get updates, drivers, and optional features page choose Not right now and then click on Next.
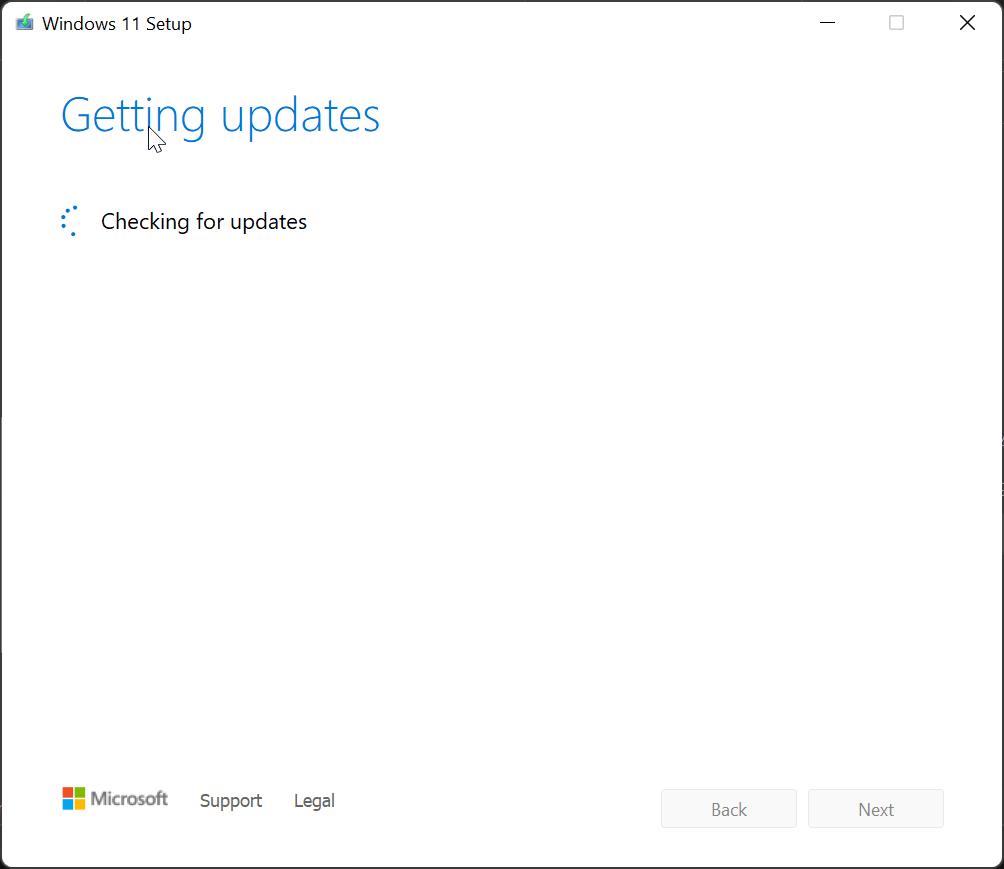
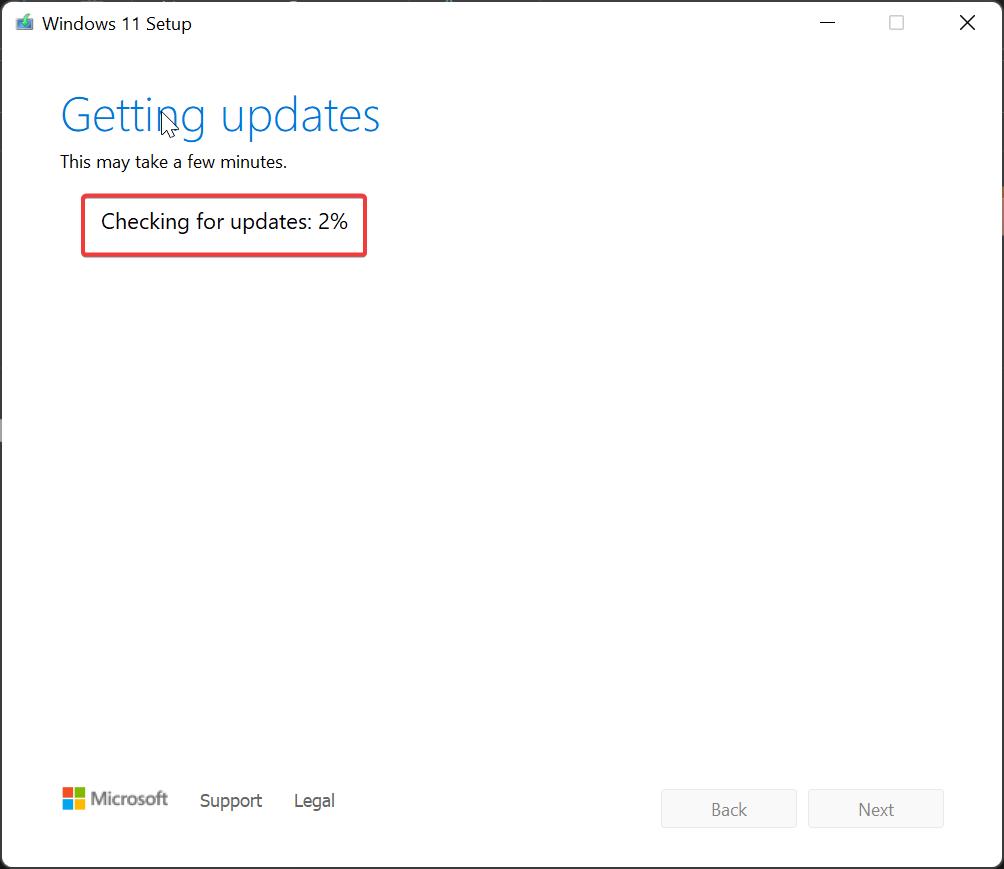
Next, Windows 11 setup will now start getting things ready.
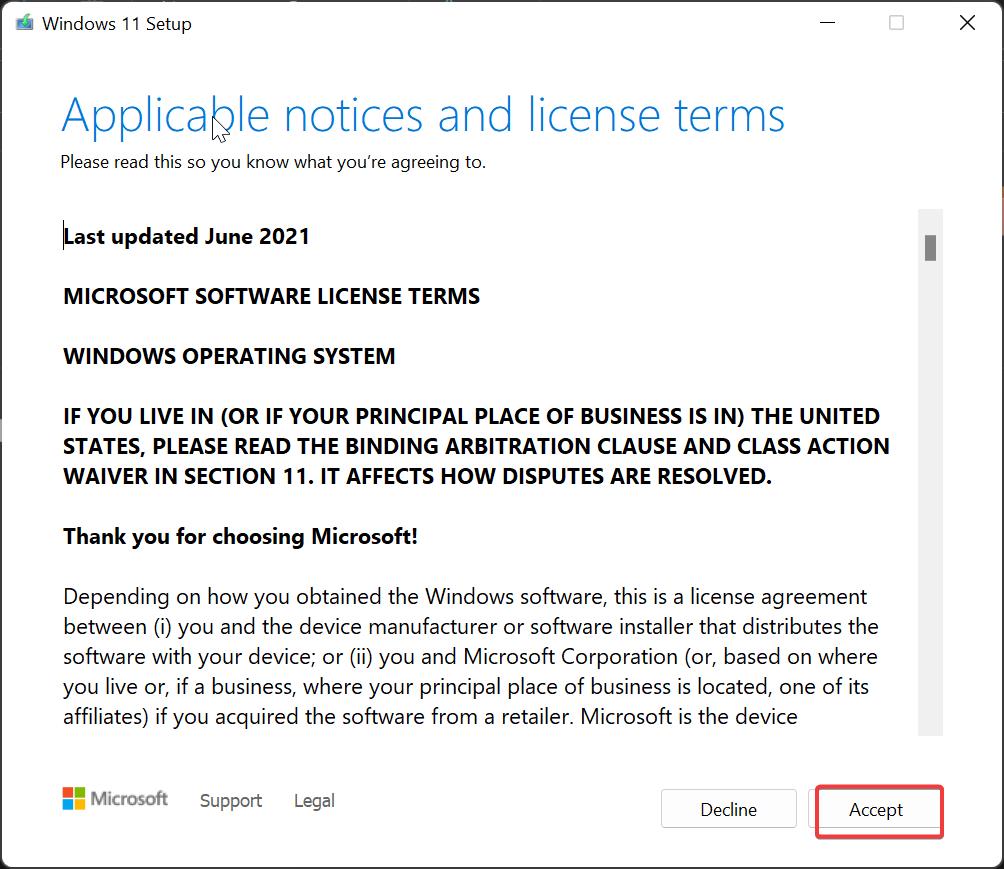
Click on Accept for the license terms.
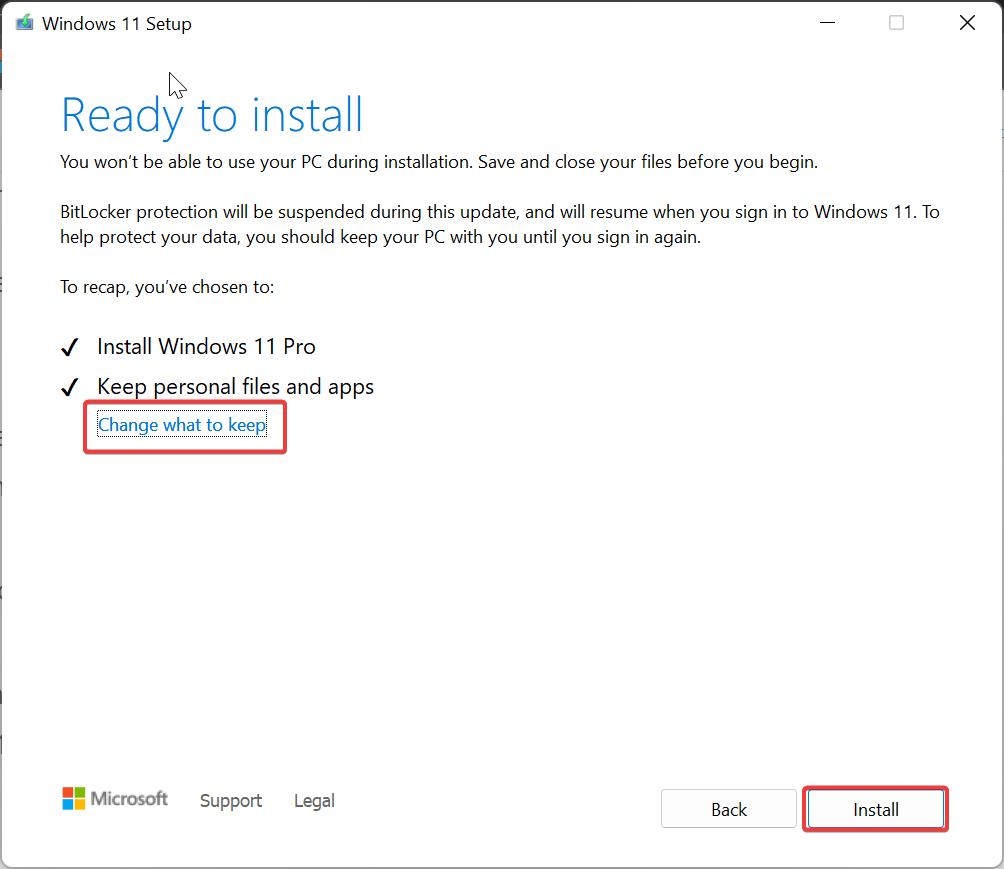
Next, follow the on-screen instructions, then under the Read to install page click on Change what to keep.
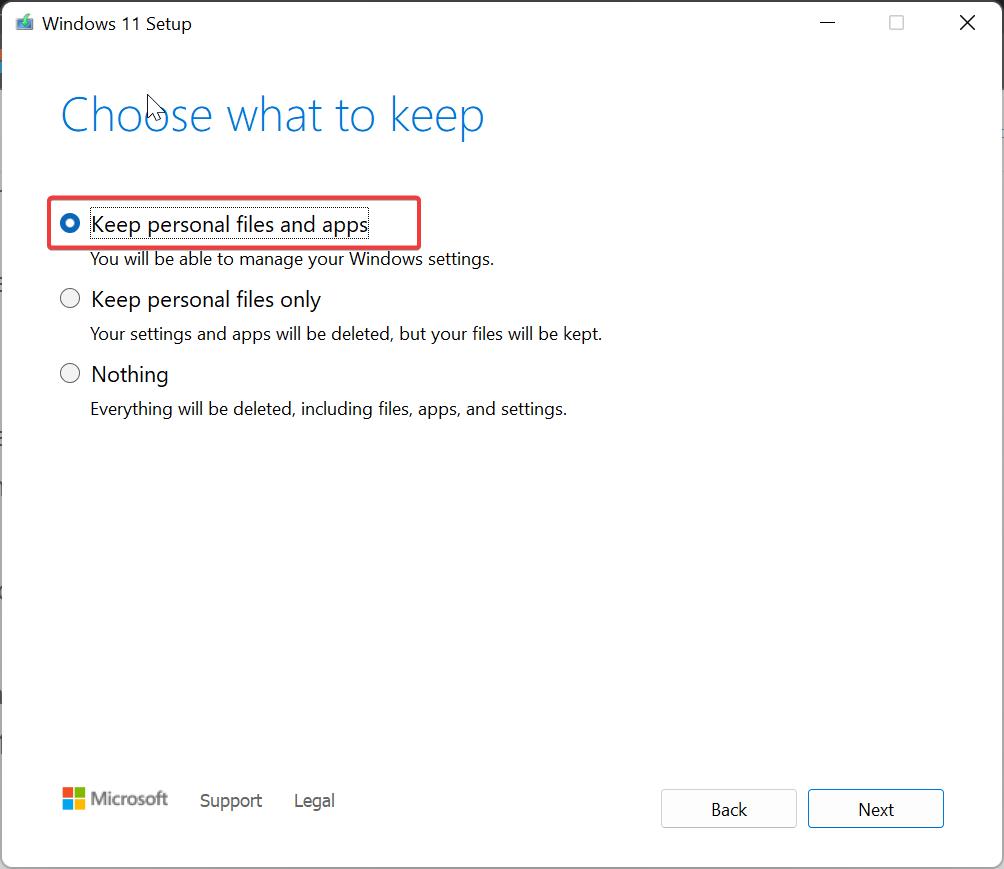
On the Next screen, select Keep personal files and apps and then click on Next, if it got failed then choose Nothing and then select Install.
Windows 11 setup will now start the repair installation of Windows 11.
During the repair installation, just follow the on-screen instructions and after the repair installation of Windows 11, you can dismiss the lock screen and sign in to Windows 11.
Read Also:
How to Manually Upgrade to Windows 11?
How to Fix Windows 10 Automatic Repair Loop?


