If you’ve been running Windows 10 on your computer, even with the newest hardware, you might notice that the operating system seems to slow down or lag at times. Even something as simple as clicking on the start menu can cause it to hang for a second or two. Here we will give some troubleshooting to fix for Windows 10 Slow Performance.
How you can improve Windows 10 Slow performance?
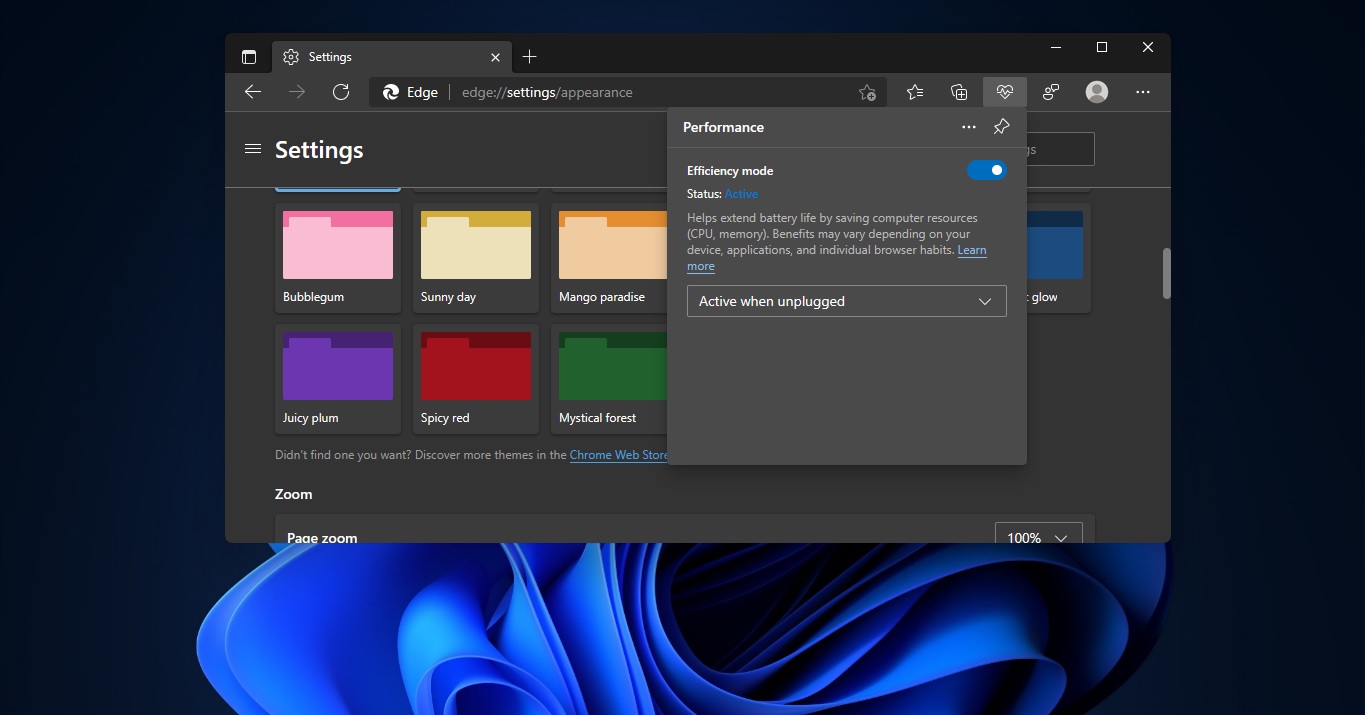
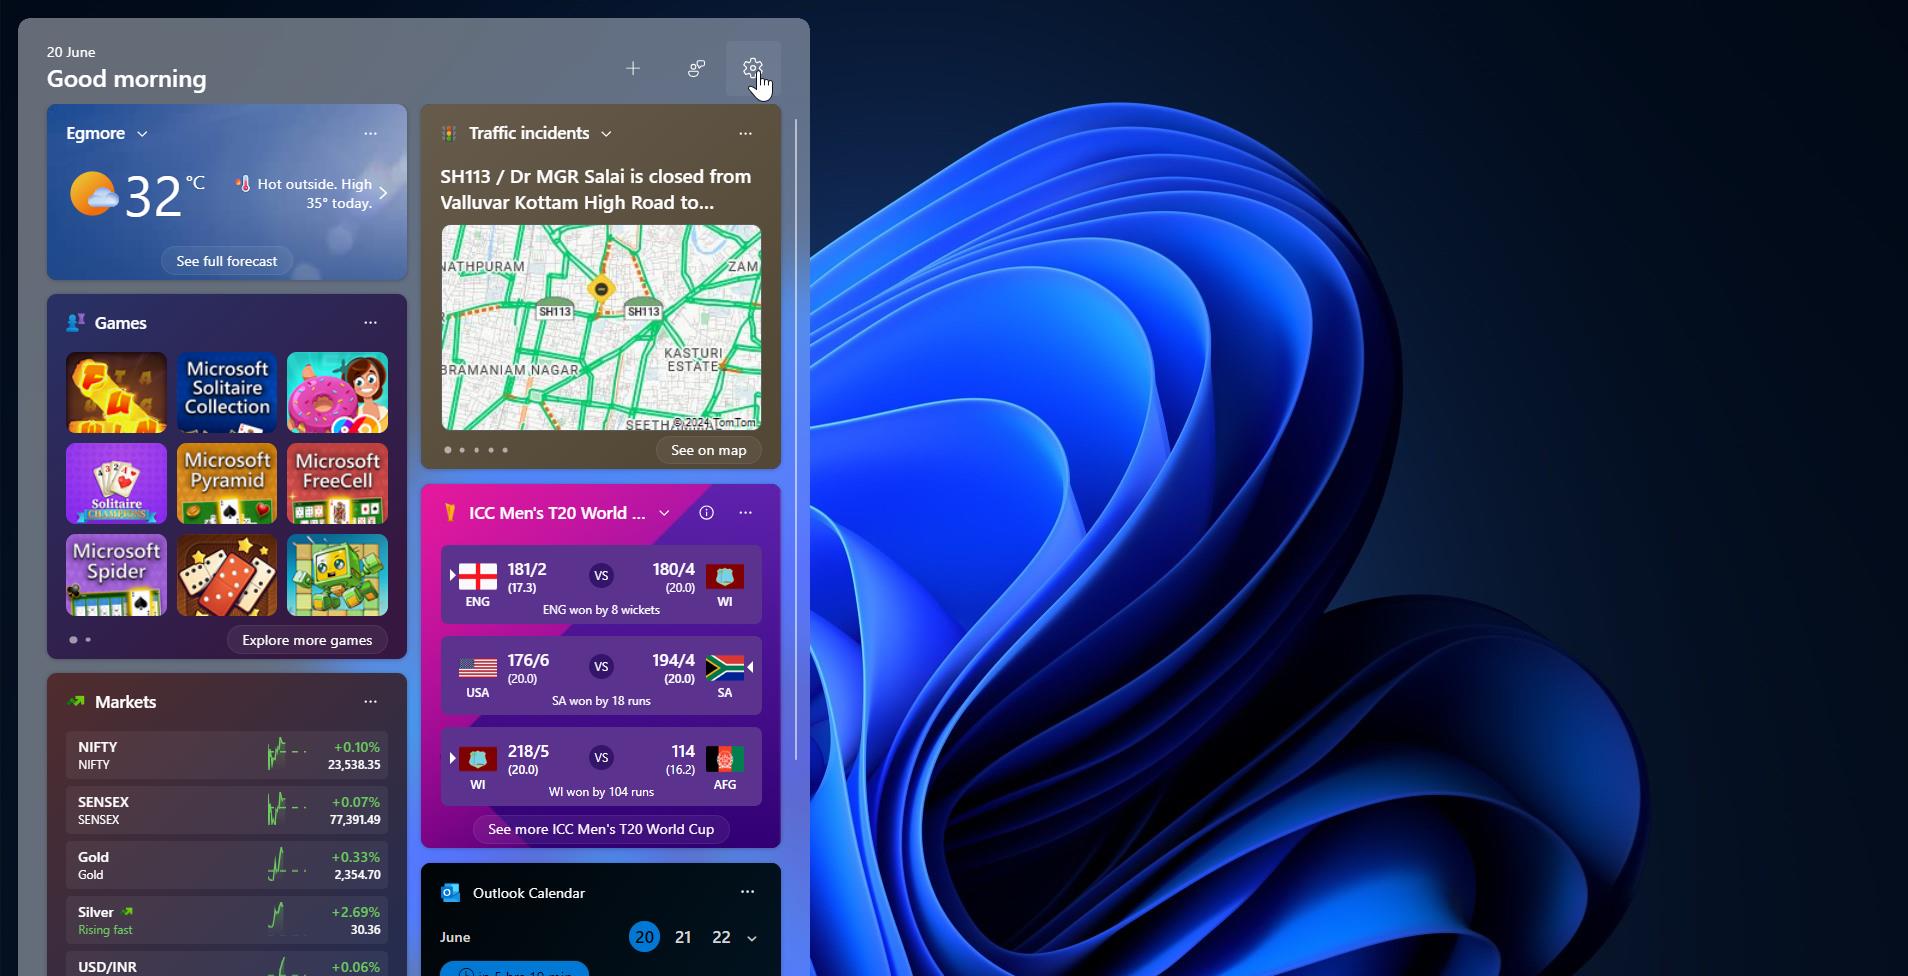
Remove Unnecessary gadgets from Desktop:
These days most of the users have some handy gadgets to their desktop, which is giving it a luxury look. Some of them tell Mini tools which is helping them to provide information in a very quick time. But while we put any gadgets to the desktop it will slowly eat up your system performance. So always remove those kinds of gadgets that you don’t need. This practice will help you to improve your Windows 10 Slow Performance.
Empty recycle bin:
Most of the time we will delete or move our unwanted files into the recycle bin, which is minimizing our HDD space. These types of unwanted files and folders we want to delete permanently. Follow the below steps this will help you.
- Right-click on your recycle bin, then select empty the recycle pin.
- Click enter.
 Run CCleaner:
The CCleaner is a recommended tool for every user, this tool one of the best PC optimization and cleaning tool will help scan and delete ineffective files. This will conserve your system disk space. Also, it will vanish your browsing history and the list of recently opened apps and programs. Download CCleaner Here
Clearing Temp and recent files regularly:
Always our all actions were saved in a Temp and recent file. Once again saving this information will eat up your drive space as well it will affect your system performance. Follow the below steps this will help you to remove those files.
- Open the Run dialog box by pressing Windows + R keys together.
- Type %temp% and press OK, you will be forwarded to the temp folder.
- While you are on the Temp files, press the CTRL+A key and then hit Del button to vanish those files.
- Now it’s time to open the Recent Files folder. Once again open the Run dialog box and type recent and hit off OK button.
- After performing the above steps, you will see the Recent Files folder, clean up all the files.
Disk CleanUp:
Disk Cleanup is useful software when it comes to speed up your PC. This computer maintenance utility diminishes the temporary files and removes system junk files and blank recycle bin from your computer.
Power option:
Power option is one of the realistic features in windows 10 systems. This change will help you to make your PC more enhanced. Follow the below steps.
- Launch the Control Panel icon and click Power Options.
- The Power Options contains three different options. You have to select the High-performance option.
Disable low disk checking:
Sometimes we will get a notification in our system about low disk space, especially when all your disk drives are full. But the reality is the disk notifies isn’t based on your disk space. So, disabling it is the best option to increase your system performance. Follow the below steps this will help you how to avoid that.
- Firstly, launch Registry Editor by pressing Regedit in the search box and then follow the below-mentioned path:
HKEY_CURRENT_USER / Software / Microsoft / Windows / CurrentVersion / Policies
- Under the Policies, folder look for Explorer. If you cannot see the Explorer key then create a new DWORD value with the name Explorer.
- Now, select Explorer and go to the right pane. Again right-click and choose DWORD (32-bit) Value.
- Name it
- Then execute a right-click on the newly created DWORD and chose Modify.
- In the Edit DWORD dialog box, set the Value data as 1 and press Ok.
Set unwanted services to manual:
Another best way is to stop unwanted services manually, this will also help you to speed your system performance. Continue the below instruction this will help you.
- Open the Run dialog box (Win + R keys together) and type msc then click Ok to open the Services window.
- Look for the services you don’t need to start automatically and prefer to set it as Manual.
- So right-click on the service and choose Properties.
- Under the General tab, you can see the Startup type section. Use the drop-down menu and select the Manual option.
- Click Apply and Ok to save the changes.
Apply these tricks on your computer to overcome Windows 10 Slow Performance.